Wall Art Guide, Wall Art Tutoriels
Large Textured Wall Art: Oversized Dimensional Relief Pieces
Sep
So I’ve been totally obsessed with these massive textured wall pieces lately and honestly they’re such a game-changer when you need to fill a huge empty wall but don’t want just another basic canvas print, you know?
What Actually Counts as Dimensional Relief Art
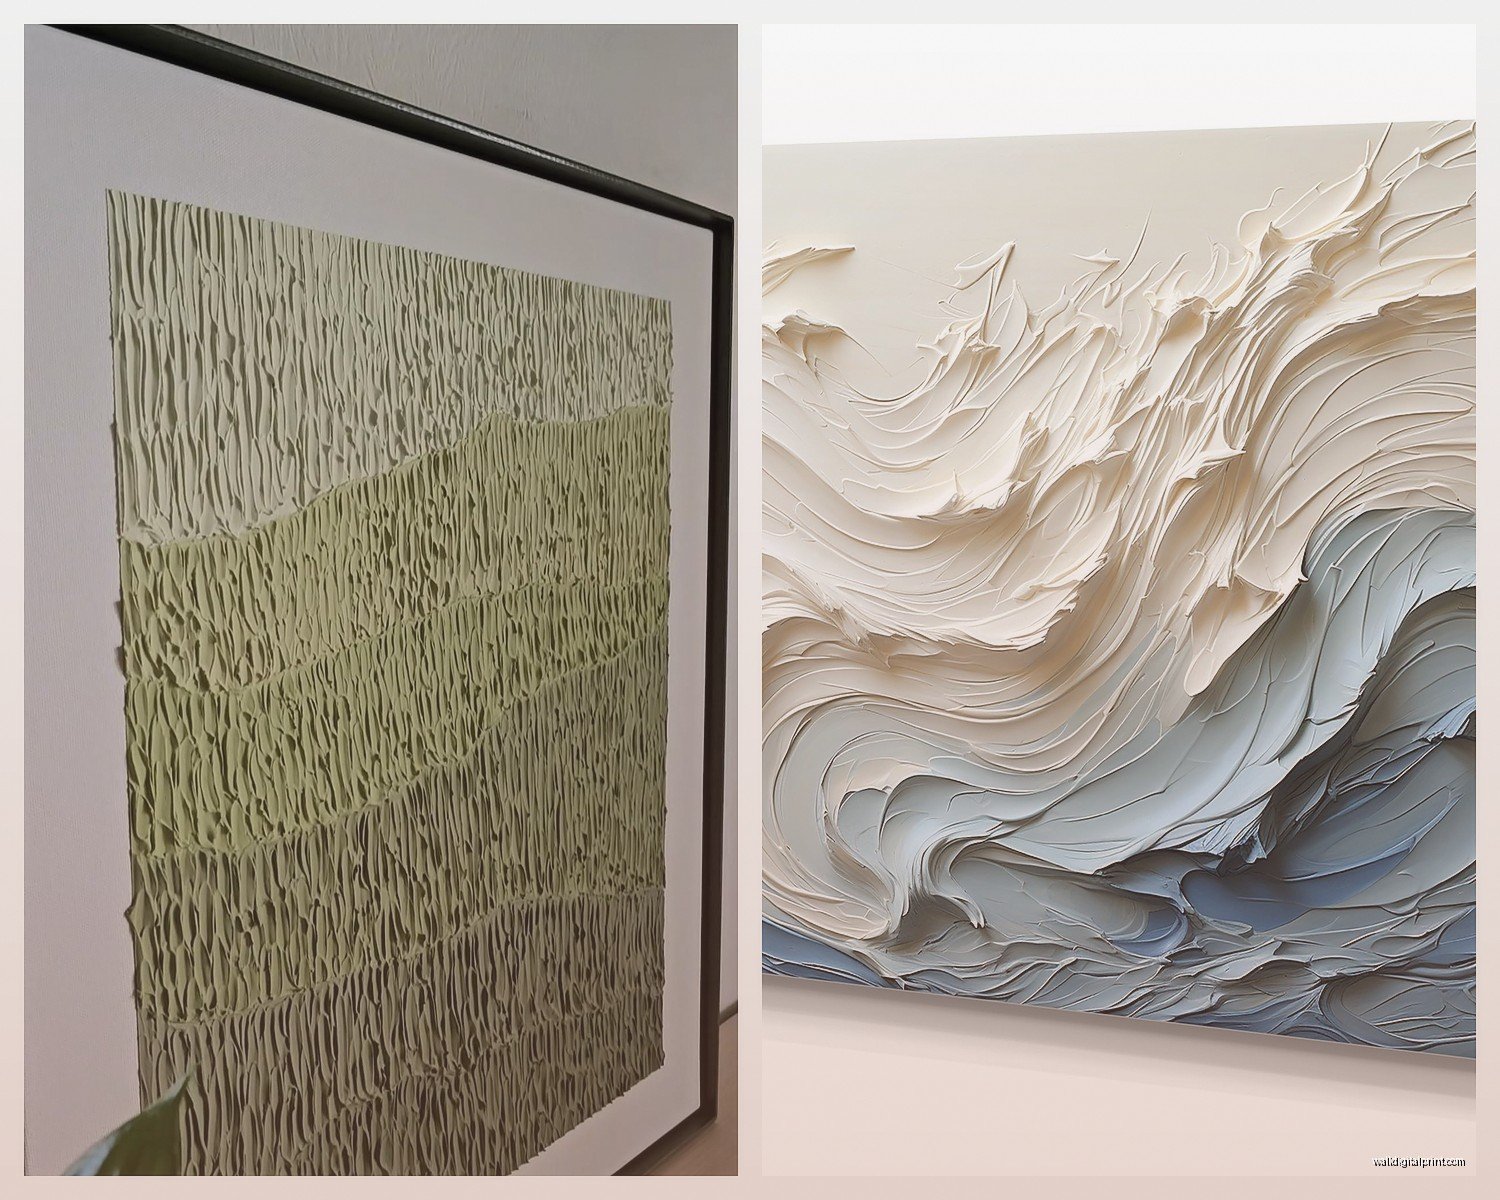
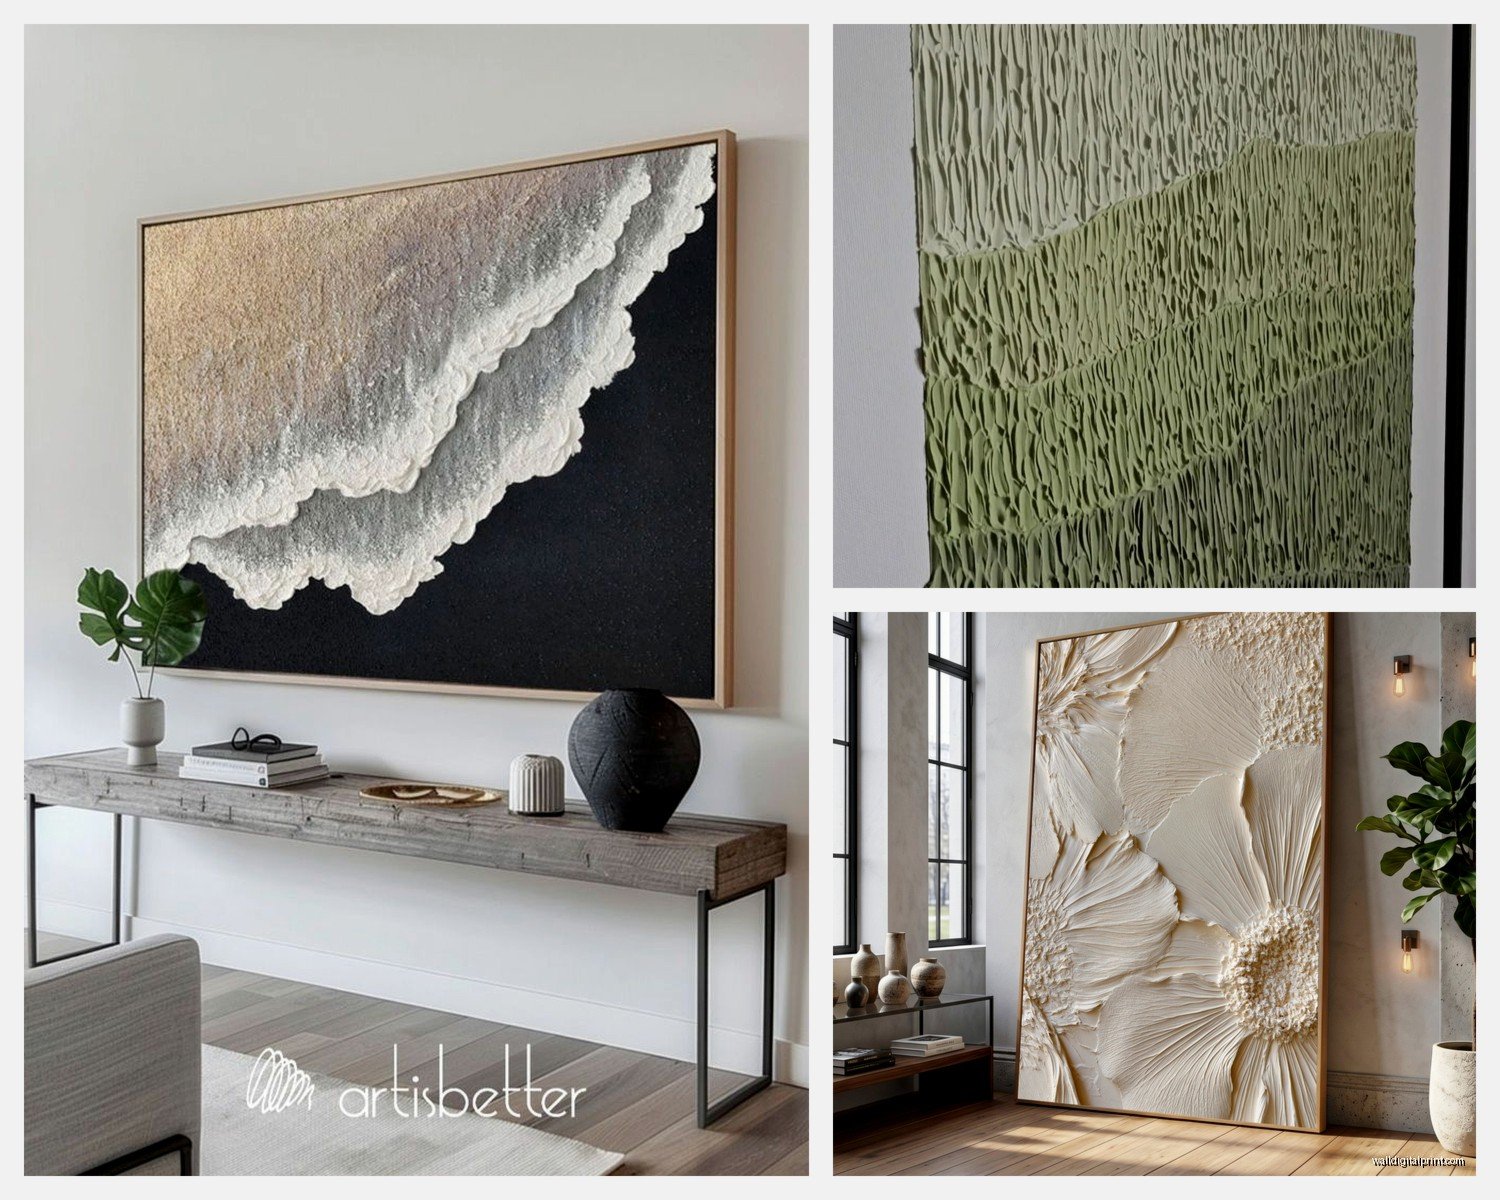
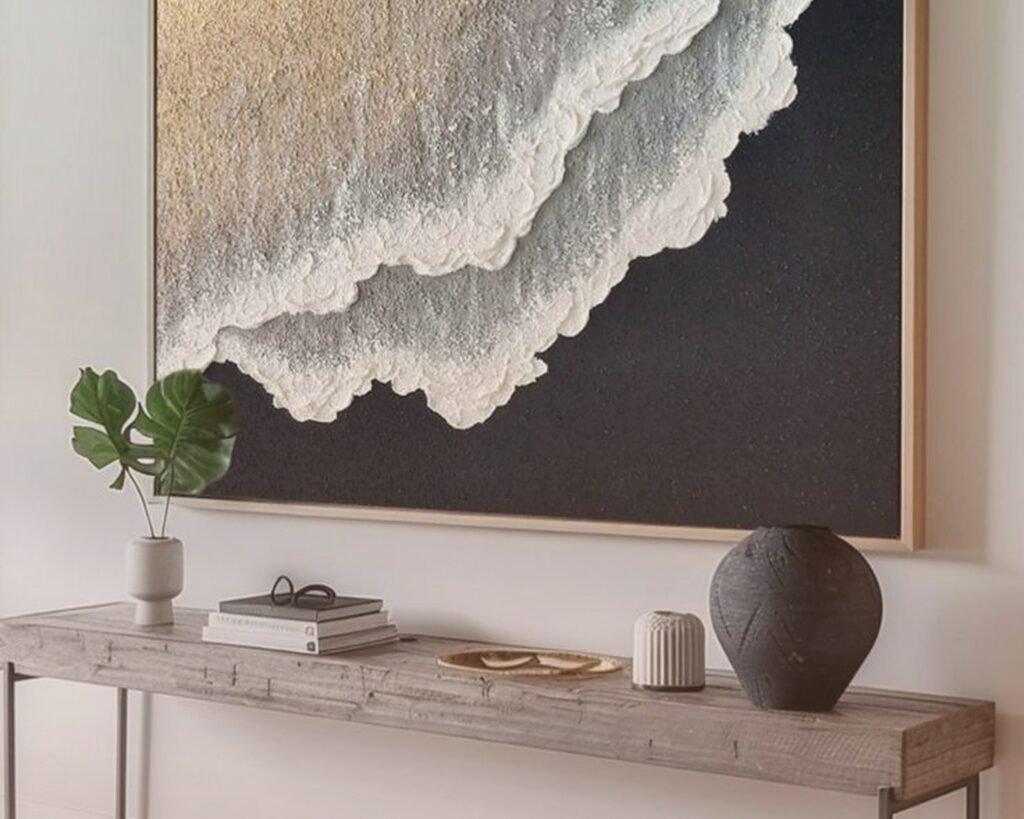
Okay so first thing, we’re talking about pieces that literally stick out from the wall. Not just painted texture that looks 3D but actual physical depth. Think sculptural elements, layered materials, stuff you could almost run your hands over (though please don’t at galleries, learned that the hard way). These can be anywhere from like half an inch of relief to pieces that jut out several inches.
The materials are all over the place. I’ve worked with plaster relief panels, carved wood pieces, metal sculptures, fiber art with crazy woven textures, even this one piece made from layered resin that caught light differently throughout the day. My cat knocked into one once and I nearly had a heart attack but it was fine.
Sizing This Stuff Correctly Because It’s Tricky
Here’s where people mess up constantly. They see a gorgeous piece online, order it, and then it arrives and looks like a postage stamp on their wall. With textured pieces especially, you gotta go BIGGER than you think.
For a standard living room wall, I’m talking minimum 40×60 inches. Seriously. And if you have high ceilings or a really long wall, don’t even look at anything under 5 feet in one direction. The texture adds visual weight which is good, but it also needs scale to make an impact.
I measured this out in my own space recently because I was being stubborn about a piece I loved that was definitely too small. Held up painter’s tape in the dimensions on the wall and yeah, it looked ridiculous. Ended up going with something 72 inches wide and it’s perfect.
The Height Thing Nobody Mentions
Oh and another thing, hanging height matters SO much with dimensional pieces. Center point should be around 57-60 inches from the floor, which is standard gallery height. But if your piece has serious depth and you’re gonna have lighting hitting it, you might want to go slightly higher so shadows don’t make it look weird from seated positions.
Weight Limits Are Real and Scary
This is gonna sound obvious but these things are HEAVY. Like, way heavier than regular art. I’m talking 30-80 pounds for larger pieces, sometimes more. You absolutely cannot just hammer a nail into drywall and hope for the best.
What you actually need:
- Heavy duty wall anchors rated for at least double the piece’s weight
- French cleats for anything over 50 pounds (seriously, best invention ever)
- A stud finder because hitting studs is ideal when possible
- Someone to help you hold it while marking placement because doing this alone is miserable
French cleats are these interlocking brackets where one mounts to the wall and one to the back of the art, and they just slide together. Super secure, can handle massive weight, and you can adjust positioning slightly which is clutch.
Materials and What They Actually Look Like IRL
Plaster and Gesso Relief
These give you that classical look, very European, very elegant. The texture catches light beautifully and you can get really intricate designs. Downside is they’re fragile. I had a client whose kid threw a toy and chipped a corner off a $800 piece and there was no fixing it really.
They work amazing in dining rooms or entryways where there’s less risk of impact. Usually come in neutrals which is great for flexibility but can feel a bit safe if you want color.
Carved Wood
So much depth and warmth with these. You can find everything from geometric patterns to organic flowing designs. The grain of the wood adds another layer of texture on top of the carved elements.
Weight warning though, solid wood pieces are gonna be your heaviest option. I installed one last month that was probably 70 pounds and we needed three people. But it looks incredible, very organic modern.
Metal Sculptural Pieces
These can be lighter than you’d expect if they’re using thin gauge metal. Really cool for industrial or contemporary spaces. The issue I’ve run into is that cheaper metal pieces can look, well, cheap. The finish matters SO much. Powder coated or properly treated metals age better than spray painted stuff.
Also they can create interesting shadows which is either exactly what you want or super annoying depending on your lighting situation. Test this before committing.
Fiber and Textile Art
Wait I forgot to mention these earlier but woven wall hangings and macramé pieces are having such a moment. The texture is softer, more tactile. These are usually lighter weight which is nice for installation but they collect dust like crazy.
I vacuum mine with the brush attachment every couple weeks. Sounds weird but it works. Don’t get these if you have serious allergies though.
Where to Actually Find Good Pieces
Okay so funny story, I spent like three months hunting for the perfect piece for above my sectional and found it on Etsy of all places. But here’s the breakdown:
Etsy and independent artists: Best for unique pieces, can often commission custom sizes, prices vary wildly. You’re supporting actual artists which feels good. Shipping can be scary expensive though and returns are complicated.
West Elm, CB2, Anthropologie: More curated, consistent quality, easier returns. You’re paying for the brand but at least you know what you’re getting. Their stuff tends toward safe/trendy though.
Local art fairs and galleries: This is where I find the most interesting pieces honestly. You can see them in person, talk to artists about custom work, and usually negotiate on price. Plus no shipping damage risk.
Restoration Hardware and high end stores: If budget isn’t a concern, their dimensional pieces are usually stunning. Just be prepared for 4-figure price tags and long lead times.
The Lighting Situation You Can’t Ignore
This is where dimensional art either looks incredible or falls totally flat. The whole point is the shadows and depth, right? So you need proper lighting.
Picture lights mounted above the piece work great for highlighting texture. Track lighting aimed at an angle creates dramatic shadows. Even just making sure there’s enough ambient light in the room helps.
What doesn’t work is mounting these in dark corners or hallways with no light source. I see this mistake constantly and it’s such a waste. The piece just reads as flat and muddy.
Natural light is tricky because it changes throughout the day. I actually love this for the right piece because you get different looks at different times, but it can also wash out certain finishes during peak sun hours.
Testing Light Angles
Before you permanently install lighting, use a clamp lamp or flashlight to test different angles. Move it around and see what creates the most interesting shadows without being too harsh. Take photos because what looks good to your eye in the moment might photograph terribly, and vice versa.
Color Considerations That Actually Matter
Most textured relief pieces come in neutrals – whites, creams, grays, natural wood tones. This is actually strategic because the texture provides the visual interest and neutrals work with everything.
But if you want color, go for it. Just know that colored dimensional pieces become the focal point whether you want them to or not. They’re gonna dominate the space.
I’ve used pieces with subtle color variations, like ombré effects or pieces where the color shifts based on viewing angle, and those give you color without being overwhelming. There’s this resin piece I curated for a client that goes from deep blue to turquoise depending on the light and it’s stunning.
Mixing Textures in the Same Space
You can totally have multiple textured pieces in one room but you gotta be intentional about it. Too many competing textures just looks chaotic.
What works:
- One large dimensional piece as the hero with smaller flat art elsewhere
- Multiple dimensional pieces in the same material/style creating a gallery wall
- Balancing a heavily textured piece with smooth, minimal furniture
What doesn’t work:
- Dimensional pieces on every wall screaming for attention
- Mixing too many different texture types in one sight line
- Putting textured art near already busy architectural elements like brick or stone walls
Installation Tips From Someone Who’s Messed This Up
Measure like five times before drilling anything. Use a level. Use painter’s tape to map out the exact position first and live with it for a day or two.
For really large pieces, I mark the corners with small pencil dots, then mark where the hanging hardware will actually go. This sounds basic but I’ve installed pieces off-center more times than I’ll admit because I was eyeballing it.
If you’re using multiple anchors, get them perfectly level with each other or the piece will hang crooked. A laser level makes this so much easier.
The Two Person Job Reality
Don’t try to install large dimensional pieces alone. Just don’t. You need someone to hold it while you step back and check positioning. My client canceled last week so I spent an hour trying to hang a 60-pound piece by myself and it was absolutely stupid. Called my neighbor, took us 15 minutes together.
Maintenance Nobody Warns You About
These pieces collect dust in all those crevices and textured areas. How you clean depends on material but generally:
Plaster/gesso: Very soft brush or duster, be gentle, no water
Wood: Dry cloth, occasional wood cleaner appropriate to the finish
Metal: Depends on finish but usually just dusting, maybe metal polish for tarnish
Fiber: Vacuum with brush attachment, some can be gently spot cleaned
I clean mine maybe once a month? More if they’re near windows or in high traffic areas.
Budget Real Talk
You can find decent pieces starting around $200-300 for smaller sizes from independent artists. Mid-range from home decor stores runs $400-800. High end gallery pieces or custom work easily hits $1000-5000+.
For the best value, I honestly think working with emerging artists or checking out art school graduate shows gives you unique pieces at reasonable prices. You’re taking a chance on someone less established but the work is often more interesting than mass produced stuff.
When Dimensional Art Doesn’t Work
Small rooms with low ceilings feel overwhelmed by large dimensional pieces. The extra depth can make spaces feel more cramped.
Really minimalist spaces sometimes fight with textured art because there’s too much visual competition. If your whole aesthetic is clean lines and emptiness, a big chunky textured piece might feel off.
Rooms with tons of patterns and colors already happening probably don’t need more visual complexity.
And honestly if you move frequently, these pieces are a pain to pack and transport. Just saying.
My Current Favorites for Different Spaces
For living rooms I’m loving large-scale geometric wood relief pieces right now. Very architectural, lots of movement.
Bedrooms work great with softer fiber pieces or subtle plaster relief in organic shapes. You want texture but not something too stimulating.
Dining rooms can handle more dramatic pieces because you’re usually viewing them from a distance while seated. This is where I go bold with deep relief and interesting shadows.
Entryways are perfect for statement dimensional pieces because they set the tone immediately. Just watch the depth if it’s a narrow entry.
Okay I think that covers most of what I’ve learned through trial and error with these. The main thing is just go bigger than you think, make sure it’s properly secured, and light it well. Everything else is pretty forgiving honestly.