Wall Art Guide, Wall Art Tutoriels
Bunny Wall Art Nursery: Rabbit Baby Room Sweet Decor
Oct
So I’ve been styling nurseries for like six years now and bunny wall art is honestly one of those things that sounds precious but can go wrong SO fast if you don’t think it through. Let me walk you through what actually works because I’ve definitely made mistakes here.
Choosing the Right Bunny Art Style
Okay first thing – you gotta figure out what vibe you’re going for because bunny art comes in like a million styles and they do NOT all work together. I learned this the hard way when a client bought three different bunny prints from Etsy and they clashed so badly we had to start over.
The main styles I see working:
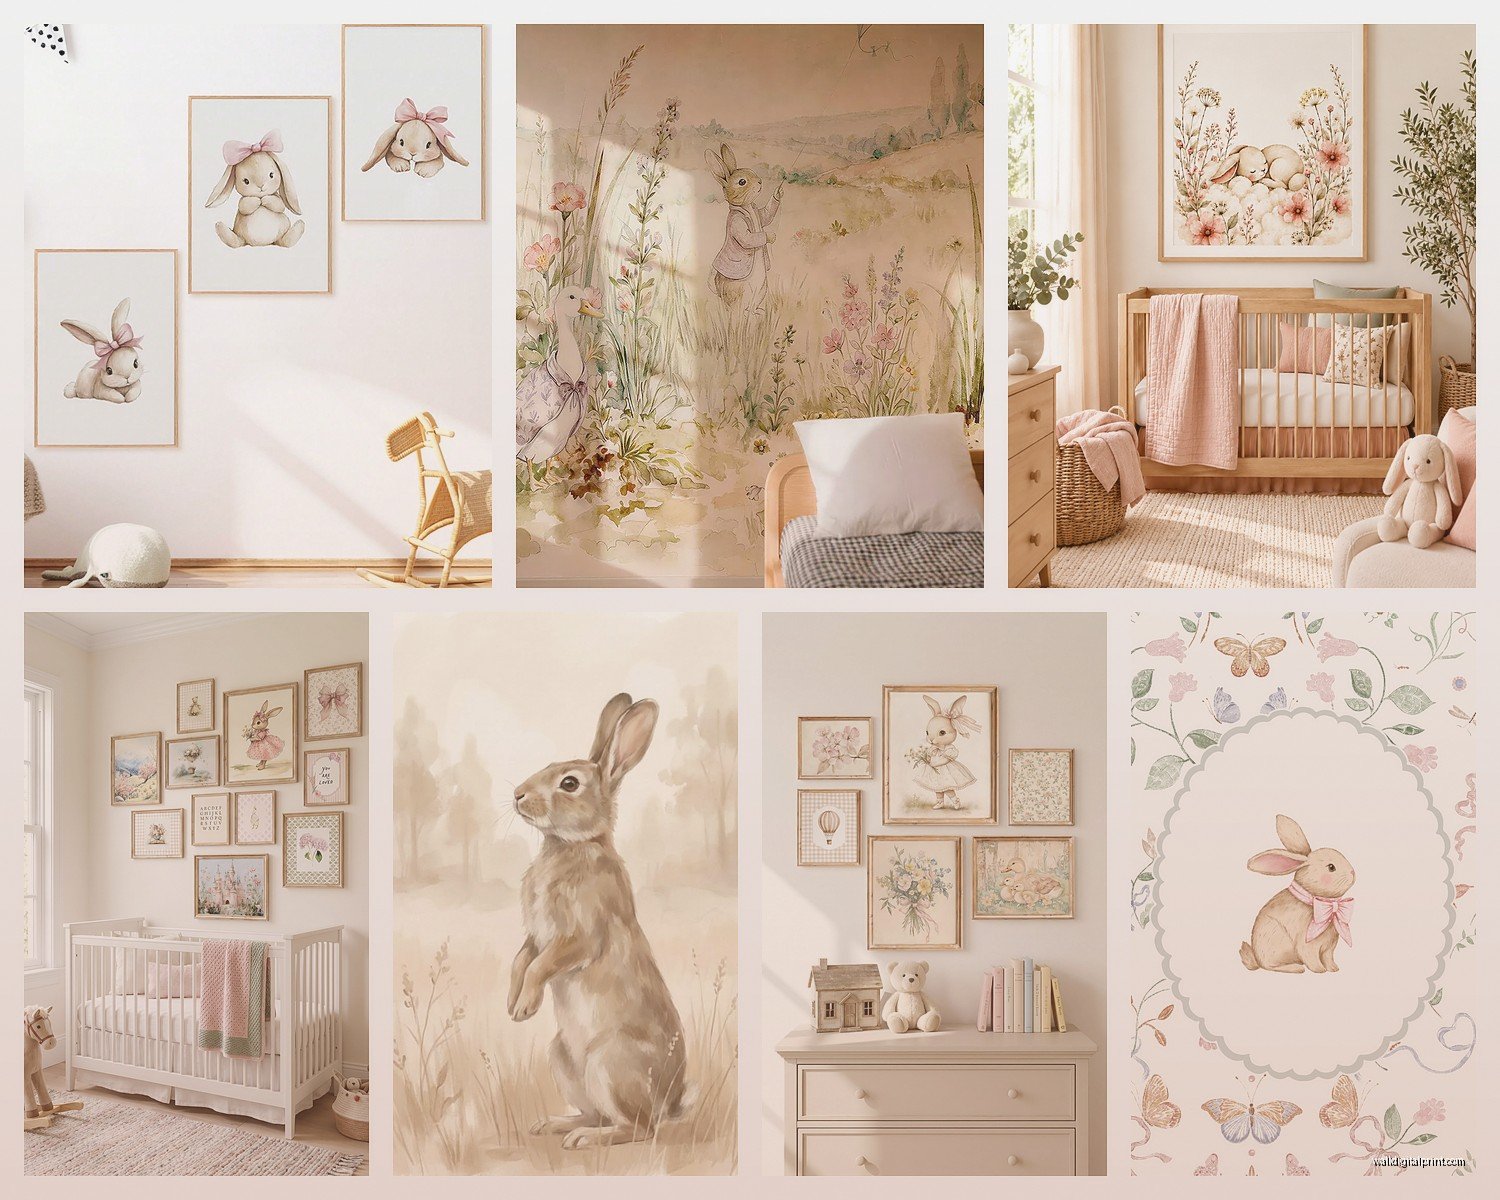
- Watercolor bunnies – soft, painterly, usually in neutrals or pastels
- Line drawing bunnies – minimalist, modern, usually black and white
- Vintage storybook bunnies – think Beatrix Potter vibes
- Photography prints – actual rabbit photos, can be surprisingly chic
- Geometric/abstract bunnies – more modern nursery friendly
Pick ONE style and stick with it. You can mix in other animals or elements but keep the art style consistent. Like if you go watercolor bunny, your moon print should also be watercolor, not a geometric thing.
Size and Placement Actually Matters
This is gonna sound obvious but I see people mess this up constantly. That cute 5×7 print you found on Etsy? It’s gonna look like a postage stamp on your nursery wall. I usually go with:
- Above the crib: 16×20 minimum, or a gallery wall of smaller prints
- Side walls: 11×14 or 8×10 works fine
- Over changing table: 8×10 is actually perfect here since you’re closer to it
My dog just knocked over my coffee but anyway – the crib wall is your focal point so don’t be shy with size there. I did a nursery last month where we used a 24×36 bunny print and it looked amazing, not overwhelming like the mom was worried about.
The Gallery Wall Approach
If you wanna do a gallery wall (which I love for nurseries), here’s what actually works. Get like 5-7 pieces in varying sizes but keep them in the same color family. I usually do:
- One large bunny as the anchor (16×20)
- Two medium supporting prints (11×14) – could be other bunnies or complementary stuff like moons, clouds, florals
- Three to four small prints (5×7 or 8×10)
Lay them out on the floor first. Take a photo. Live with it for a day. Then commit. I use painter’s tape to mark where they’ll go on the wall before I start hammering nails because I am not redoing nail holes again.
Frame Choices That Don’t Look Cheap
Okay so funny story – I used to think all white frames looked the same. They do not. The difference between a $15 frame and a $40 frame is SO noticeable when they’re all on the wall together.
For bunny nursery art I typically go with:
- Natural wood frames for a Scandinavian/modern look
- White frames (but good ones – look for thicker borders)
- Black frames if you’re doing the modern monochrome thing
Mix wood and white if you want but don’t throw black in there too unless you really know what you’re doing. And please please please make sure all your frames are the same finish. Don’t mix glossy white with matte white. It looks sloppy even though nobody can explain why.
Where to Actually Buy This Stuff
I’ve ordered from everywhere at this point. Here’s my honest breakdown:
Etsy: Best for unique watercolor and custom pieces. Download the digital file and print it yourself at a local print shop – you’ll save like $50 per print. Just make sure the file is at least 300 DPI. I learned that one the hard way with a pixelated disaster.
Minted: More expensive but the quality is consistently good. Their framing is actually decent too. Wait for a sale though, they have them constantly.
Society6: Hit or miss on quality. I’ve gotten some gorgeous bunny prints and some that looked washed out. Read reviews on the specific print.
Amazon: For basic prints it’s fine. The framed options are usually cheap-looking though. Buy the print, frame it yourself.
Local print shops: If you have digital files, this is the move. Better paper quality than printing at home and not that expensive.
Colors That Actually Work in a Nursery
So everyone wants to know about colors and honestly, bunny art works with basically any nursery palette, but here’s what I’ve seen work really well:
Neutral nursery (grays, whites, tans): Go with black and white line drawing bunnies or soft gray watercolor bunnies. Add one pop of color – maybe a dusty blue or sage green bunny as an accent.
Pink nursery: Blush pink and cream bunnies obviously work, but don’t go too pink-on-pink or it gets overwhelming. Mix in some white bunnies or cream backgrounds.
Blue nursery: Dusty blue bunnies with gray accents. Super calming.
Gender neutral (yellows, greens): This is where bunny art really shines honestly. Sage green bunnies, mustard yellow bunnies with botanical elements… I’m obsessed.
The One Color Rule I Actually Follow
Pick three colors max for your bunny art collection. Like if you’re doing blush pink, cream, and sage green – all your bunny prints should only use those three colors. It sounds limiting but it makes everything look cohesive instead of chaotic.
DIY Options If You’re On a Budget
Look, nursery stuff gets expensive fast. If you’re crafty at all (or willing to try), here’s what’s actually doable:
Print free bunny silhouettes from online, cut them out of nice cardstock or fabric, frame them. I did this for a client’s twin nursery and it cost maybe $60 total for six framed pieces.
Buy plain canvases from the craft store and paint simple bunny shapes. You don’t need to be an artist – abstract bunnies are a thing. Use painters tape to make clean edges.
Iron-on bunny decals on fabric, stretch over canvas frames. This looked way more expensive than it was when I tried it last year.
What to Avoid
Okay real talk, here’s stuff I’ve seen that just doesn’t work:
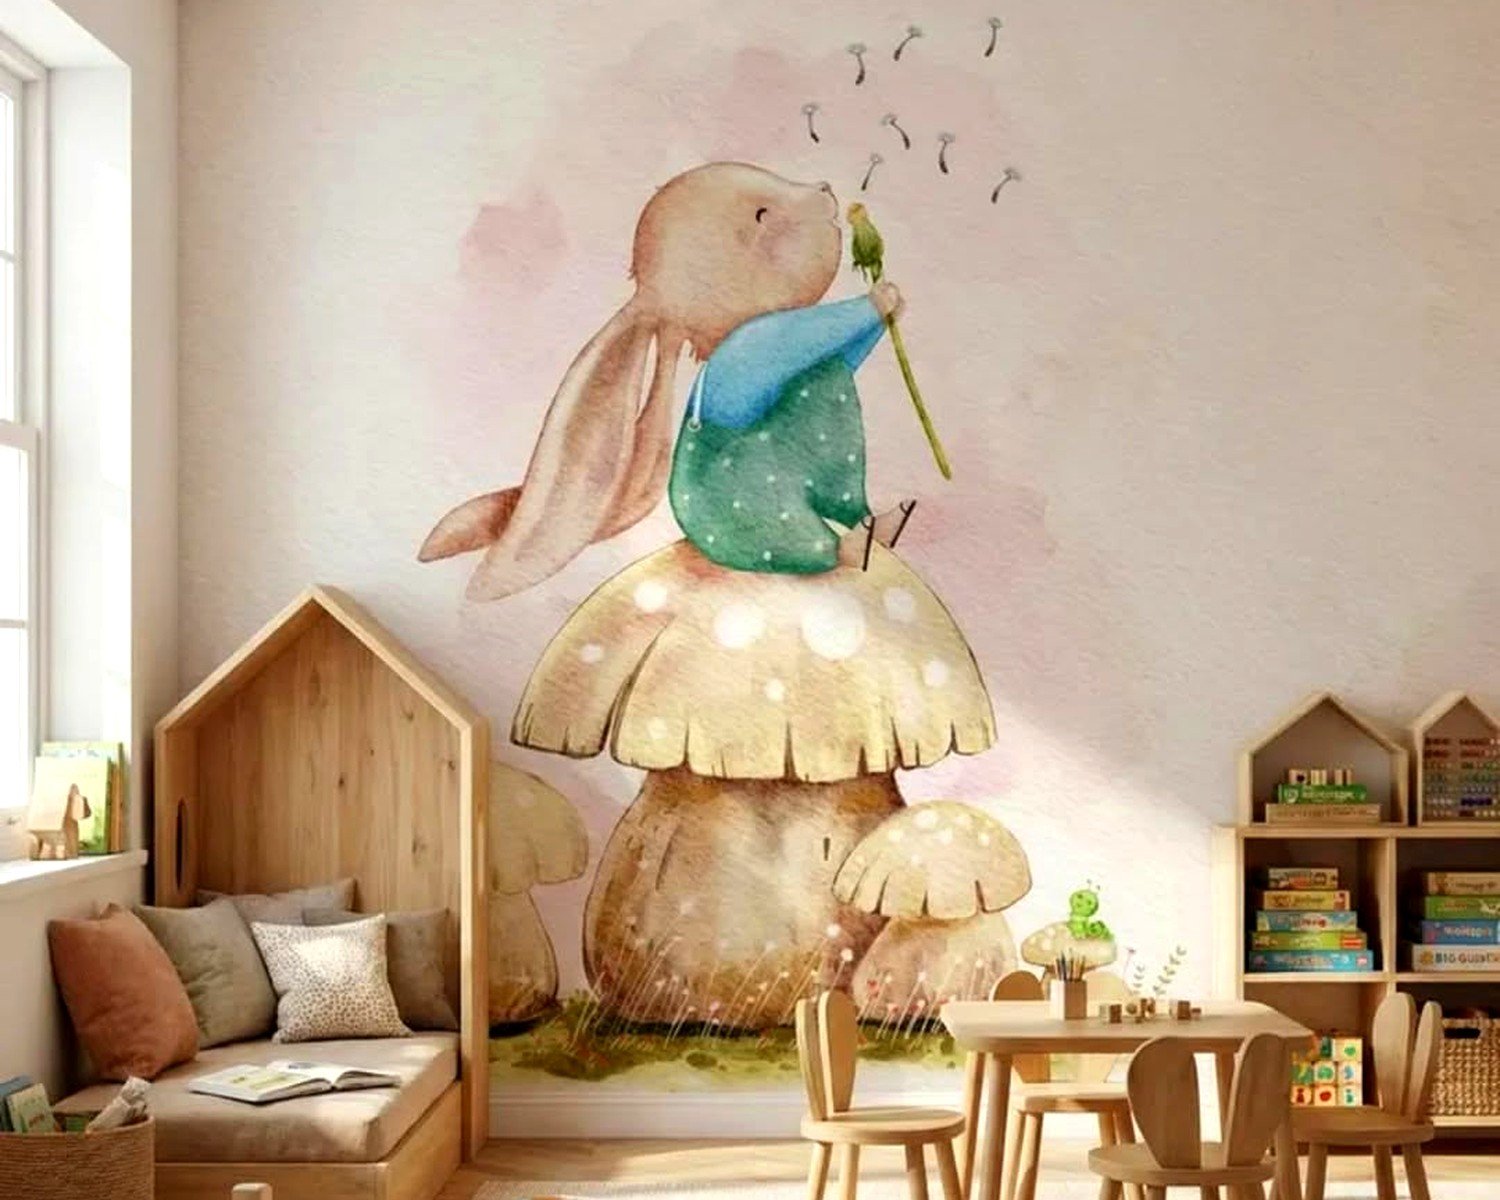
- Those vinyl wall decals that are supposed to look like painted bunnies – they peel and look cheap after like six months
- Mixing cartoon bunnies with realistic bunnies – pick a lane
- Too many bunnies. Like if every single piece of art is a bunny it’s gonna feel like a rabbit farm not a nursery
- Neon colors on bunny art – I saw a hot pink bunny print once and it gave me a headache
- Bunny art with text/quotes unless it’s really well designed – usually looks cluttered
The Stuff Nobody Tells You
Wait I forgot to mention – hang your art higher than you think you should. Like the center of the art should be at 57-60 inches from the floor, which is standard gallery height. Everyone hangs nursery art too low because they think “it’s for a baby” but babies aren’t looking at wall art, YOU are.
Also, use proper hanging hardware. Those little sawtooth hangers that come with cheap frames? They fail. Get proper picture hanging hooks rated for the weight. I’ve had frames fall in the middle of the night and it scared the crap out of everyone.
Oh and another thing – if you’re hanging above the crib, make sure everything is SECURE. I’m talking anchored into studs if possible, or heavy duty drywall anchors. A frame falling into a crib is my nightmare scenario.
Mixing Bunny Art With Other Decor
This is gonna sound weird but bunny art works really well with:
- Moon and star prints
- Floral/botanical prints
- Forest animal prints (deer, foxes, bears)
- Simple cloud illustrations
- Alphabet prints if they’re the same style
The key is not making it too themed. Like “woodland nursery” can easily become “we live in the forest” if you’re not careful. Bunnies plus maybe one other animal type, plus some nature elements = good. Bunnies plus deer plus foxes plus bears plus trees plus mushrooms = overwhelming.
Lighting Considerations
Something I didn’t think about until I started doing this professionally – where’s your light coming from? If you hang bunny art directly across from a window, it’s gonna get sun damage. Watercolors especially will fade.
Use UV protective glass if the art is getting direct sunlight. Or just plan your layout so the main pieces aren’t in the sun’s path. I usually put the gallery wall on the same wall as the window, not opposite it.
Also consider adding a picture light above your main bunny piece if you want it to be a real focal point. Makes it look fancy and intentional.
Swappable vs Permanent
Here’s something to think about – how long do you want this bunny theme to last? I usually tell clients to invest in good frames and use them for swappable prints. Get the digital files, print them at a local shop, and when your kid turns four and decides they hate bunnies (it happens), you just swap in new prints.
Command strips are your friend for this approach. They hold way more weight than you’d think and you can change things out without nail holes everywhere. Just make sure you get the right weight rating.
Making It Feel Custom
If you really wanna make the bunny art feel special and not just “I bought stuff from the internet,” try these:
Add your baby’s name incorporated into one piece. Lots of Etsy sellers do custom name prints with bunny illustrations.
Commission an artist to create something unique. I’ve worked with illustrators who’ll do a bunny in your specific nursery colors for like $75-150 for a digital file you can print.
Create a photo series of your actual baby with bunny stuffed animals as they grow. Frame those alongside the illustrated bunny art. It’s sweet without being too precious.
Mix in a vintage bunny book page or illustration. Frame an original page from an old Beatrix Potter book – you can find them on eBay.
The whole point is making it feel like YOU chose these pieces intentionally, not just grabbed the first bunny prints you saw. My cat is currently sitting on my keyboard so gonna wrap this up but hopefully this helps you figure out what’ll actually work in your space.