Wall Art Guide, Wall Art Tutoriels
Stained Glass Wall Art: Colored Light Cathedral Window Style
Nov
So I’ve been totally obsessed with stained glass wall art lately and honestly it started because a client wanted that cathedral vibe without actually installing permanent windows in her rental apartment. Let me tell you what I’ve learned because I’ve tested like… way too many of these things.
The Basics You Actually Need to Know
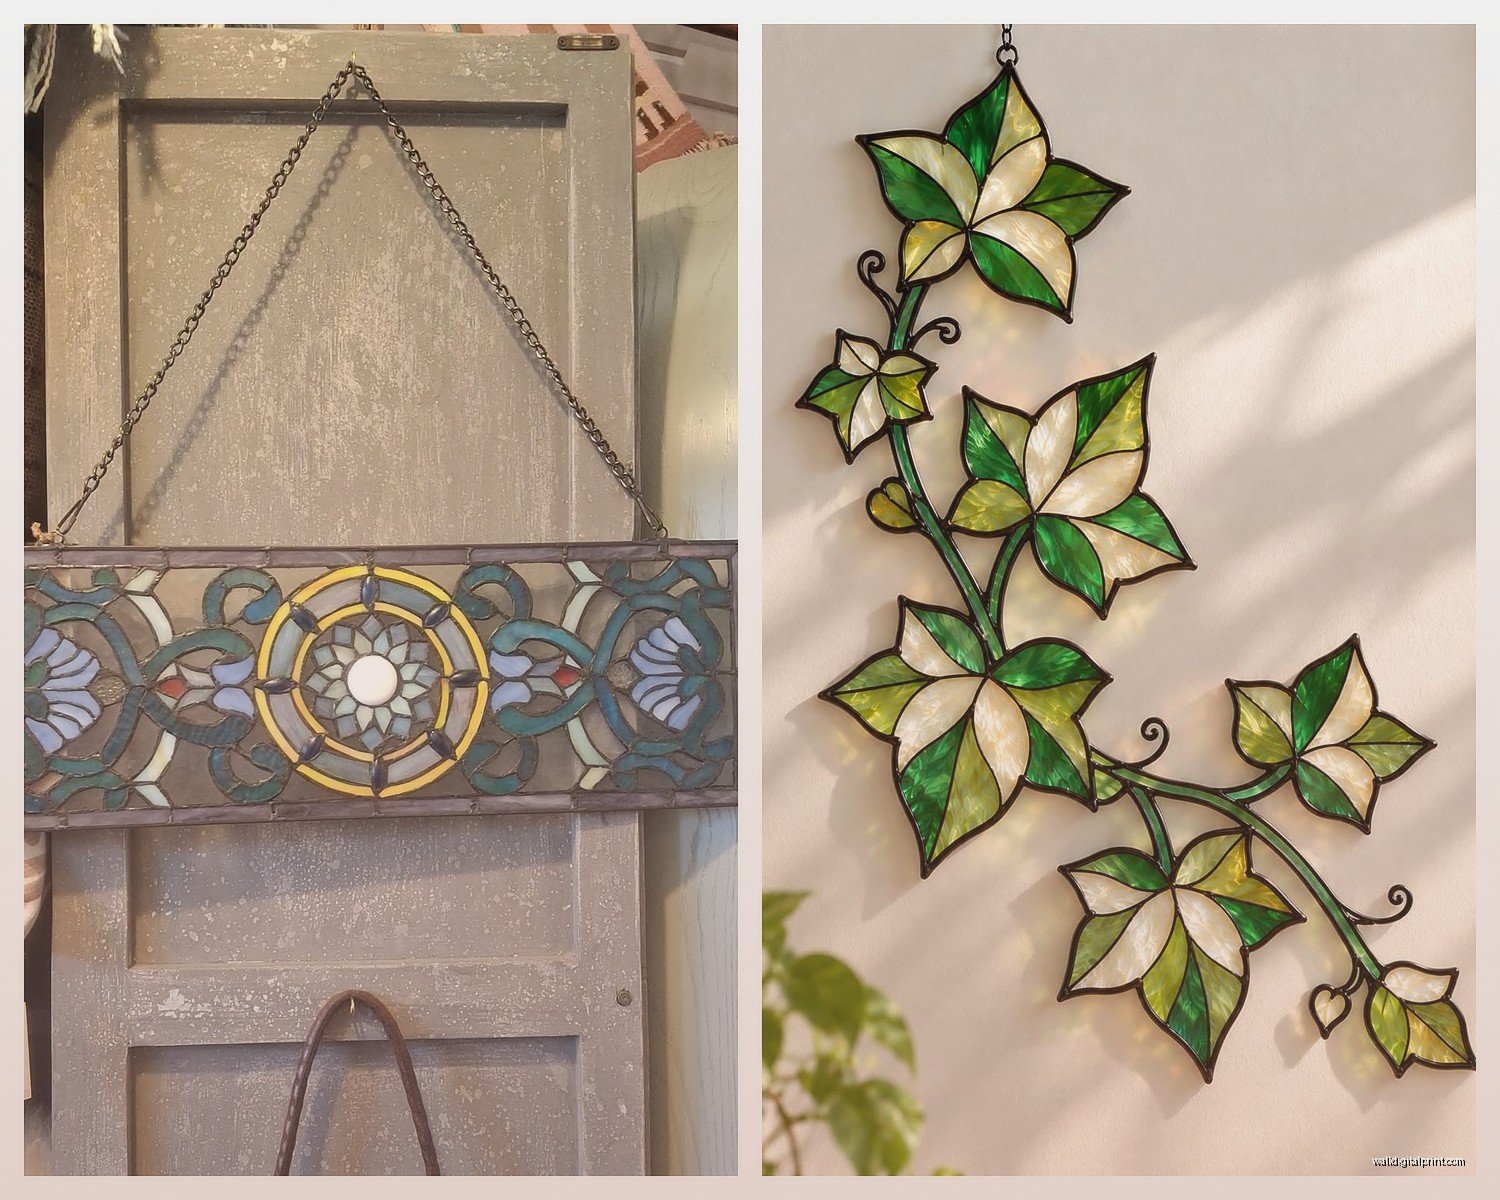
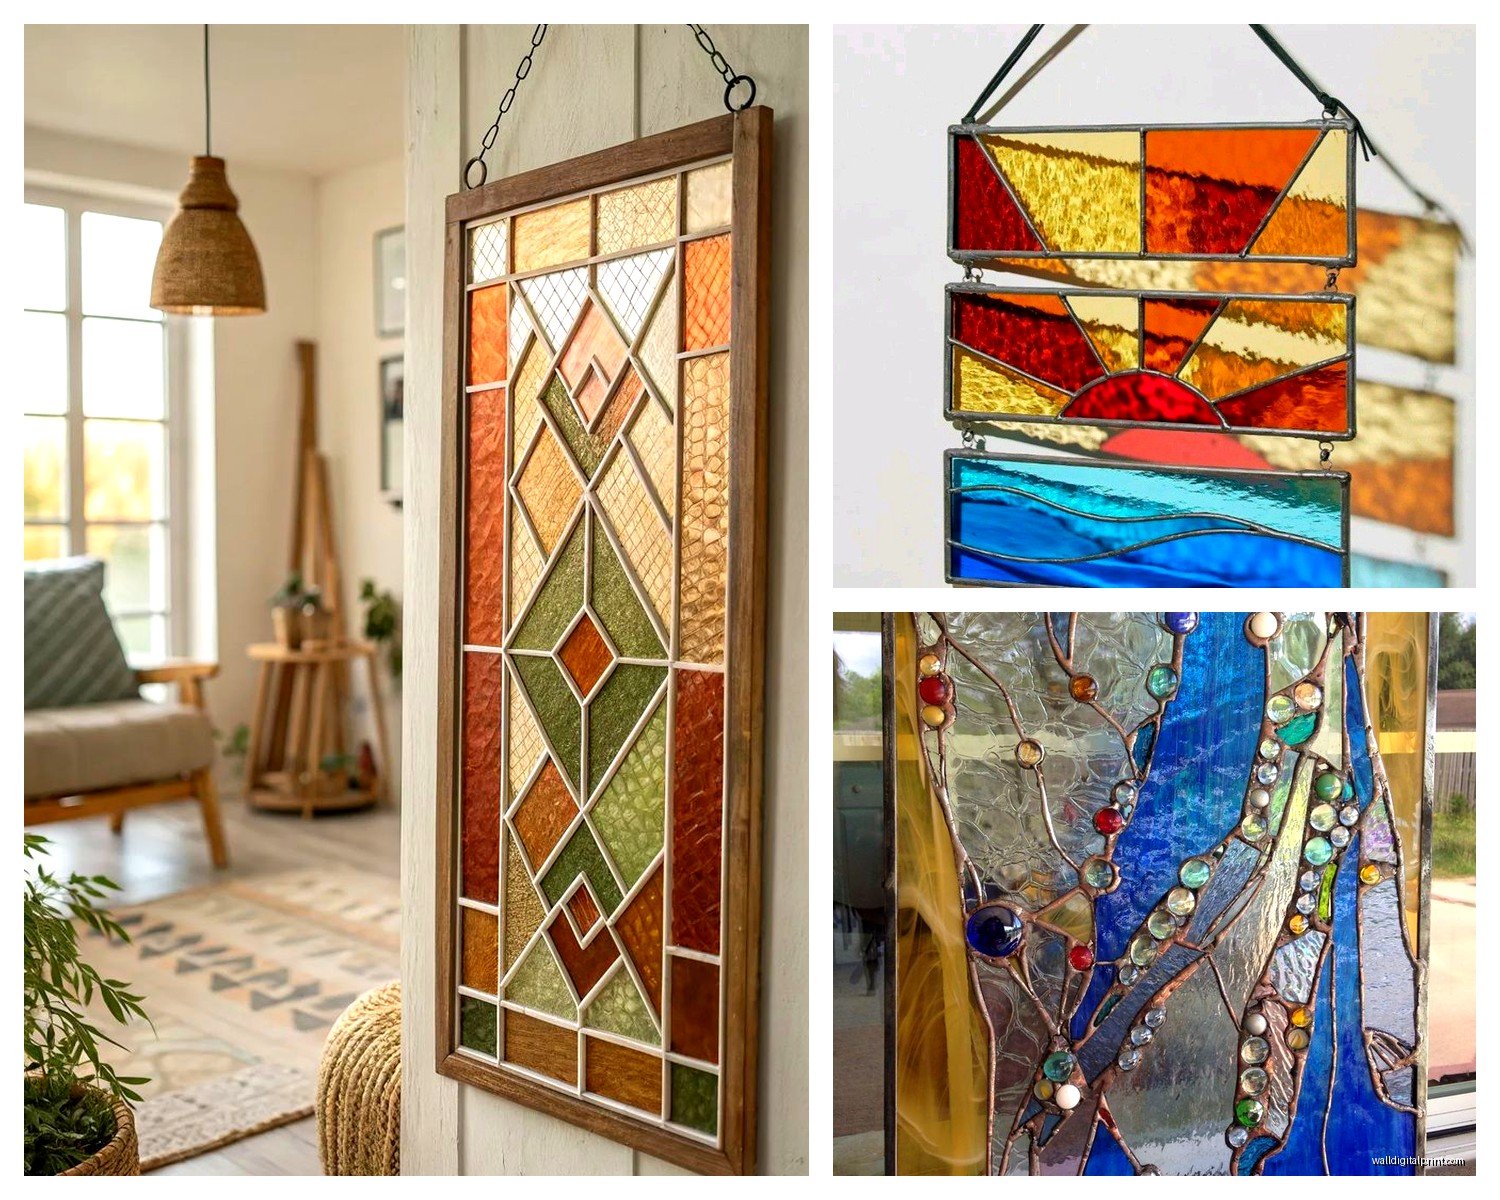
Okay so there’s basically three routes you can go with stained glass wall art. There’s actual antique or vintage pieces (expensive, hard to hang, but stunning), there’s modern stained glass panels made by artists, and then there’s the film/decal route which sounds cheap but can actually look really good if you do it right.
The thing about real stained glass panels is they’re HEAVY. Like I didn’t realize how heavy until I tried mounting one above my desk and the command strip situation was… not gonna work. You need proper anchors, probably into studs, and honestly if you’re renting you might wanna skip this unless you’re cool with patching holes later.
Hanging Real Stained Glass Panels
If you’re going the real deal route, here’s what actually works. Get yourself some chain or wire rated for at least double the weight of your piece. Most panels will have these little loops or came edges you can attach hanging hardware to. I use ceiling hooks screwed into studs or those heavy duty toggle bolts if I can’t hit a stud.
The trick is to hang them where they’ll actually catch light. Like positioning matters SO much more than I thought it would. I hung one initially on a north-facing wall and it just looked like dark colored glass. Moved it near an east-facing window and suddenly every morning it’s throwing these incredible colored shadows across the room.
Oh and another thing, you want some space between the panel and the wall. Maybe 2-3 inches? This lets light come through from the sides and creates this whole depth thing. I use these clear acrylic standoffs that I got from a hardware store, but you can also just use chain to suspend it a few inches out.
The Window Film Method That Actually Looks Good
Okay so this is gonna sound weird but the decorative window films have gotten really sophisticated. My cat knocked over a vintage panel I had propped up (RIP, still not over it) and I needed a quick solution for a staging project. Found this textured privacy film that mimics stained glass patterns and honestly? From like 6 feet away you can’t tell it’s not real.
Here’s how to install it without losing your mind:
- Clean your window or glass surface with rubbing alcohol, not just glass cleaner
- Measure twice because you can’t really reuse these once you cut them
- Get a spray bottle and fill it with water and literally just one drop of dish soap
- Spray the window generously before applying the film
- Use a credit card or squeegee to push out bubbles from the center outward
The soapy water thing is key because it lets you slide the film around to position it before it sticks permanently. I learned this the hard way when my first attempt resulted in a diagonal mess that I had to peel off and start over.
Creating Panels with Faux Leading
Wait I forgot to mention this technique that’s kind of amazing. You can buy this stuff called liquid leading or faux leading that comes in squeeze bottles. It’s basically dimensional paint that dries to look like the metal strips in traditional stained glass.
I did this whole project where I took a basic clear glass panel from a thrift store (like $8) and created my own design. You draw your pattern with the leading, let it dry for 24 hours, then fill in the sections with glass paint. The glass paints are transparent so when you hang it near light it actually glows.
The patience required is… significant though. You gotta let each color section dry completely before doing adjacent sections or they bleed together. I learned this while binge-watching that show about the bakery, got impatient, and ended up with muddy brown where I wanted distinct red and green sections.
Shopping for Vintage and Antique Pieces
Estate sales are where it’s at. Seriously. I’ve found incredible church salvage pieces at estate sales for like a fraction of what antique stores charge. The thing is you gotta be willing to do some restoration work usually.
Look for pieces where the came (that’s the metal framework) is still intact even if it’s dirty or oxidized. That can be cleaned. What you can’t easily fix is cracked or missing glass sections, though I have worked with a glass artist who does repairs and it’s pricey but possible.
When you’re inspecting a piece, hold it up to light if you can. You’re checking for:
- Cracks in the glass pieces
- Loose or separating came joints
- Missing sections
- How much light actually transmits through (some old glass gets cloudy)
I found this gorgeous amber and blue panel at a church salvage place last month and didn’t notice until I got it home that one corner had this crack spreading through three glass pieces. Still beautiful, still hung it, but it affects the value if you care about that.
Modern Artists and Custom Work
Okay so funny story, I started following stained glass artists on Instagram just for inspiration and ended up commissioning a piece. It’s not as expensive as you’d think if you go smaller. Like a 12×12 inch custom panel ran me about $300 which is less than some of the vintage pieces I’ve bought.
The cool thing about working with contemporary artists is you can get exactly the colors and style you want. I did this whole consultation over DM where I sent pictures of my space, the light conditions, and my color palette, and the artist created something that perfectly matched.
If you’re looking for artists, search hashtags like #stainedglassartist or #contemporarystainedglass. Etsy also has a ton of makers but prices vary wildly so you gotta shop around.
Lighting Considerations That Make or Break It
This is so important and I didn’t get it at first. The type of light hitting your stained glass completely changes how it looks. Natural light is obviously ideal, but you can fake it pretty well with the right artificial lighting.
I’ve had the best luck with daylight-spectrum LED strips positioned behind or beside the glass panel. The color temperature matters because warm incandescent light makes blues look muddy and can make reds too orange. The 5000K to 6500K range mimics natural daylight and keeps the colors true.
For pieces that aren’t near windows, I’ve mounted them on walls and put puck lights above them angled down. Creates this whole dramatic uplighting effect at night. My client with the rental apartment? We did this with a large panel and it became the whole focal point of her living room.
The Backlit Frame Solution
Oh and another thing, you can build or buy these shadow box frames with LED lighting built in. Basically it’s a deep frame with lights around the interior edge and a diffuser panel behind where you mount your stained glass. This way it’s illuminated evenly regardless of time of day or weather.
I built one following a YouTube tutorial and it’s honestly not that hard if you’re okay with basic woodworking. Just a simple frame, some LED strip lights, a power adapter, and a piece of white acrylic as the diffuser. Total cost was maybe $60 for a 24×36 inch frame.
The tricky part is wiring the LEDs so they’re hidden and making sure the diffuser creates even lighting without hot spots. I had to experiment with the distance between the LEDs and diffuser panel. Too close and you see individual light points, too far and it doesn’t illuminate bright enough.
Cleaning and Maintenance
Real talk, stained glass gets dusty and grimy faster than regular windows because of all the texture and crevices in the came. I clean mine maybe every two months using just water and a soft cloth. Avoid harsh chemicals because they can damage the patina on antique came or degrade the putty that seals the glass pieces.
For really detailed pieces with lots of texture, I use a soft paintbrush to get dust out of the crevices first, then wipe with a damp cloth. Q-tips work great for getting into tight corners where the glass meets the came.
If you have a piece that’s gotten really dull over time, you can use a product called Clarity which is made specifically for stained glass. It removes oxidation and grime without damaging the materials. I’ve restored some pretty sad-looking vintage pieces with this stuff and it’s amazing what comes clean.
Protecting Your Investment
UV protection is something I didn’t think about until an art conservator friend pointed it out. Direct sunlight will fade some glass colors over time, especially reds and purples made with certain minerals. If you have a really valuable piece, consider using UV-filtering acrylic in front of it or applying UV film to the window it hangs near.
Also temperature extremes can cause issues. Don’t hang stained glass right above a heating vent or in a spot that gets really hot in summer. The different expansion rates of glass and metal can cause stress on the joints.
DIY Projects Worth Trying
If you wanna dip your toes in without committing to expensive pieces, there are some fun DIY options. Suncatchers are basically mini stained glass pieces and you can make them with copper foil technique which is easier than traditional leading.
You need:
- Colored glass pieces (craft stores sell these pre-cut)
- Copper foil tape
- Soldering iron and solder
- Flux and flux brush
- Glass cutter if you wanna cut your own shapes
- Pattern printed on paper
The process is basically wrapping each glass piece edge with copper foil, arranging them according to your pattern, then soldering the foil seams together. It’s very satisfying once you get the hang of it, though my first attempts were… rough. The soldering takes practice to get smooth beads instead of blobby messes.
I made a whole series of small geometric panels this way during lockdown and hung them at different heights in front of a big window. Creates this layered effect that’s really dynamic as the light changes throughout the day.
Installation Tips Nobody Tells You
The biggest mistake I see people make is not considering the weight distribution. Long narrow panels need support at multiple points or they’ll bow over time. I use at least three hanging points for anything over 24 inches tall.
Also think about how you’ll access the piece for cleaning or if you need to take it down. I’ve installed pieces with such permanent mounting that removing them would basically destroy the wall, which is fine if you own the place but not ideal otherwise.
For renters, those 3M picture hanging strips rated for heavy items actually work pretty well for smaller lightweight panels. Just make sure you’re distributing the weight across multiple strips and following the weight ratings carefully. And definitely test it before walking away, maybe give it a few hours to make sure the adhesive has bonded.
My dog once knocked into a panel I’d hung too low and it scared both of us but the mounting held. So yeah, hang things higher than you think you need to if you have pets or kids who might bump into them.
The cathedral window style specifically works best when you’ve got architectural elements to play off of. I love pairing stained glass with exposed brick, dark wood trim, or even just a really simple white wall where the colored light can create shadows and reflections. Just stop when you’ve found what works for your space and the light conditions you’re working with.