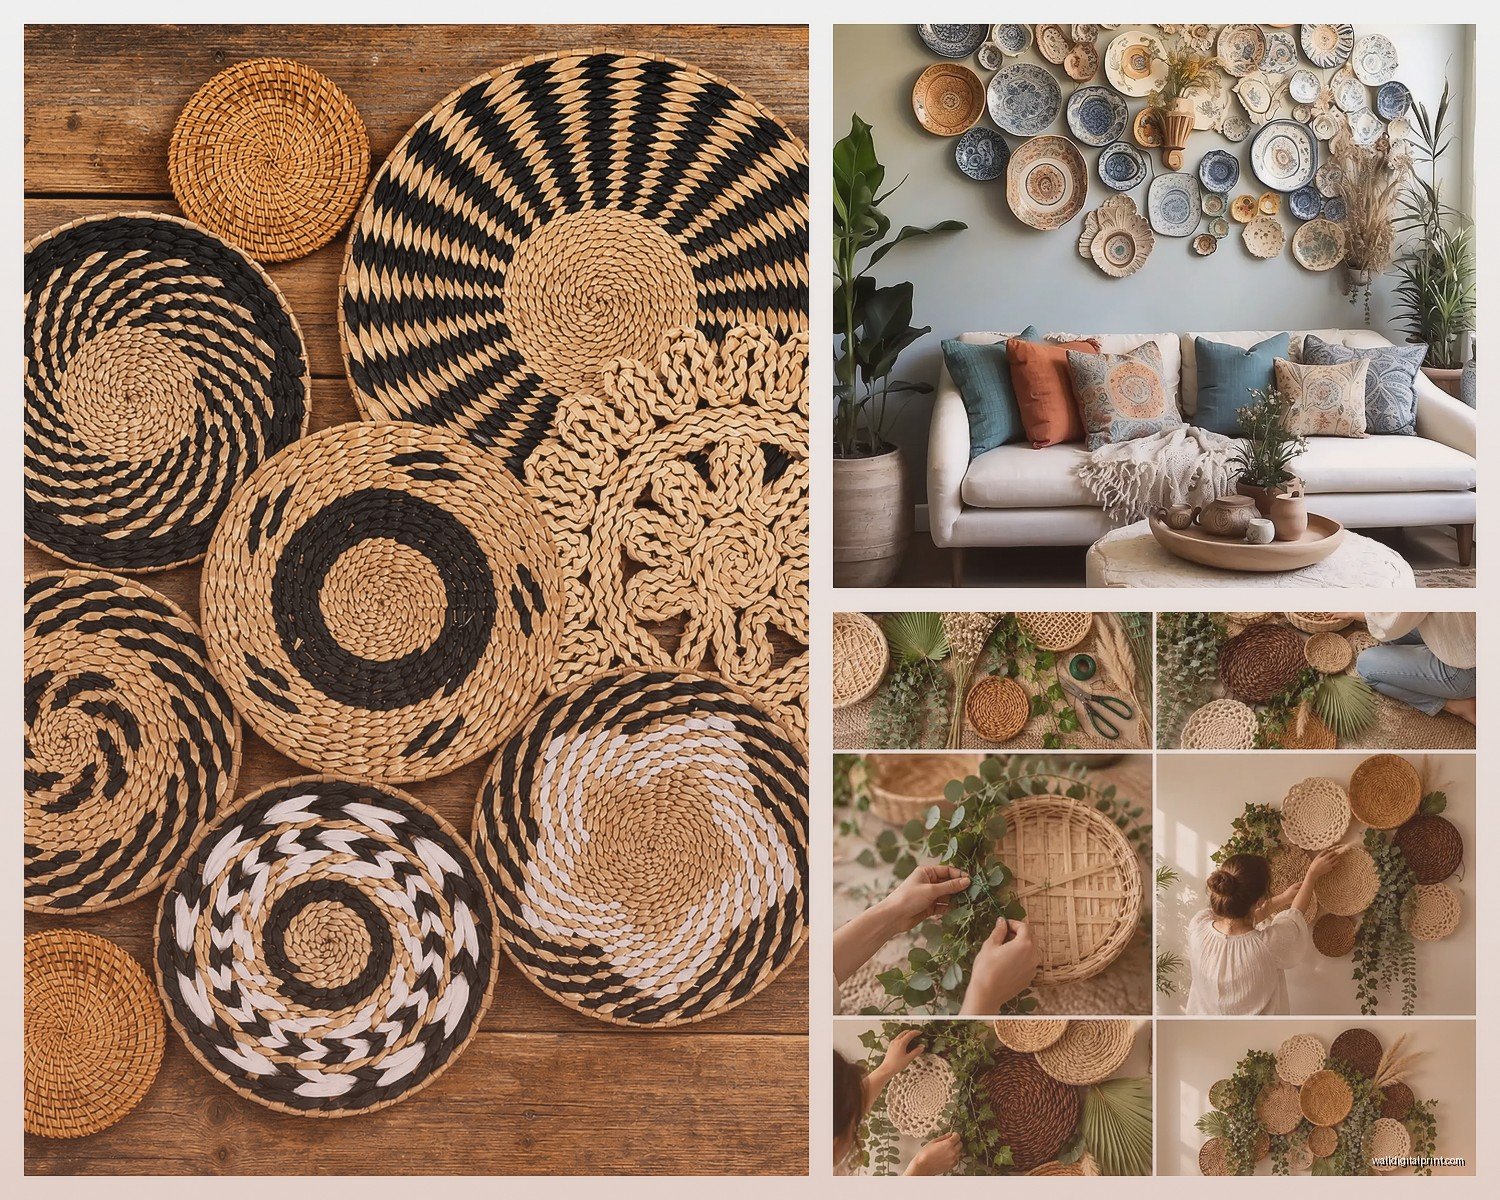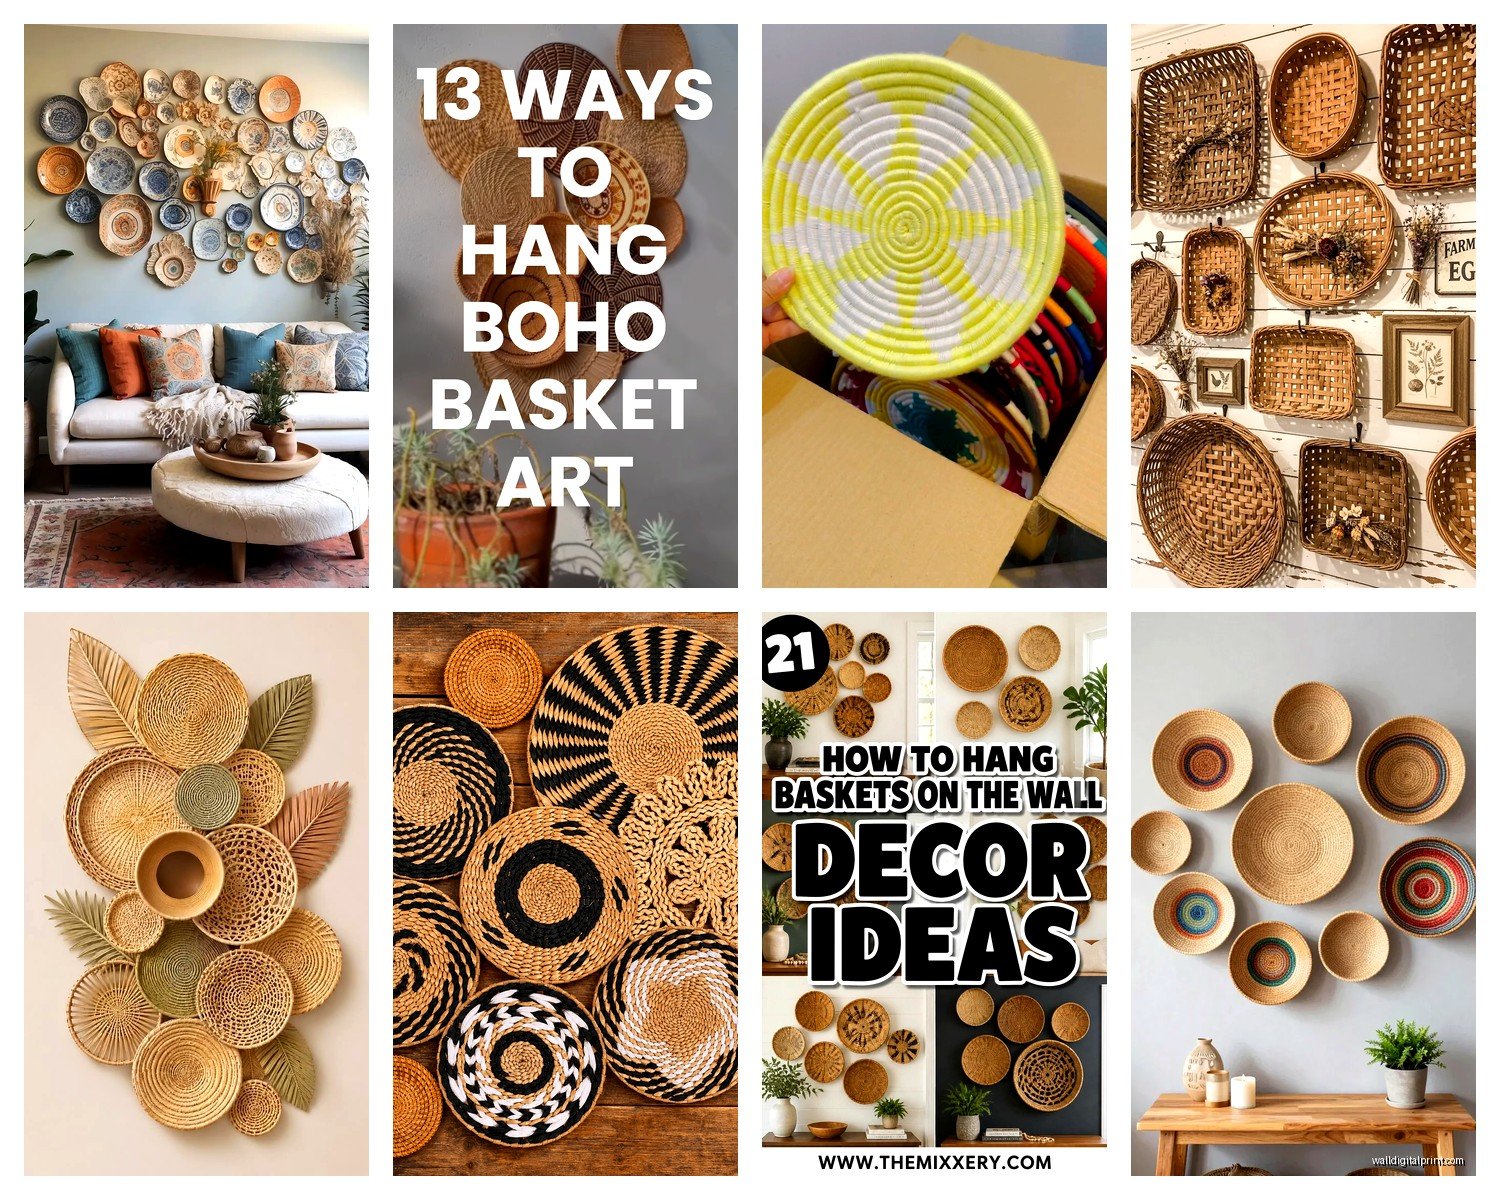
Wall Art Guide, Wall Art Tutoriels
Basket Wall Art: Woven Wall-Mounted Display Collection
Nov
So I’ve been obsessing over basket wall art lately and honestly it started because I walked into this coffee shop in Portland last month and their entire back wall was just…baskets. Like twenty of them in different sizes and I stood there probably looking insane just staring at it while my latte got cold.
The thing with basket wall art is it sounds super simple until you actually try to do it and then you’re standing in your living room with a hammer and three different types of nails wondering why everything looks wonky. Let me walk you through what actually works because I’ve done this in my own place and for like six clients now.
Finding the Right Baskets
Okay so first thing, you need baskets obviously. But not just any baskets because some of them are gonna look flat and sad on your wall. You want ones with texture and depth. The woven ones from places like World Market or Target’s Opalhouse line are actually pretty decent for starting out. I spent like two hours at a thrift store last week and found this amazing set of vintage winnowing baskets for $30 total which would’ve cost me $200+ new.
Here’s what to look for: the basket needs to have some kind of rim or edge that’s sturdy enough to hang from. Those super flat decorative plates that are technically baskets but not really? Skip them unless you’re going for a very specific look. You want depth, like at least an inch or two of actual basket bowl going on.
Size-wise I usually tell people to get a mix. Three to five baskets is a good starting point. Maybe one that’s like 18-20 inches, a couple medium ones around 12-14 inches, and then one or two smaller ones. My cat knocked over my coffee this morning all over my notes but I’m pretty sure those measurements are right.
Where to Actually Buy Them
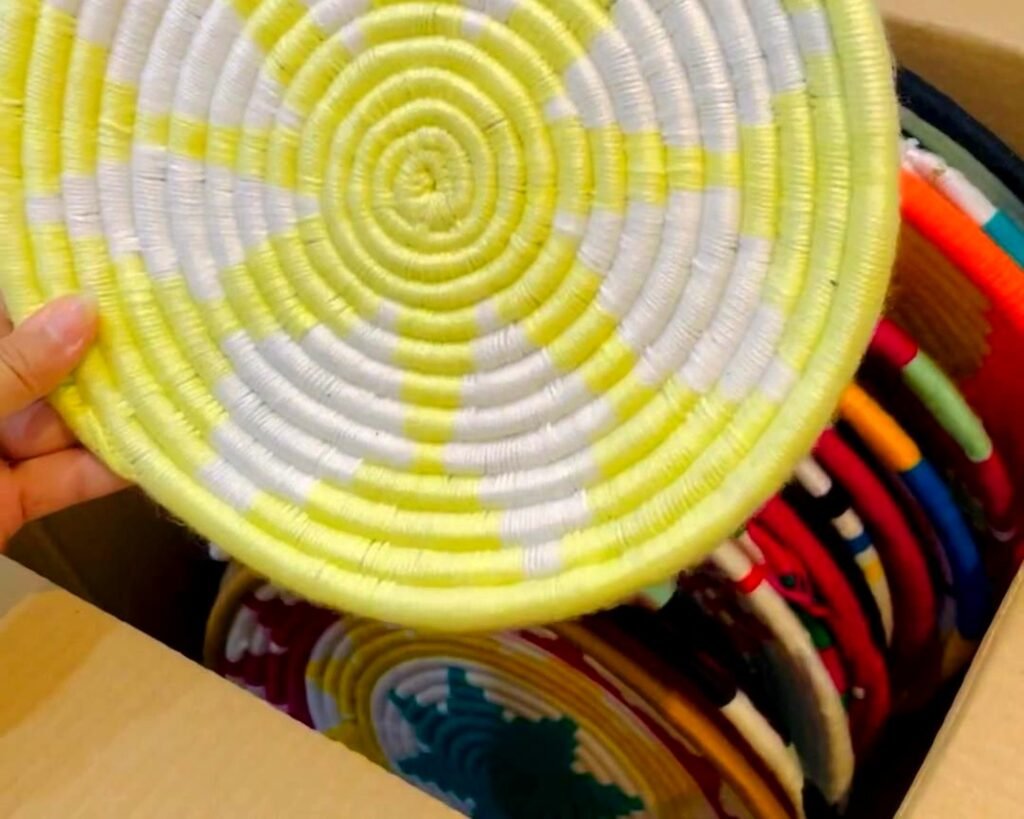
Etsy is gonna give you the most unique options but you’ll pay for it. Search for “African baskets,” “Binga baskets,” or “Tonga baskets” if you want those really gorgeous tightly-woven colorful ones. They run anywhere from $40 to $150 each depending on size.
HomeGoods and TJ Maxx are hit or miss but when they have them, they’re usually $15-$35 per basket. I check every time I go in, which is probably too often but whatever.
Thrift stores are goldmines if you’re patient. Estate sales too. Just make sure they’re not falling apart or smelling weird because that musty smell is really hard to get out of woven materials.
The Hanging Part That Everyone Messes Up
This is where it gets real. You cannot just nail these things up randomly, trust me. I tried that the first time and it looked like a basket explosion.
Most baskets don’t come with hanging hardware so you gotta add it yourself. For lighter baskets under like 2 pounds, those 3M Command strips actually work. The medium ones, not the small ones. But honestly I don’t love relying on adhesive for something I want to last.
What works better: get yourself a pack of heavy-duty picture hanging wire and some small screw eyes. You’re gonna thread the wire through the back of the basket weaving, creating a loop. Some baskets have natural gaps in the weaving that make this super easy, others you might need to gently work the wire through. Don’t force it or you’ll split the material.
For heavier baskets or ones with a flat back, those sawtooth hangers that come in packs at hardware stores work great. You can hot glue them to the back rim of the basket. Make sure the glue is really secure though, let it dry for like 24 hours before hanging.
Wall Anchors Are Your Friend
Unless you’re lucky enough to hit a stud, you need wall anchors. Those plastic ones that come with most hanging kits are honestly garbage for anything over a pound. Get the self-drilling drywall anchors or toggle bolts. Yeah they leave bigger holes but your baskets won’t randomly crash down at 3am which definitely hasn’t happened to me twice.
Creating Your Layout
Oh and another thing, please please please do a mock layout before putting holes in your wall. I use painter’s tape to mark where each basket will go, or you can trace them on kraft paper and tape the paper up. Sounds tedious but it saves so much frustration.
The easiest arrangement is odd numbers. Three or five baskets. Your eye likes that better than even numbers, it’s some psychology thing I read about once while watching that organizing show on Netflix.
For three baskets, you can do:
– Triangle formation with the largest at top center
– Horizontal line at varying heights
– Clustered group with slight overlap
For five baskets I usually do an asymmetrical cluster. Like the biggest one slightly off-center, then build around it with the others at different heights and spacing. Leave some breathing room though, they shouldn’t all be touching unless that’s specifically the vibe you want.
Spacing and Proportion
This is gonna sound weird but I measure the negative space between baskets just as carefully as the baskets themselves. Usually I keep like 4-6 inches minimum between each one. Closer than that and it starts looking cluttered. More than 12 inches apart and they look like they’re not part of the same collection.
Consider your wall size too. A huge blank wall can handle bigger baskets and more spread out arrangement. A smaller wall segment, like above a console table, needs to be more compact. I did a client’s entryway last month with just two large baskets flanking a mirror and it looked way better than the five she originally wanted.
Color Coordination
You don’t need all matching baskets but they should have some visual connection. All natural materials in varying shades of tan and brown works. Or all with black accents. Or all with pops of the same color family.
I mixed natural seagrass with some darker woven pieces in my dining room and added one with teal threading that picks up the color in my rug. It ties everything together without being too matchy-matchy which feels kinda dated honestly.
If you’re going for the colorful African basket route, those are bold enough that you want some cohesion in the color palette. Like maybe they all have red in them, or they’re all warm tones versus cool tones.
Lighting Considerations
Something I forgot to mention earlier, lighting makes a huge difference with basket wall art because of all that texture. If you can get some directional light on them, either from a window or a picture light or even a floor lamp angled up, the shadows from the weaving create this whole extra dimension.
I have a client who installed those battery-operated puck lights above her basket arrangement and it looks amazing at night. Very gallery-like but still cozy.
Mixing With Other Wall Decor
Baskets don’t have to exist alone. I’ve mixed them with framed prints, mirrors, floating shelves, whatever. The key is treating the baskets as sculptural elements. They’re not flat art, they’re dimensional, so they hold their own against other types of decor.
One layout I love is a large basket as the anchor piece with smaller framed art pieces around it. Or baskets on one side of a doorway with a mirror on the other for balance.
Style Variations
Boho obviously loves baskets. Layer them with macrame and plants and you’re golden. But they work in other styles too. In modern spaces, go for all one color, very geometric patterns, clean spacing. Farmhouse style, mix with vintage finds and weathered wood. Coastal, stick to natural fibers and lighter colors.
I styled a super minimal Scandinavian-inspired space with three identical white-washed baskets in a perfect grid and it was chef’s kiss. So don’t think baskets are only for one aesthetic.
Maintenance and Care
Dust them. I know it’s annoying but baskets collect dust like crazy in all those woven crevices. A soft brush attachment on your vacuum works, or those microfiber dusters. Every few weeks just give them a quick once-over.
If they start looking dingy, you can gently wipe them with a barely damp cloth. Don’t soak them or the fibers might warp. Some people spray them with a matte sealant to make dusting easier but I haven’t tried that yet, it’s on my list though.
Keep them out of direct harsh sunlight because natural fibers will fade. A little ambient light is fine but that afternoon sun beam that moves across your wall? Maybe position your baskets to avoid it.
Common Mistakes to Avoid
Hanging them too high. Eye level or slightly above is usually right. If they’re way up near the ceiling they look like you’re storing them, not displaying them.
Making them all the same size. Variety in scale is what makes it interesting.
Forgetting about the rest of the room. Your basket wall should relate to your other decor somehow, whether it’s through color, texture, or style.
Using flimsy hanging methods. Seriously get the good anchors.
Budget Breakdown
You can totally do this on different budgets. Low budget, hit the thrift stores, use command strips, stick to three baskets. You’re looking at maybe $40-60 total.
Mid-range, mix some new baskets from HomeGoods with maybe one statement piece from Etsy, proper hanging hardware, five baskets. Probably $150-250.
Higher end, all handwoven imported baskets, professional installation if you’re nervous about it, seven to nine baskets for a full wall treatment. Could run $500-800.
I usually land somewhere in the middle for my own place. Thrift the basics, splurge on one really special piece.
Installation Day Tips
Have someone help you hold baskets up while you step back and look. What seems right when you’re standing close often looks different from across the room.
Use a level. Even if you’re going for an organic arrangement, you don’t want things accidentally crooked.
Start with your largest or favorite basket first. Get that one positioned perfectly, then build around it.
Take photos as you go so you can see what it looks like from different angles. Your phone camera doesn’t lie.
Have extra hardware on hand because you’ll probably drop a screw into the carpet abyss or strip one trying to get it into the anchor.
Wait I forgot to mention, if you’re renting and worried about holes, there are some decent solutions. The heavy-duty velcro strips work for lighter baskets. Or focus your arrangement where you could later cover holes with furniture if needed.
The whole process from planning to hanging usually takes me like 2-3 hours for a five basket arrangement. Less if I’m not being perfectionist about it. More if my measurements are off and I have to reposition things, which happens more than I’d like to admit.
Anyway that’s basically everything I’ve figured out about basket wall art through trial and error. It’s one of those things that seems straightforward but has all these little details that matter. Once you get it right though, it’s such a vibe and adds so much texture and interest to a space for relatively minimal effort and cost.