Wall Art Guide, Wall Art Tutoriels
Felt Wall Art: Wool Fabric Soft Textile Material
Sep
So I’ve been working with felt wall art for about three years now and honestly it’s one of those materials that seems super simple until you actually start hanging pieces or trying to create something that doesn’t look like a kindergarten project, you know?
The Wool Felt Thing Everyone Gets Wrong
Okay first thing – not all felt is actually wool. I made this mistake when I was staging a nursery in 2022 and ordered what I thought was “premium felt” and it turned out to be that synthetic acrylic stuff that pills immediately and looks cheap under natural light. Real wool felt costs more but it’s got this depth to it, the fibers catch light differently and it ages way better. You want at least 20% wool content minimum, but honestly if you’re doing anything for a client or a main living space, go for 100% wool or a wool blend that’s mostly wool.
The synthetic felt (usually polyester or acrylic) is fine for kids’ rooms or temporary installations where you’re gonna switch it out in six months anyway. It’s cheaper, comes in brighter colors, and you don’t have to worry about moths which… yeah we’ll get to that.
Thickness Actually Matters More Than You’d Think
Felt comes in different thicknesses measured in millimeters. The craft store stuff is usually 1-2mm which is basically paper-thin and will show every wall imperfection behind it. For actual wall art that looks intentional and not DIY-craft-fail, you want 3mm minimum. I usually use 5mm for larger pieces because it has body and creates actual shadows at the edges.
My cat knocked over my coffee while I was cutting 1mm felt once and it just absorbed the entire cup and was ruined, so there’s that practical consideration too.
Cutting and Shaping Without Losing Your Mind
You’re gonna need actual fabric scissors or a rotary cutter. Regular scissors will work for small projects but your hand will cramp and the edges get fuzzy. I use a 45mm rotary cutter with a self-healing mat underneath and it’s honestly changed everything. You can cut smooth curves, straight lines, whatever.
For geometric wall art – which is having a moment right now and actually looks sophisticated if you do it right – I use a metal ruler and just run the rotary cutter along the edge. Takes two seconds and the line is perfectly straight.
If you’re doing organic shapes or those trendy rainbow arch things, make a paper template first. Pin it to the felt with regular sewing pins and cut around it. The pins leave tiny holes but they close up mostly, especially with thicker felt.
The Glue Situation
This is where people mess up constantly. Hot glue looks terrible on felt, it seeps through and creates these shiny spots that catch light and scream “I MADE THIS WITH A GLUE GUN.” Don’t do it.
For attaching felt pieces to each other, use fabric glue like Aleene’s Felt and Foam Tacky Glue or just regular fabric glue. Apply it sparingly – less than you think you need. Press the pieces together and let it dry for like 30 minutes minimum before handling.
For attaching to backing boards (which we’ll get to), I use spray adhesive but you gotta do it outside or in a really well-ventilated space because the fumes are intense. 3M Super 77 is the standard.
Mounting Methods That Won’t Damage Your Walls
Okay so funny story, I once used regular picture hanging strips on a large felt piece and it literally peeled off in the middle of a dinner party at my client’s house. Felt is heavier than it looks, especially wool felt.
The Backing Board Method
For anything larger than like 8×10 inches, mount your felt to a backing first. I use:
- Foam core board for lightweight pieces under 16×20
- Thin plywood or MDF for larger installations
- Stretched canvas frames if you want that gallery look
Cut your felt slightly larger than the backing board – about half an inch extra on all sides. Spray the back of the felt with adhesive, center it on the board, then wrap the excess around the edges and glue it to the back. It looks finished and professional.
Then you can hang the whole thing like a regular piece of art with picture hanging hardware appropriate for the weight.
Direct Wall Application
For smaller pieces or installations where you want the felt directly on the wall, removable adhesive strips work but you need the heavy-duty ones rated for the actual weight. I weigh my pieces on my kitchen scale first to know what I’m dealing with.
Command Picture Hanging Strips in the larger sizes work for pieces up to about 12 inches square. Anything bigger and you’re risking it.
Velcro dots are another option – stick one side to the wall, one to the back of the felt. Makes it removable which clients love because they can change things seasonally.
Design Ideas That Actually Look Good
I’m gonna be honest, not everything you see on Pinterest translates well to real spaces. Those super busy felt ball garlands? They collect dust like crazy and look cluttered in person.
What works:
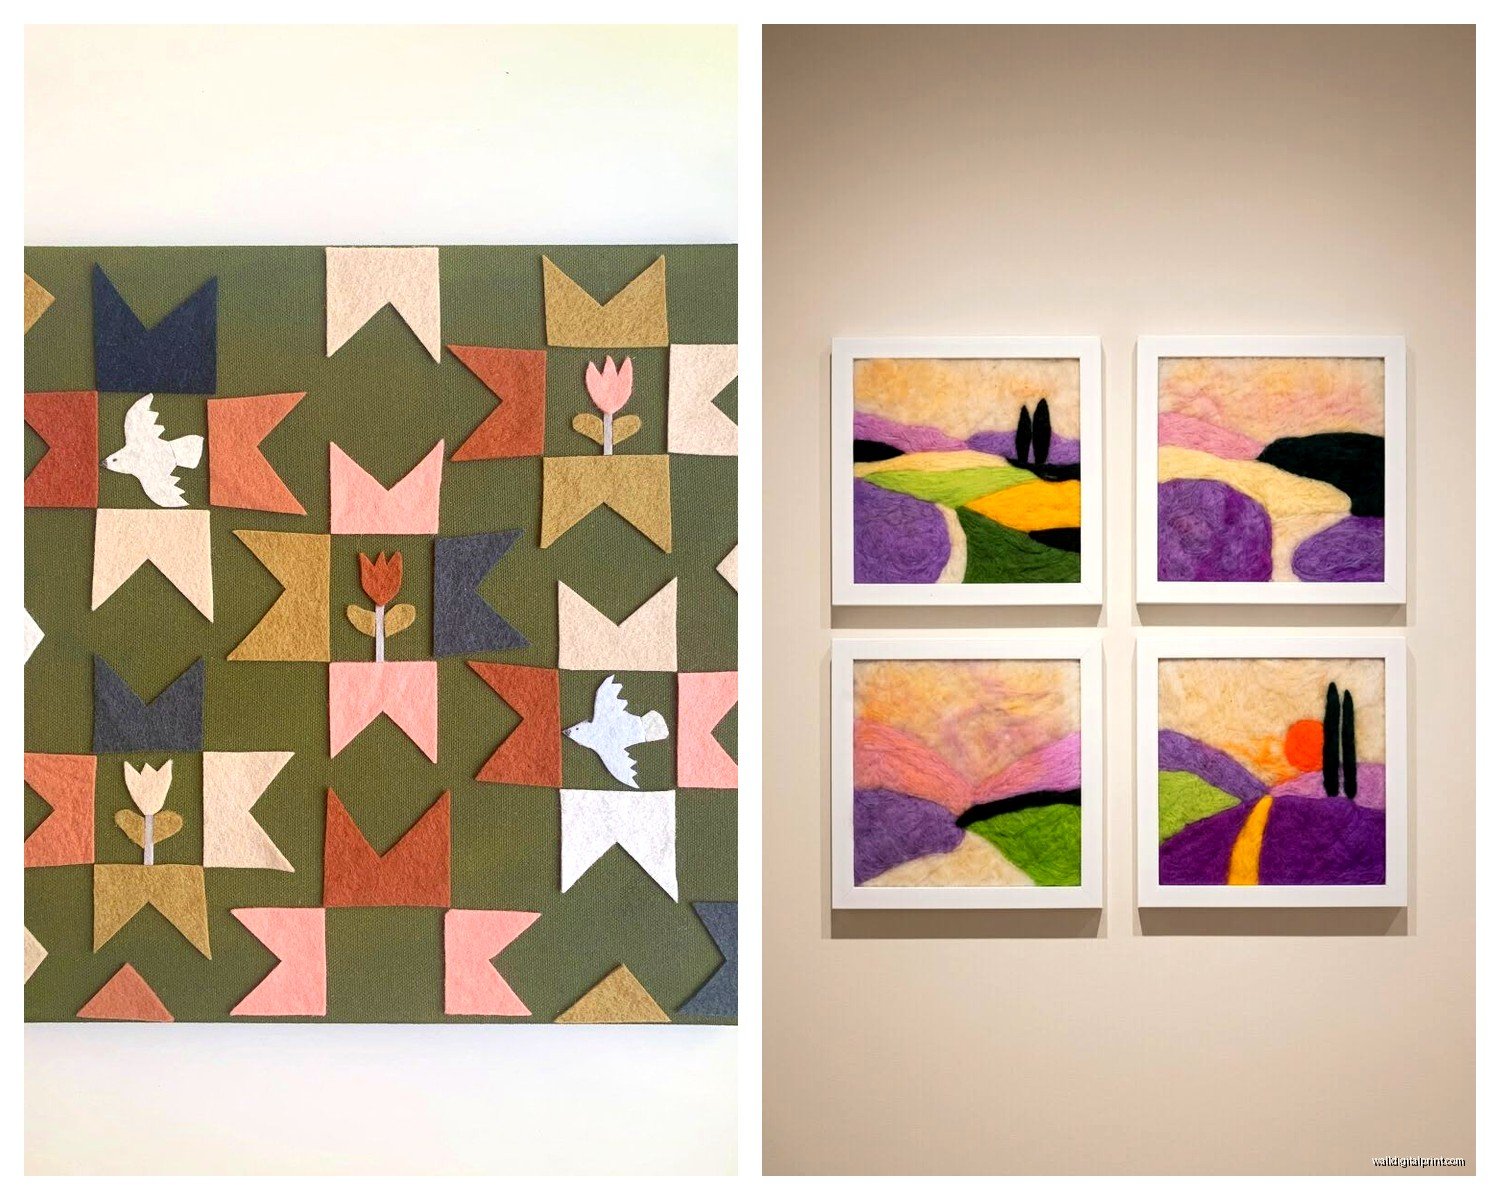
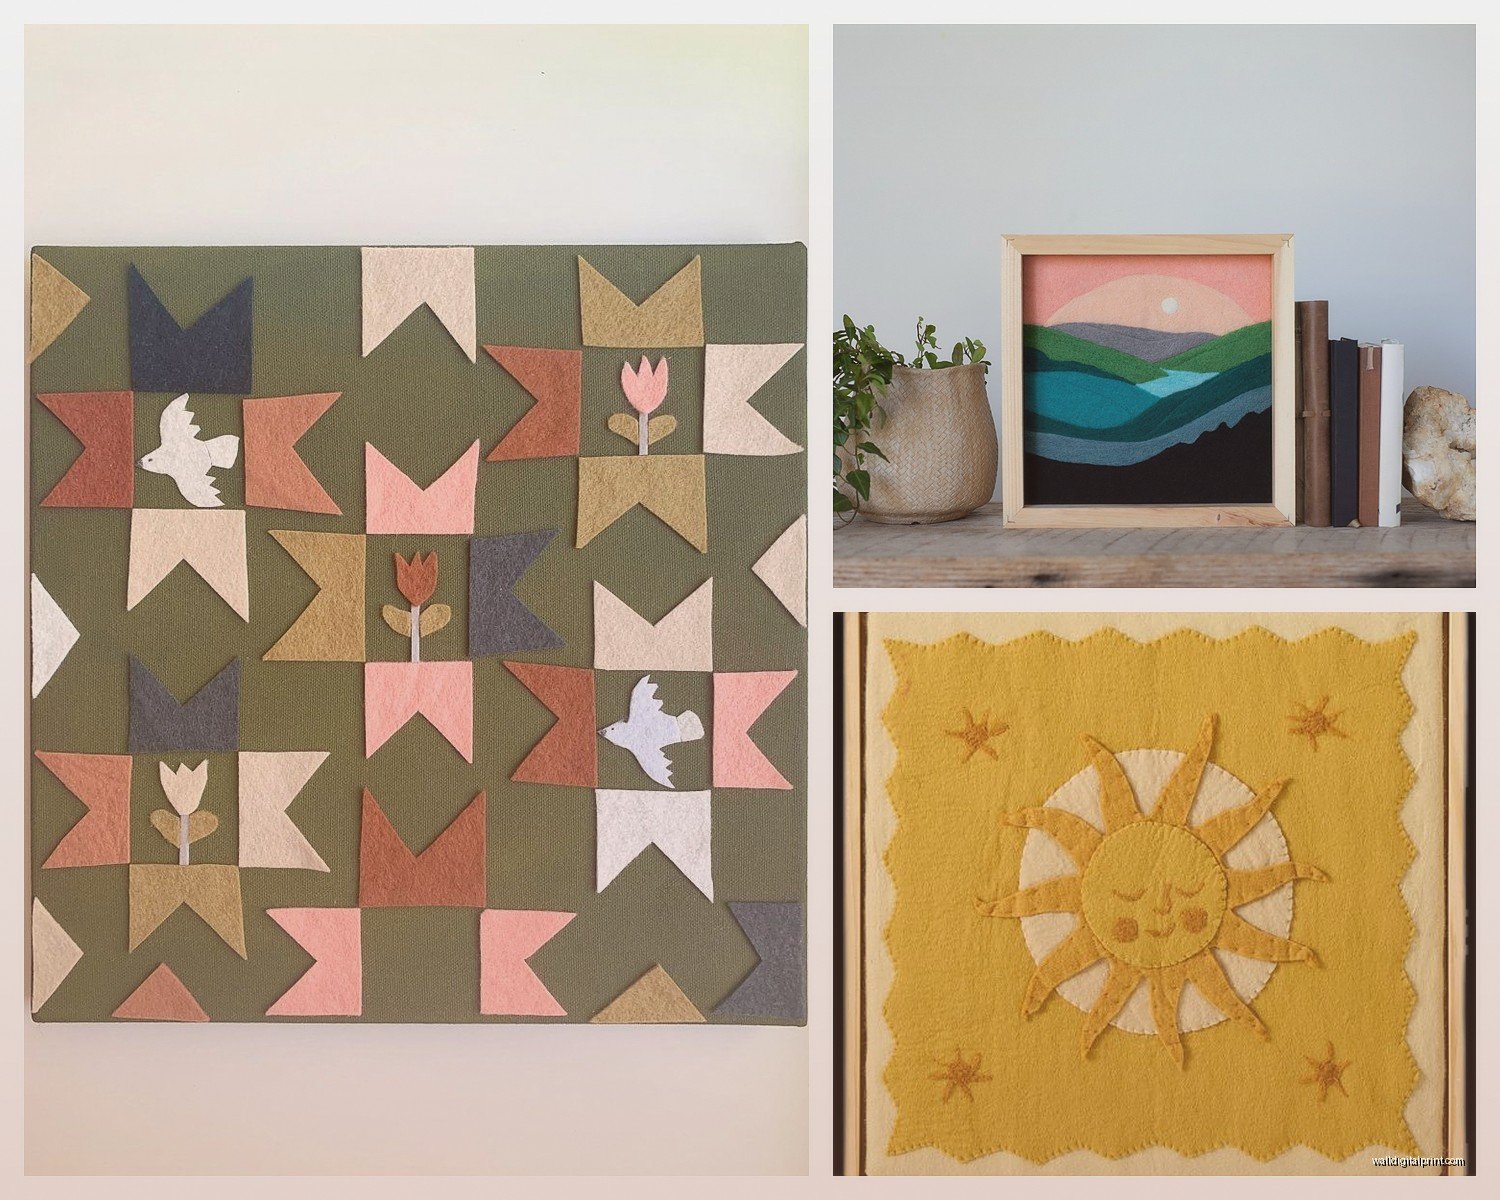
Geometric compositions – overlapping circles, arches, or rectangles in a limited color palette. Three colors max or it starts looking chaotic. I did a piece with rust, terracotta, and cream last month that turned out gorgeous.
Minimalist landscapes – simple horizon lines with layered hills or mountains. Cut organic curves and layer them with a tiny bit of overlap. The dimension from the felt thickness creates natural shadows.
Abstract shapes – honestly just cut interesting organic shapes and arrange them in a balanced way. Sometimes I literally close my eyes and cut curved lines and see what happens.
Typography – cutting letters from felt and mounting them. Works great for kids’ rooms or casual spaces. Use a simple sans-serif font and make sure the letters are thick enough to cut cleanly.
Color Combinations That Don’t Look Juvenile
The bright primary colors scream elementary school. For adult spaces go with:
- Neutrals with one accent – cream, gray, charcoal with mustard or rust
- Monochromatic – all blues or all greens in different shades
- Earth tones – terracotta, olive, tan, brown
- Dusty pastels – not baby pastels but muted versions with gray undertones
I was watching The Bear while planning a felt installation last week and got inspired by the restaurant’s color palette – this really worked for a client’s dining room.
The Maintenance Nobody Talks About
Wool felt attracts moths if you live in a humid climate or have wool carpet. I learned this the hard way. You can spray the back with cedar oil diluted in water as a preventative, or just keep an eye on pieces in storage.
Dust accumulates on the surface, especially if the felt has texture. I use a lint roller for quick touch-ups or a handheld vacuum on low setting held slightly away from the surface. Don’t press it directly against the felt or you’ll create weird flat spots.
If something gets spilled on it… honestly it’s really hard to clean wet stains from felt without creating a worse problem. Blot immediately with a clean cloth but don’t rub. For grease stains, cornstarch sprinkled on and left overnight sometimes helps absorb it.
Buying Guide Because Quality Varies Wildly
Where to Actually Buy Good Felt
Craft stores like Michaels or Joann sell felt but it’s usually the thin synthetic stuff. Fine for testing ideas but not for final pieces.
For wool felt I order from:
A Child’s Dream – they sell wool felt by the yard, good color selection, consistent quality
Magic Cabin – similar to above, slightly pricier but really nice hand-dyed colors
Etsy sellers – there are shops that specialize in wool felt sheets. Read reviews carefully though because quality varies
Weir Crafts – if you want really thick felt for dimensional work
The price difference is real – synthetic felt is like three dollars a yard, wool felt is more like fifteen to thirty depending on thickness and quality. But you can tell the difference immediately when you touch it.
How Much to Buy
This depends on your project obviously but I always buy more than I think I need because dye lots vary and if you run out mid-project you’re screwed. For a standard 24×36 piece with layered elements, I usually get at least two yards of my main color and half yard each of accent colors.
Tools Worth Having
If you’re gonna do more than one project, invest in proper tools:
- Rotary cutter and mat – around forty dollars for both but saves so much time
- Fabric scissors – decent ones, not the ten dollar set
- Metal ruler – cork-backed so it doesn’t slip
- Pins for templates
- Fabric glue that dries clear
- Spray adhesive for mounting
I resisted buying the rotary cutter for like a year thinking it was unnecessary and then once I got it I was annoyed at myself for waiting so long.
Common Problems and Fixes
Edges are fuzzy after cutting – your blade is dull or you’re using regular scissors. Switch to a sharp rotary cutter or fabric scissors.
Pieces won’t lay flat – felt has a grain direction kinda like fabric. If you’re having issues, try rotating your pattern ninety degrees before cutting.
Colors look different than expected – felt looks different in natural vs artificial light. Always check samples in the actual space before committing to large quantities.
The whole thing looks crafty instead of artistic – probably a color issue or the design is too busy. Step back and remove elements until it feels more intentional. Less is usually more with felt.
Framing Felt Art
You can absolutely frame felt pieces under glass like regular art. Mount the felt to backing board first, then frame normally. The glass protects it from dust and damage.
Without glass looks more organic and textile-like but needs more maintenance. I usually do glass for clients who want low-maintenance and no-glass for my own house where I can keep up with cleaning.
Wait I forgot to mention – if you’re doing a piece with multiple layers creating dimension, don’t use glass because it flattens the whole effect and defeats the purpose.
DIY Frames vs Professional
Custom framing is expensive, like easily two hundred dollars or more for a large piece. If you’re doing this for your own house, just buy a ready-made frame from Target or Amazon and cut your felt to fit.
For client work though, I always budget for professional framing because the quality difference is obvious and it’s worth it for the finished look.
The key with felt wall art is committing to either the handmade aesthetic or making it look polished enough that it reads as intentional art rather than craft project. There’s not really a middle ground that works.