Wall Art Guide, Wall Art Tutoriels
Garden Wall Art: Outdoor Yard Flower Nature Decor
Oct
So I’ve been obsessing over garden wall art lately because my back fence was basically just this sad brown thing staring at me every morning with my coffee, and honestly? It’s become like my favorite project to talk about with clients now.
The thing is, outdoor wall art is completely different from indoor stuff and I learned this the hard way when I hung this gorgeous metal piece I found at a flea market and it literally rusted into an orange mess within like three months. You gotta think about weather, which sounds obvious but you’d be surprised how many people just… don’t.
What Actually Survives Outside
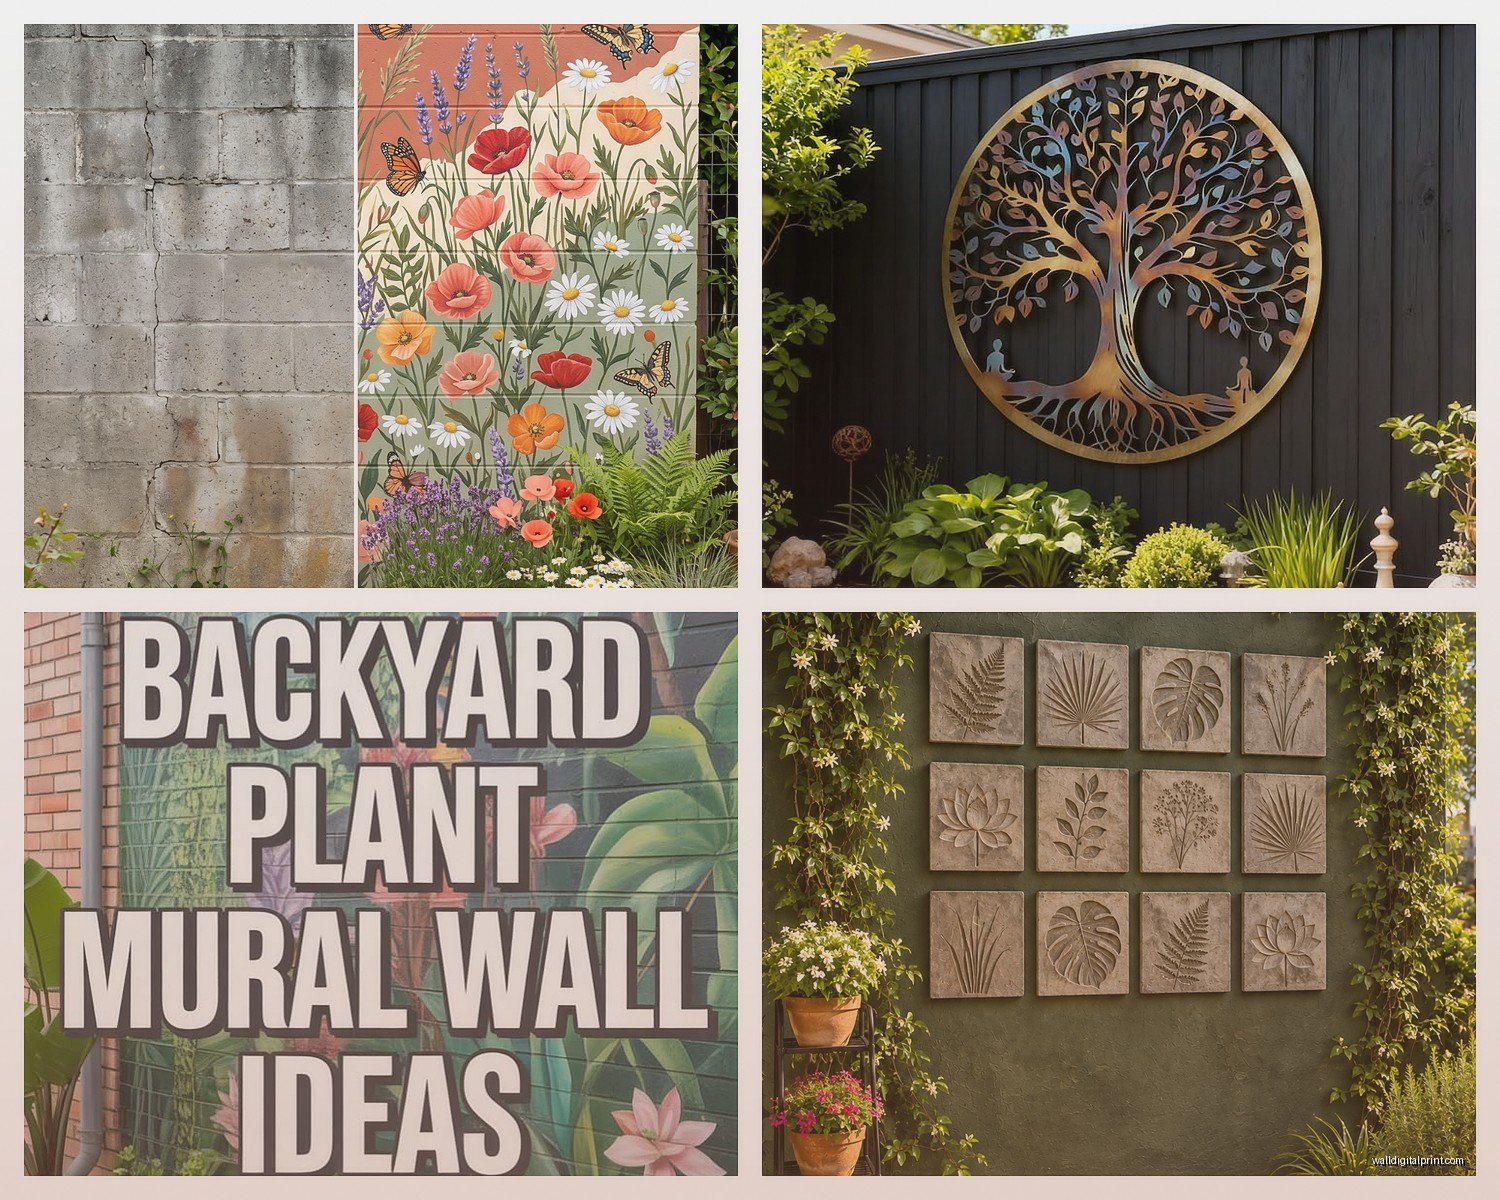
Okay so materials matter SO much. Powder-coated metal is your friend – it’s got this protective layer that keeps rust away. I have this tree of life piece that’s been on my fence for two years now and it still looks new. Regular painted metal? Forget it. Unless you want to repaint it every season which, no thanks.
Ceramic and mosaic tiles are amazing if you’re in a covered area or somewhere that doesn’t get brutal weather. My neighbor has this insane mosaic sun face under her pergola and it’s been there for five years. But her cousin tried the same thing on an open fence in Minnesota and it cracked the first winter so… location matters.
UV-resistant resin is something I didn’t even know existed until last year but it’s actually perfect for like sculptural pieces. Doesn’t fade, doesn’t crack, weighs almost nothing. I hung these resin hummingbirds on my mom’s garden shed and they’re holding up better than the actual shed paint.
The Stuff That Disappoints
Canvas prints marketed as “outdoor” – look, I want to believe but most of them fade. Even the supposedly weatherproof ones. Maybe they work under a deep porch but direct sun? You’re gonna have a ghost of an image within a year.
Untreated wood burns me every time because it looks SO good initially but then it warps and splits and gets all gross. If you’re gonna do wood it needs to be cedar or teak or something treated specifically for marine use basically.
Where to Actually Put This Stuff
So placement is weird because you’re thinking about viewing angles you never consider inside. Like, I put this metal dragonfly on my fence and realized I only ever saw it from one angle walking out my back door, and from that angle it looked… flat and boring. Had to move it to a corner where I could see it from multiple spots.
Fences are the obvious choice but think about mounting height. Eye level when you’re standing in your most-used spot – for me that’s by the grill because apparently I’m always grilling something. My dog keeps staring at the wall art like it’s gonna attack him which is hilarious but also I probably put it too low.
Garden walls and retaining walls are actually easier because you can work with the texture. I attached these metal flowers to my stone retaining wall using masonry anchors and they look like they’re growing out of it. Way better than trying to make them work on a flat fence.
Sheds and garage walls – honestly so underutilized. That’s like free gallery space just sitting there. I covered my tool shed side with a collection of vintage license plates (technically not garden art but whatever) and old garden tool shadowboxes.
Installation Without Losing Your Mind
Okay so this is where I’ve made every mistake possible. First off, if you’re going into wood you need exterior screws, not interior. They’re coated differently. I used regular screws once and they rusted through and my art fell off during a storm and scared the neighbor’s cat.
For masonry you need actual masonry bits and anchors. I tried to be cheap and use regular anchors in brick and the whole thing just… wiggled out. Spent $12 on proper masonry anchors and it’s been solid for two years. Sometimes you just gotta spend the money.
Command strips outdoor version – these actually work for lighter pieces but read the weight limit and then cut it in half because wind is a thing. I hung a metal butterfly that was supposedly within the limit and it ripped off on a windy day. Now I use them only for resin stuff under 2 pounds.
Wire and hooks are great for pieces you wanna move seasonally. I have these shepherd’s hooks screwed into my fence and I swap out different hanging pieces depending on mood. Currently have a stained glass panel up but I’ll probably switch to something more autumn-y soon.
The Annoying But Important Stuff
Level your pieces even if they’re “organic” and “flowy” because trust me, crooked art outside bugs you just as much as inside. Maybe more because you’re seeing it against straight fence lines. I use a laser level now because I got tired of the bubble level situation.
Leave space behind metal pieces for air circulation or they can trap moisture against your fence and rot the wood. I learned this when I took down a piece and there was this gross moldy rectangle behind it. Now I use spacers or mounting brackets that hold things slightly off the surface.
Styles That Actually Work
Metal silhouettes are probably my go-to recommendation because they work with literally any garden style. Birds, butterflies, flowers, geometric patterns – they cast cool shadows during the day which is like bonus art. I have a heron silhouette that creates this amazing shadow pattern on my patio stones in the afternoon.
Mosaic stepping stones mounted vertically are so underrated. You can DIY them or buy them but they add color without being overwhelming. I did a whole series of them along my side fence in blues and greens and people always ask about them.
Vintage windows with plants behind them – okay this is gonna sound weird but if you mount an old window frame on your fence and plant climbing vines behind it, it looks like a portal to another garden. My client did this with morning glories and it’s genuinely magical. The window was $5 at a thrift store.
Mirror pieces designed for outdoor use can make a small garden feel bigger but position them carefully so you’re not blinding yourself or the neighbors. I angled mine to reflect the flower beds and it’s like having twice the garden. Also birds sometimes fly at them which is unfortunate so maybe consider that.
DIY vs Buying Ready-Made
I’m not super crafty but I’ve done some DIY garden art that actually turned out okay. Painted terra cotta pot faces are easy – you just need outdoor paint and sealant. Stack them vertically on a fence and they’re weird and fun.
Stenciled designs directly on fences work if you use exterior paint. I did a giant mandala on my shed wall and it only took like two hours and a $8 stencil. Touch it up once a year and it still looks good.
But honestly? For metal work and anything structural just buy it. I tried to make metal art once with a plasma cutter (long story involving a friend’s workshop) and it was a disaster. The professionals make it look easy but it’s not.
Where to Shop
Etsy has insane options for custom metal work and a lot of sellers will do custom sizes. I got a custom metal quote piece made for my meditation corner and it was like $60 which is less than HomeGoods wanted for generic stuff.
Estate sales and flea markets for vintage pieces – old farm equipment, architectural salvage, vintage signs. That stuff has character that new stuff just doesn’t. Plus it’s already aged so you don’t gotta worry about it looking too shiny and new in your garden.
Home Depot and Lowe’s have surprisingly decent selection now in spring. Their powder-coated metal pieces are solid. I have several and they’ve held up through multiple winters which in Chicago is saying something.
Garden centers often have unique stuff you won’t find at big box stores. More expensive usually but better quality and more artistic pieces.
Maintaining This Stuff
Most metal art needs basically zero maintenance if it’s powder-coated. Maybe spray it down with a hose once a season to get dirt off. That’s it.
Wood pieces need checking annually for rot or damage. Reseal if necessary. I use a clear outdoor sealant and just brush it on – takes maybe 20 minutes.
Mosaic and tile pieces might need grout touch-ups if you’re in a freeze-thaw climate. I keep matching grout color on hand and just fill in any cracks as they appear.
Glass and mirror pieces need cleaning more often because they show every water spot and bird poop. Windex works fine, I do it like once a month during growing season.
Seasonal Swaps
This is extra but I actually really enjoy swapping pieces seasonally. My fence has become like a rotating gallery which sounds pretentious but whatever, it makes me happy.
Spring I put up bird and butterfly pieces, lots of color. Summer is more tropical vibes with palm fronds and bright geometric stuff. Fall I switch to harvest themes and warmer metals. Winter is evergreen and simple designs that look good against snow.
You don’t gotta do this obviously but it keeps things interesting and lets you buy more art without cluttering everything at once. My storage situation is getting ridiculous though not gonna lie.
Lighting Considerations
Oh and another thing – if you have outdoor lighting, think about how it hits your art at night. I added some uplights at the base of my fence and suddenly my metal tree piece looks completely different after dark. It casts these branch shadows that move with wind and it’s accidentally become my favorite thing about my backyard.
Solar lights attached directly to art pieces can work for smaller items. I have solar butterflies that glow at night which is maybe cheesy but I love them.
String lights behind or around wall art creates depth and ambiance. I wove some around a large metal flower piece and now it’s a focal point for evening entertaining.
Scale and Proportion
This trips people up all the time including me initially. Garden art needs to be bigger than you think because it’s competing with plants, sky, and open space. That piece that looks huge in the store will look weirdly small on your fence.
I usually go at least 24 inches in one dimension for any focal piece. Smaller stuff works in groupings but not alone. I made a gallery wall on my fence with like 9 smaller pieces and that works better than one small piece ever could.
Vertical pieces draw the eye up which is great for making fences seem less… fence-y. Horizontal pieces work better for wide open walls where you want to fill space side to side.
Creating Collections
Honestly I think themed collections look better than random assortment. My butterfly wall has like 7 different butterflies in varying sizes and it feels intentional. Mix of realistic and abstract, different metals and finishes, but all butterflies.
Color families help tie things together even if styles are different. My blue fence has art in blues, teals, and silvers only. Sounds limiting but it actually makes everything cohesive without being matchy-matchy.
wait I forgot to mention – three is a magic number for groupings. Three pieces of different sizes arranged in a triangle looks balanced without being boring. Works for flowers, stars, geometric shapes, whatever.
Anyway I gotta go because I’m supposed to meet a client in twenty minutes and I haven’t even looked at my notes but hopefully this helps you figure out your garden wall situation. Start with one good piece that makes you happy when you see it and build from there. You don’t need to do everything at once and honestly the fun is collecting pieces over time that mean something to you rather than just buying a whole set at once.