Wall Art Guide, Wall Art Tutoriels
Wire Wall Art: Metal Line Sculpture Minimalist Designs
Oct
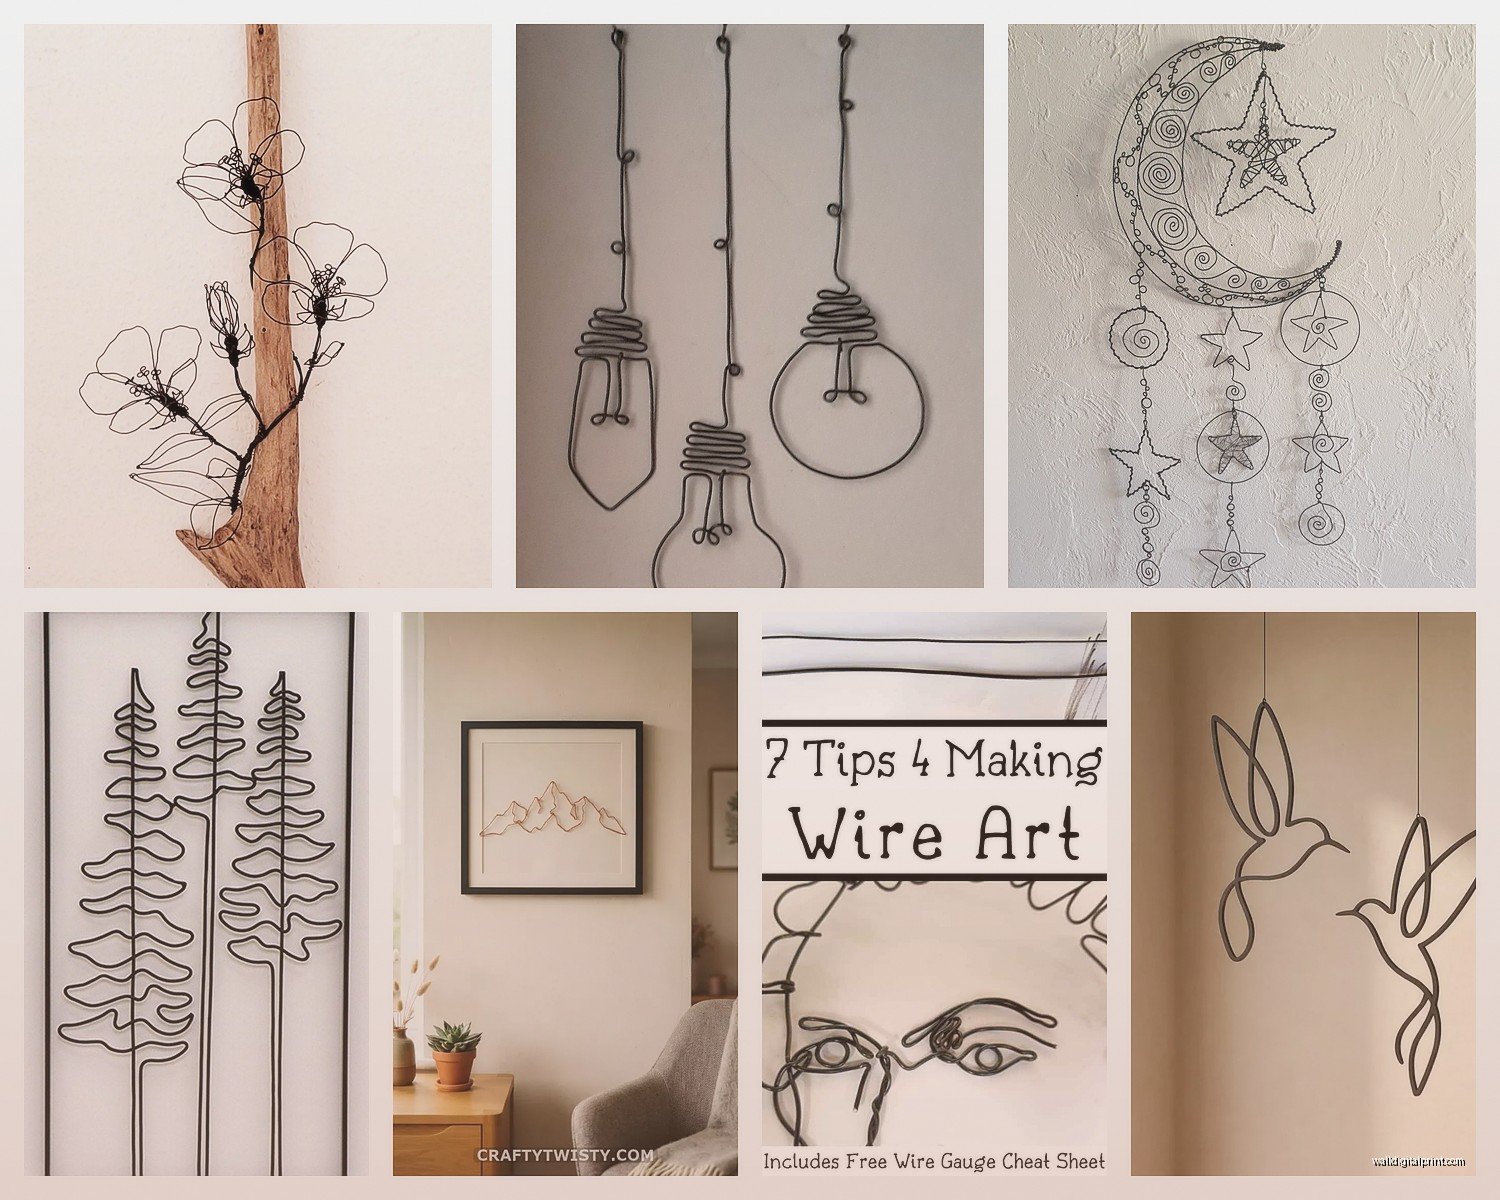
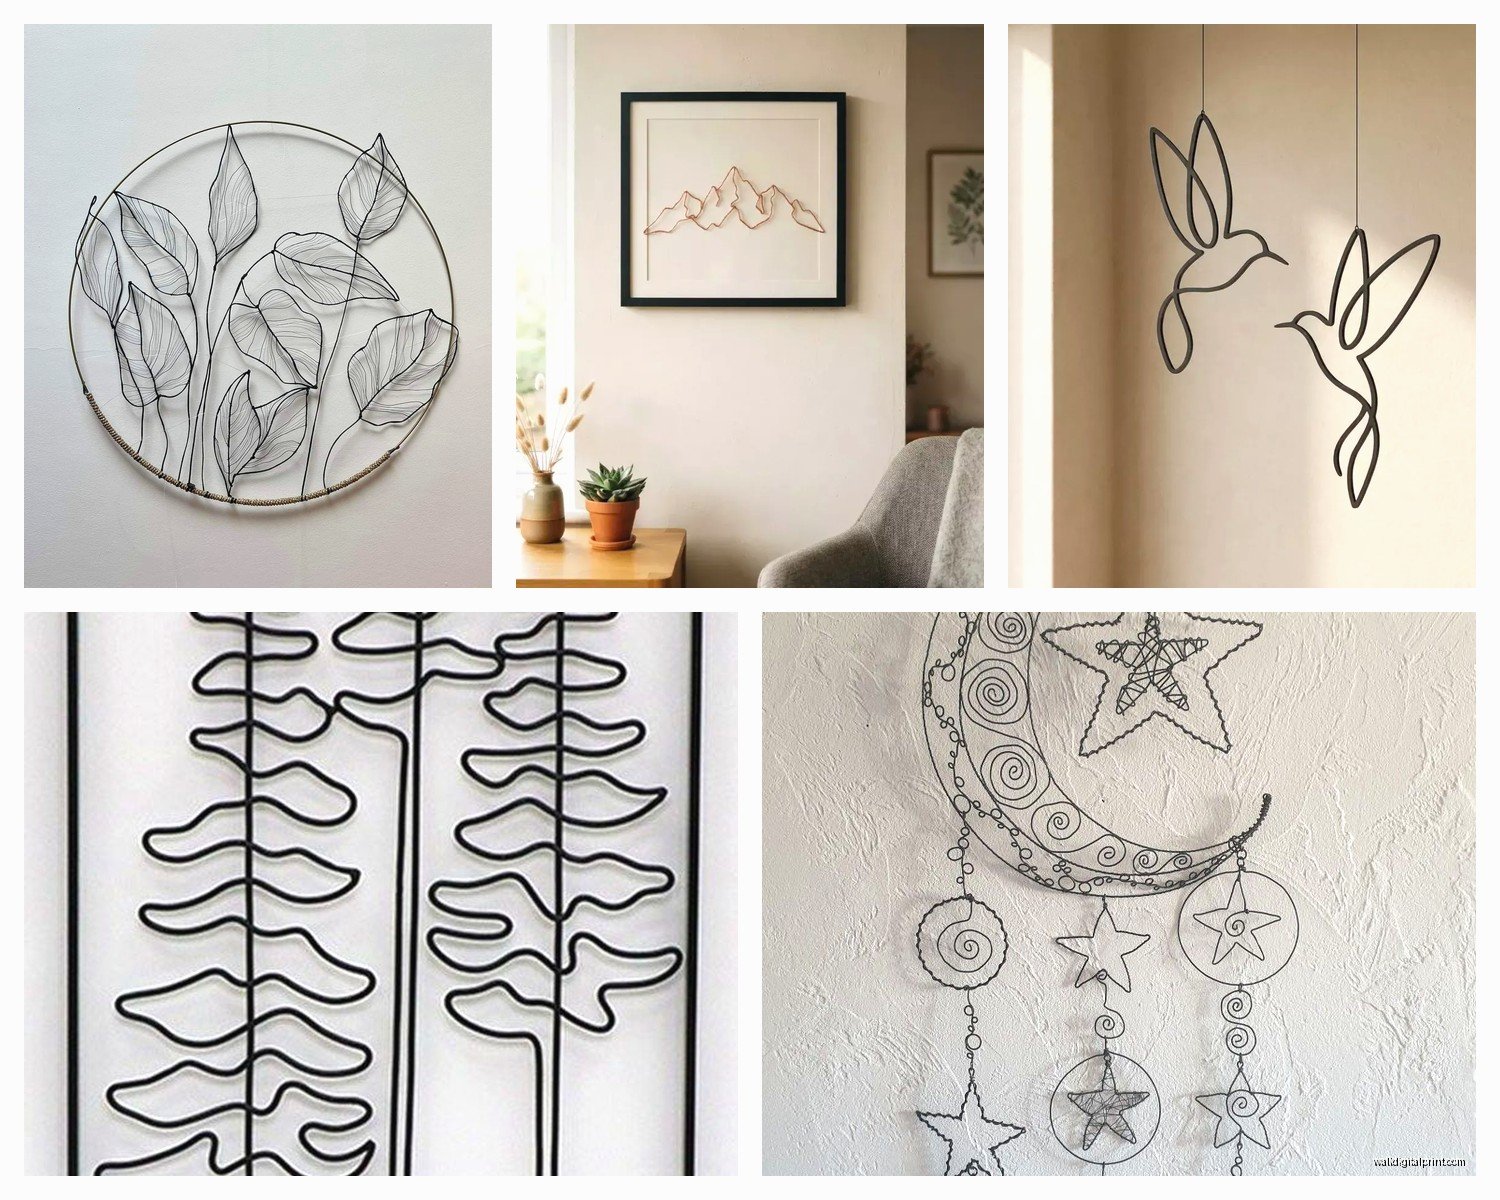
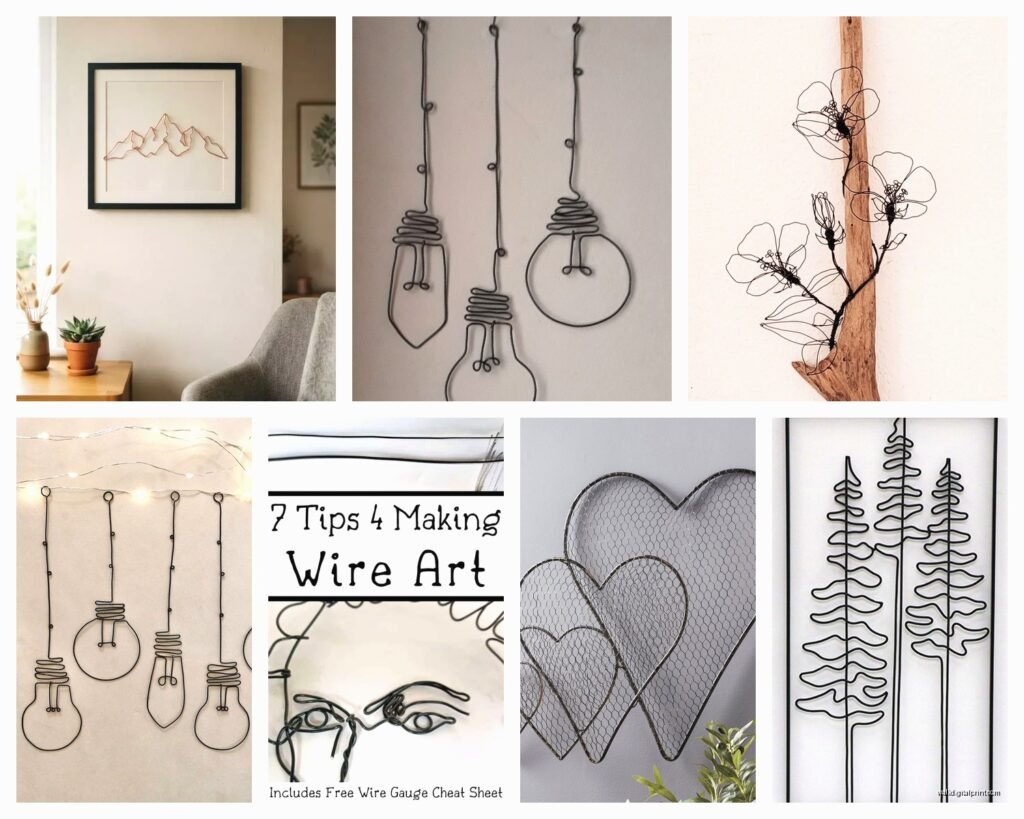
So I’ve been obsessing over wire wall art lately and honestly it started because I hung this metal line portrait in my hallway and every single person who comes over asks about it. Like, my neighbor literally knocked on my door to ask where I got it.
The thing about wire art is it’s SO much trickier than it looks to get right. You’d think “oh it’s just some bent metal on a wall” but there’s actually a whole thing to selecting pieces that don’t look cheap or like you bought them from a gas station gift shop.
Finding Pieces That Actually Look Good
Okay so first thing – thickness matters more than you’d think. The wire gauge needs to be substantial enough that it doesn’t look flimsy but not so thick that it loses that delicate line quality. I’ve found that 3-4mm wire thickness hits that sweet spot for most pieces. Anything thinner and it disappears from certain angles, anything thicker starts looking more like wrought iron furniture than minimalist art.
The black matte finish is usually your safest bet. I tried a copper one once thinking it would add warmth and it just looked… orange? Not in a good way. Gold or brass can work but only if your space already has warm metallics – otherwise it clashes with everything. My sister has this brass wire face sculpture and it’s gorgeous but her whole apartment is filled with gold accents and warm woods so it makes sense.
Where to Actually Buy This Stuff
Etsy is honestly where I find most of my good pieces. Search for “continuous line wire art” or “single line metal sculpture” – you’ll get way better results than just “wire wall art.” There are makers in Turkey and Ukraine who do incredible work for like $40-80. Takes forever to ship but the quality is so much better than mass-produced stuff.
West Elm and CB2 have some options but they’re marked up like crazy. I saw the exact same wire portrait on Etsy for $55 that CB2 was selling for $149. Exact. Same. One.
Oh and another thing – check the hanging mechanism before you buy. Some pieces come with a simple loop on the back which is fine if you’re hanging on a nail, but the nicer ones have a proper hanging wire or D-rings. Makes installation SO much easier.
Size Guidelines That Actually Help
This is where I see people mess up constantly. Wire art needs space around it to breathe – it’s not like a painting where you can go edge to edge in a frame.
For above a console table or credenza, you want the piece to be about 2/3 the width of the furniture. I hung a 24-inch wire cityscape above my 36-inch console and it looks perfect. My friend went too small with like a 12-inch piece above her 48-inch sideboard and it just looks lost.
Single face profiles work great in the 16-24 inch range. Anything smaller feels precious and fussy, anything bigger starts to dominate unless you have really high ceilings.
Full body figures or abstract shapes – these need room. I’d say minimum 30 inches for these to have proper impact. I have a 36-inch abstract figure in my bedroom and it’s the focal point of the whole wall.
Actually Hanging These Things Without Losing Your Mind
So this is gonna sound weird but I use painter’s tape to map out placement before I commit to nails. Cut strips the same length as your piece, tape them on the wall, live with it for a day. I’ve saved myself from so many bad placement decisions this way.
The standard “57 inches to center” rule that works for regular art? Kinda goes out the window with wire pieces because they’re so light and airy. I hang them slightly lower – more like 54-55 inches to center – because otherwise they float too high and lose connection with the furniture below.
For lightweight wire art (under 2 pounds), those 3M command hooks work great and won’t damage your walls. I use them in my rental. The medium-size ones hold up to 3 pounds and I’ve never had one fail. Just make sure you follow the directions exactly – wait the full hour before hanging, press firmly for 30 seconds, all that stuff.
Heavier pieces need actual picture hanging hooks or wall anchors. I use these OOK professional hangers – they have a nail that goes in at an angle and they’re rated for way more weight than you’d think. The 20-pound ones are like $4 for a pack.
Creating Groupings Without It Looking Cluttered
Wait I forgot to mention – if you’re doing multiple pieces together, odd numbers work better. Three pieces or five pieces. Two pieces always looks like you couldn’t decide which one to hang.
I have this gallery wall situation in my office with five different wire pieces – three faces, one abstract, one plant outline. The trick is keeping them all the same color (I went all black) and varying the sizes. Largest piece goes slightly off-center, then build around it.
Spacing between pieces should be 2-3 inches minimum. I learned this the hard way when I hung things too close together and it just looked chaotic. Your eye needs those breaks.
My cat knocked over my coffee while I was measuring this out the first time and I had to start over but honestly the second attempt turned out way better anyway.
Mixing Wire Art With Other Wall Decor
This works better than you’d think but you gotta be intentional. Wire art plays really well with:
- Black and white photography – keeps that minimal vibe going
- Simple canvas prints with lots of negative space
- Mirrors – the wire reflects in interesting ways
- Floating shelves with minimal styling
What doesn’t work: busy patterned prints, ornate frames, anything with a lot of color competition. I tried mixing a wire face with this colorful abstract painting and it was a disaster. The wire just disappeared.
DIY Wire Art If You’re Feeling Crafty
Okay so funny story – I tried making my own wire sculpture after watching like three YouTube videos and thinking I was gonna save money. Bought aluminum wire from the hardware store, needle-nose pliers, watched tutorials… it took me FOUR HOURS to make something that looked like a drunk stick figure.
BUT if you’re actually crafty (unlike me), here’s what you need:
- Aluminum armature wire, 12 or 14 gauge
- Needle-nose pliers and wire cutters
- A printed reference image
- Patience I apparently don’t have
The continuous line technique is the easiest – you’re basically drawing with wire without lifting your “pen.” Start with simple profiles like faces or plants before attempting full figures.
There are also wire art kits on Amazon that come with pre-cut wire and patterns. I bought one for my niece and she actually made something decent with it. The kit takes away the measuring and cutting part which is where I struggled most.
Styling Around Wire Art
The whole point of minimalist wire sculptures is that negative space, so don’t crowd them. I see people hang these beautiful delicate pieces and then surround them with seventeen other things and it defeats the purpose.
Give your wire art a whole wall if possible, or pair it with maybe one other element max. I have a wire woman’s profile above my dresser with a single small succulent below it – that’s it. Clean, simple, lets the art be the statement.
Wall color matters too. Wire art shows up best against light neutrals – white, cream, light gray. I hung a black wire piece on my navy accent wall thinking it would pop and you literally cannot see it from certain angles. Had to move it to a white wall.
Lighting Considerations You Probably Aren’t Thinking About
This is something I didn’t realize until I hung a wire piece in my poorly lit hallway – these sculptures need decent light to cast their shadows and show dimension. In dim lighting, they just look flat and kinda sad.
If you’re putting wire art in a darker space, add a picture light or a nearby sconce. The shadows the wire casts become part of the art itself. I installed a small LED picture light above my wire cityscape and the shadow effect on the wall behind it is honestly cooler than the sculpture itself.
Natural light works great too but watch out for direct sun if you have any painted wire pieces – I had a white wire sculpture that yellowed after six months in a south-facing window.
Maintaining Wire Art (It’s Easy But Not Obvious)
Dust is your enemy. Those thin wires catch dust like crazy and it’s super noticeable on black metal. I use a microfiber duster every couple weeks – just a quick pass is all it needs.
For deeper cleaning, barely damp cloth with a tiny bit of mild soap. Don’t soak it or use harsh cleaners. I made that mistake with a brass piece and it tarnished immediately.
If your wire art is in a bathroom or kitchen where it might get splattered, probably wipe it down monthly. Steam and grease build-up will dull the finish over time.
Troubleshooting Common Issues
Piece looks crooked even though it’s level: This happens when the wire design itself isn’t perfectly symmetrical. Use your eye instead of the level – sometimes slightly “off” by the level actually looks more balanced visually.
Wire is bent or misshapen: You can usually gently reshape it with your hands. The thinner wire is pretty forgivable. I’ve fixed several pieces that got bent in shipping.
Hanging wire keeps slipping: Add a tiny drop of hot glue where the hanging wire wraps around itself. Keeps it from sliding around on the hook.
Can’t decide between two pieces: Buy both and return one. I know that sounds wasteful but seeing them in your actual space is the only way to know for sure. I was CONVINCED I wanted a geometric wire design until I got it home and realized it was too busy for my bedroom.
Price Points and What to Expect
Under $30: Mass-produced, usually lightweight, fine for temporary styling or if you’re just testing out the look. Don’t expect it to last forever.
$30-80: Sweet spot. Handmade on Etsy or mid-range from home stores. Good quality, nice weight, will last years.
$80-200: High-end handmade or designer pieces. Better finishing, more intricate designs, often signed by the artist. Worth it if you’re really into the piece.
Over $200: You’re paying for name recognition or really large/complex sculptures. I’ve spent this much exactly once on a 48-inch abstract figure and while it’s gorgeous, I’m not sure it’s that much better than my $60 pieces.
The thing about wire art is that the labor is where the cost comes in – someone is literally bending every curve by hand. So supporting independent makers makes sense to me here, even though it costs a bit more than buying from like Target.
I literally just remembered I have that wire moon phase piece I ordered three weeks ago that still hasn’t shipped – might need to follow up on that.
Anyway, the main thing with wire wall art is don’t overthink it. Start with one piece in a spot that needs something but where a regular painting feels too heavy. See how you like living with it. These sculptures have this way of making a space feel more curated without trying too hard, which is basically what we’re all going for anyway right