
Wall Art Guide, Wall Art Tutoriels
Large 3 Piece Wall Art: Oversized Triptych Sets
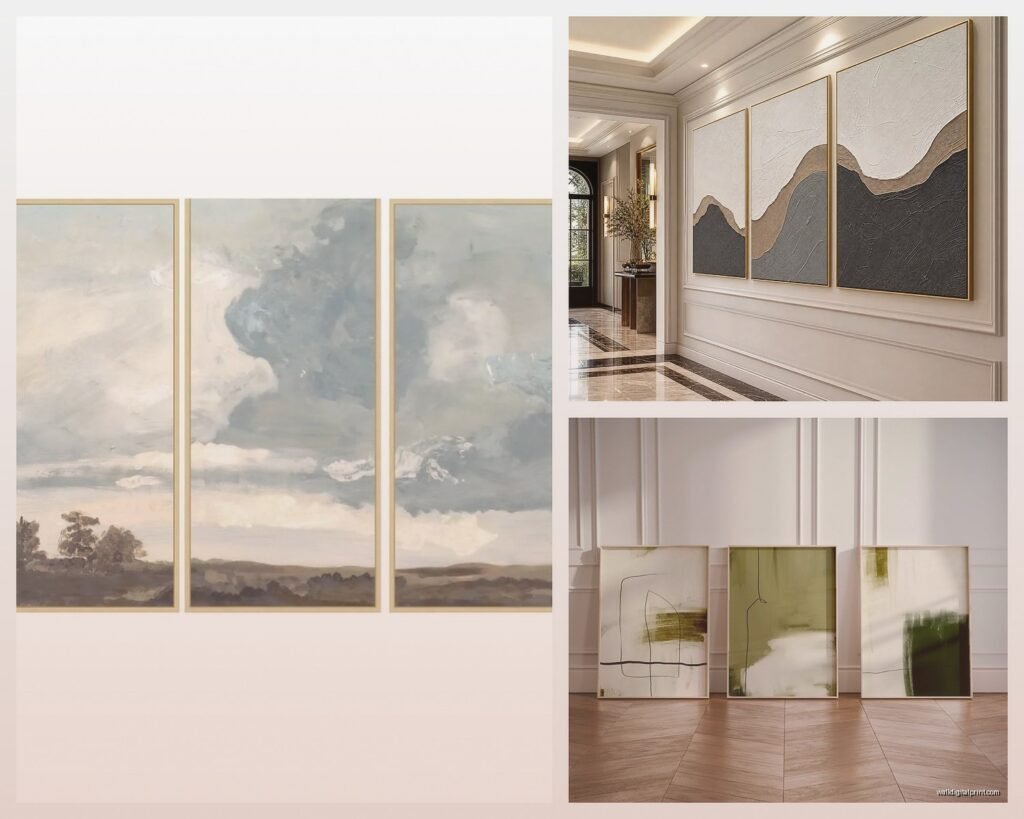
Aug
So I’ve been working with these oversized triptych sets for like three years now and honestly, the first one I ever hung was a disaster. I measured wrong, used the wrong anchors, and the middle panel ended up two inches lower than the side pieces. My cat just sat there judging me the entire time.
Okay First Thing – Sizing Actually Matters Way More Than You Think
When people say “large” they mean wildly different things. I’ve seen people call a 40-inch total spread large, but for real impact you’re looking at pieces that span at least 60 inches combined. Each panel in a proper oversized set is usually around 24×36 inches or bigger. The biggest mistake I see is people buying sets that are too small for their wall and it just looks… sad and floaty.
Here’s my weird rule that actually works: your triptych should take up about two-thirds to three-quarters of your wall width. So if you’ve got an 8-foot sofa, you want something that’s roughly 60-70 inches wide total. I learned this the hard way after installing a 48-inch set above a king bed and it looked like a postage stamp.
The Spacing Between Panels Thing Nobody Tells You
This is gonna sound weirdly specific but the spacing between your three panels should be between 2-4 inches. Not more, not less. I’ve tested this SO many times and anything under 2 inches makes it look like one piece that got cut wrong, and anything over 4 inches makes them look like separate pieces that just happen to be near each other.
Most sets don’t come with a spacing guide which is insane to me. I literally use a stack of index cards – each card is about 3 inches so I tape two together and use that as my spacer when I’m marking the wall. Low tech but it works every single time.
Materials You’ll Actually Need
- Stud finder that actually works (not the $8 one, trust me)
- Level – get the 24-inch minimum, those tiny ones are useless
- Measuring tape
- Pencil for marking
- Drywall anchors rated for at least 50lbs each if you’re not hitting studs
- Painter’s tape for mock layout
- Another person because doing this solo is technically possible but you will hate your life
Canvas vs Metal vs Wood Panels
So canvas triptychs are the most common and honestly the easiest to work with because they’re lighter. I’ve hung probably 50+ canvas sets and they’re super forgiving. The wrapped canvas edges mean you don’t need frames which keeps costs down and they’re usually ready to hang right out of the box.
Metal prints are having a moment right now and they look INCREDIBLE – like the colors are more vibrant and they have this modern sleek thing going on. But they’re heavy as hell. I installed a metal triptych in a client’s office last month and each panel was like 15 pounds. You absolutely need to hit studs or use serious anchors. The good news is they don’t fade and they’re basically indestructible.
Wood panel sets are my personal favorite aesthetically but they can warp over time if you live somewhere humid. I have one in my own bedroom and after two years one panel has a slight bow to it. Still looks fine from normal viewing distance but it bugs me when I notice it.
The Actual Hanging Process That Works
Okay so funny story, I used to try to measure everything mathematically and mark each hanging point individually and it was a nightmare. Here’s what actually works:
Start by finding your center point on the wall. For above a sofa or bed, this is usually about 8-10 inches above the furniture. Mark a small pencil dot at your center point.
Now measure the total width of all three panels PLUS the spacing. So if each panel is 24 inches wide and you want 3-inch gaps, that’s 24+3+24+3+24 = 78 inches total. Take that number, divide by 2, and measure that distance to the left and right of your center point. These are your outer edges.
Use painter’s tape to map out where each panel will go on the wall. Like actually make a tape outline of all three pieces. This lets you step back and see if the composition works before you start putting holes in the wall. I cannot stress enough how helpful this is – I’ve avoided so many mistakes this way.
The Height Thing
The center of your middle panel should be at eye level, which is typically 57-60 inches from the floor. But this is where it gets tricky because “eye level” depends on where you’re viewing from. If it’s above a sofa where people will be sitting, you can go a bit lower. If it’s in a hallway where people are standing, stick to the 57-60 inch rule.
Oh and another thing – don’t forget to account for the hanging hardware on the back of the panels. If your panel has a wire hanger, the actual top of the frame will sit higher than your hook. Measure from the top of the frame to where the wire pulls taut when lifted. Subtract this from your desired height. I forget to do this approximately 30% of the time and then have to redo everything.
Stud vs Anchor Drama
Finding studs is ideal but here’s the reality – studs are 16 inches apart and your panels probably don’t line up perfectly with that spacing. For my last install, only one panel could hit a stud. For the other two I used toggle bolt anchors rated for 50 pounds each and they’ve been solid for six months.
If you’re hanging canvas which is lighter, those self-drilling drywall anchors work fine. But for anything heavy – metal prints, wood panels, or canvas with thick frames – use toggle bolts or molly bolts. The little plastic anchors that come in the package with your wall art are basically decorative, they’re not gonna hold up long term.
Alternative Hanging Methods I’ve Tried
Picture hanging strips (like Command strips) can work for lightweight canvas triptychs but you need like 4-6 strips per panel and the weight limits are real. I tried this in a rental once and two months later came home to find one panel on the floor. The cat was not amused. They’re good for temporary situations or if you’re absolutely forbidden from making holes.
Track systems are actually amazing if you rearrange art frequently or if you’re renting. You install one horizontal track at the top of the wall and hang cables down with adjustable hooks. It looks gallery-esque and you can easily adjust heights and spacing. The upfront cost is higher but it’s worth it if you change things up a lot.
Common Screw-Ups I See All The Time
Hanging all three panels at different heights because you measured each one individually instead of using a level across all three. Use a long level that spans at least two panels to make sure they’re aligned.
Not accounting for the visual weight of the image itself. Like if your triptych has a horizon line or strong horizontal element, that needs to be level even if the frames aren’t perfectly aligned. Sometimes you gotta adjust based on what looks right, not what measures right.
Buying three separate pieces and trying to make them into a triptych. This rarely works unless they’re specifically designed as a set. The colors won’t match exactly, the composition will be off, and you’ll spend more money than just buying an actual triptych set.
Where to Actually Buy These Things
I’ve ordered from probably a dozen different places and here’s what I’ve learned: Wayfair has a huge selection and decent prices but quality is hit or miss. Read the reviews specifically about packaging because damaged-in-shipping is common with large pieces.
Amazon is surprisingly good for this stuff now. The return policy makes it low-risk and I’ve found some really nice sets from brands I’d never heard of. Just filter by “Prime” so you’re not waiting six weeks for shipping.
Etsy is where I go for unique stuff or custom sizing. There are artists who’ll print your chosen image as a triptych in whatever dimensions you need. It costs more but the quality is usually better and you get something nobody else has.
Budget Breakdown
You can find decent canvas triptychs for $80-150. Mid-range stuff with better materials and printing runs $200-400. High-end gallery quality or custom pieces start around $500 and go up from there. I’ve installed $2000 metal triptychs and yeah, you can tell the difference, but you can also find great looking options in the $150-250 range that most people won’t know aren’t expensive.
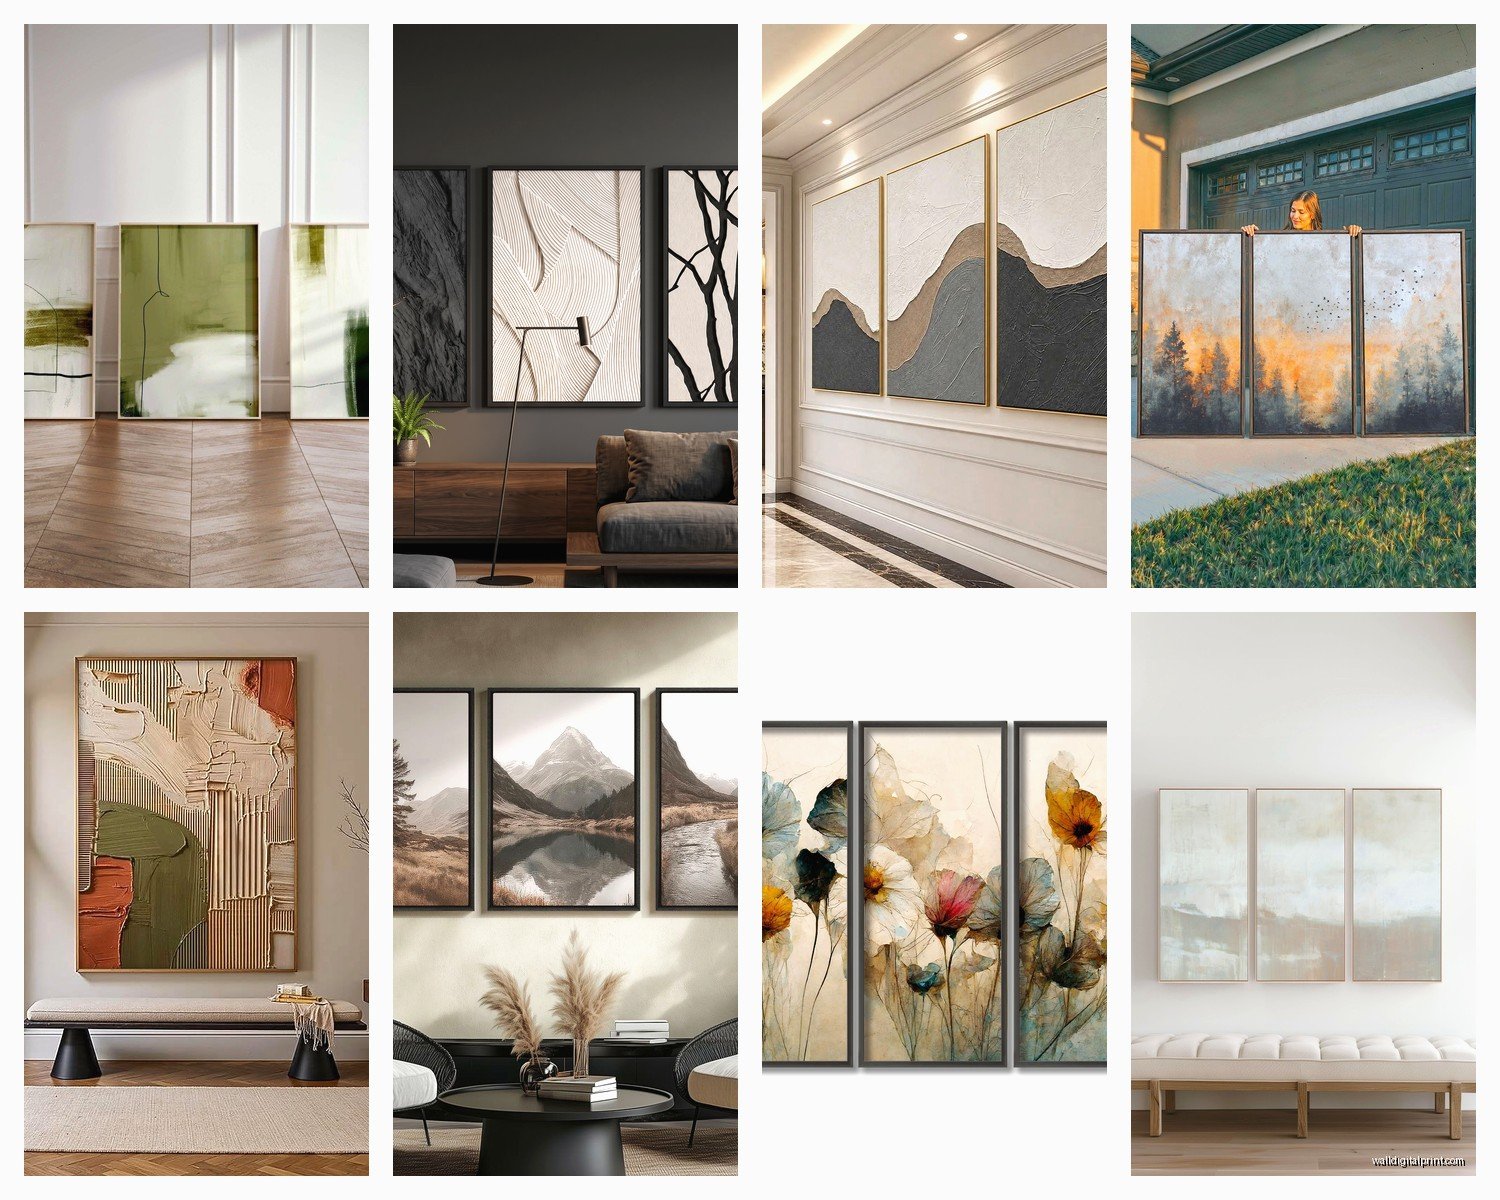
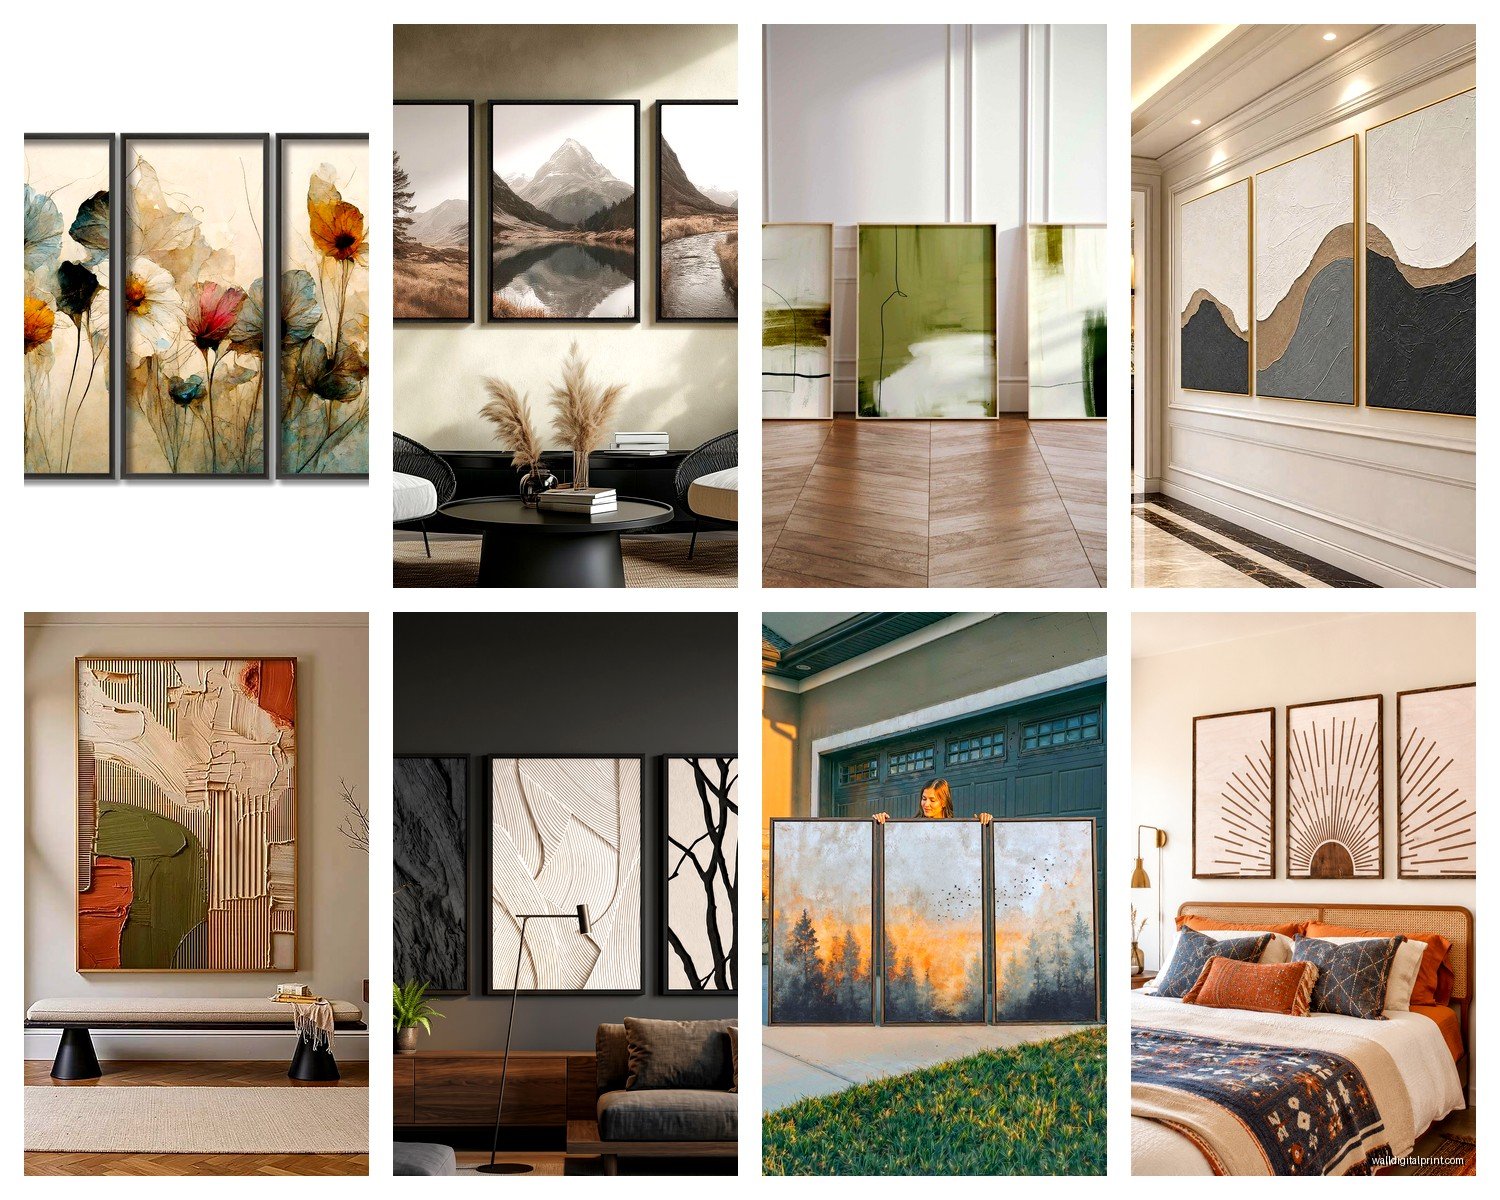
Style Stuff That Actually Matters
Abstract triptychs are the safest bet because they work with most decor styles and don’t demand attention the way a specific subject does. But they can also feel kinda generic.
Landscape triptychs create this cool panoramic effect that makes walls feel wider. I used a beach scene triptych in a narrow hallway and it totally changed how spacious the area felt.
Black and white photography triptychs are having a moment and they’re super versatile. They work in modern spaces, traditional spaces, wherever. Less risky than color if you’re not confident in your color matching skills.
Wait I forgot to mention – think about the room’s existing colors before you buy. Your triptych doesn’t need to match exactly but it should pull at least one or two colors from your space. I have a blue and gold abstract triptych above my gray sofa and it works because my throw pillows have those same blues.
Maintenance and Long-Term Stuff
Canvas fades over time especially in direct sunlight. UV-protective glass helps but most canvas triptychs don’t have glass. If your wall gets afternoon sun, maybe choose a different wall or invest in UV-filtering window film.
Dust builds up on the top edge of panels. I run a microfiber cloth along the top every few months. For the actual surface, a barely damp cloth works for canvas. Never use glass cleaner on canvas though – it’ll mess up the coating.
Metal and acrylic prints can be cleaned with glass cleaner and they don’t fade which is nice. Wood panels need to be dusted gently and kept away from moisture.
The Lighting Makes or Breaks It
Picture lights are fancy but honestly just having good ambient lighting in the room is usually enough. If you want to get extra, LED strip lights mounted behind the panels create this floating effect that looks really cool at night. I installed this setup for a client and it cost like $25 for the LED strips and totally elevated the whole piece.
Avoid overhead lighting that casts shadows directly down on the art. Side lighting or angled lighting shows off the texture and depth better.
Okay so that’s basically everything I wish someone had told me before I started working with these. The main thing is just take your time with the planning and measuring part because fixing mistakes is way more annoying than getting it right the first time. And get someone to help you hold the pieces up while you step back and look – that outside perspective catches things you miss when you’re too close to it.
