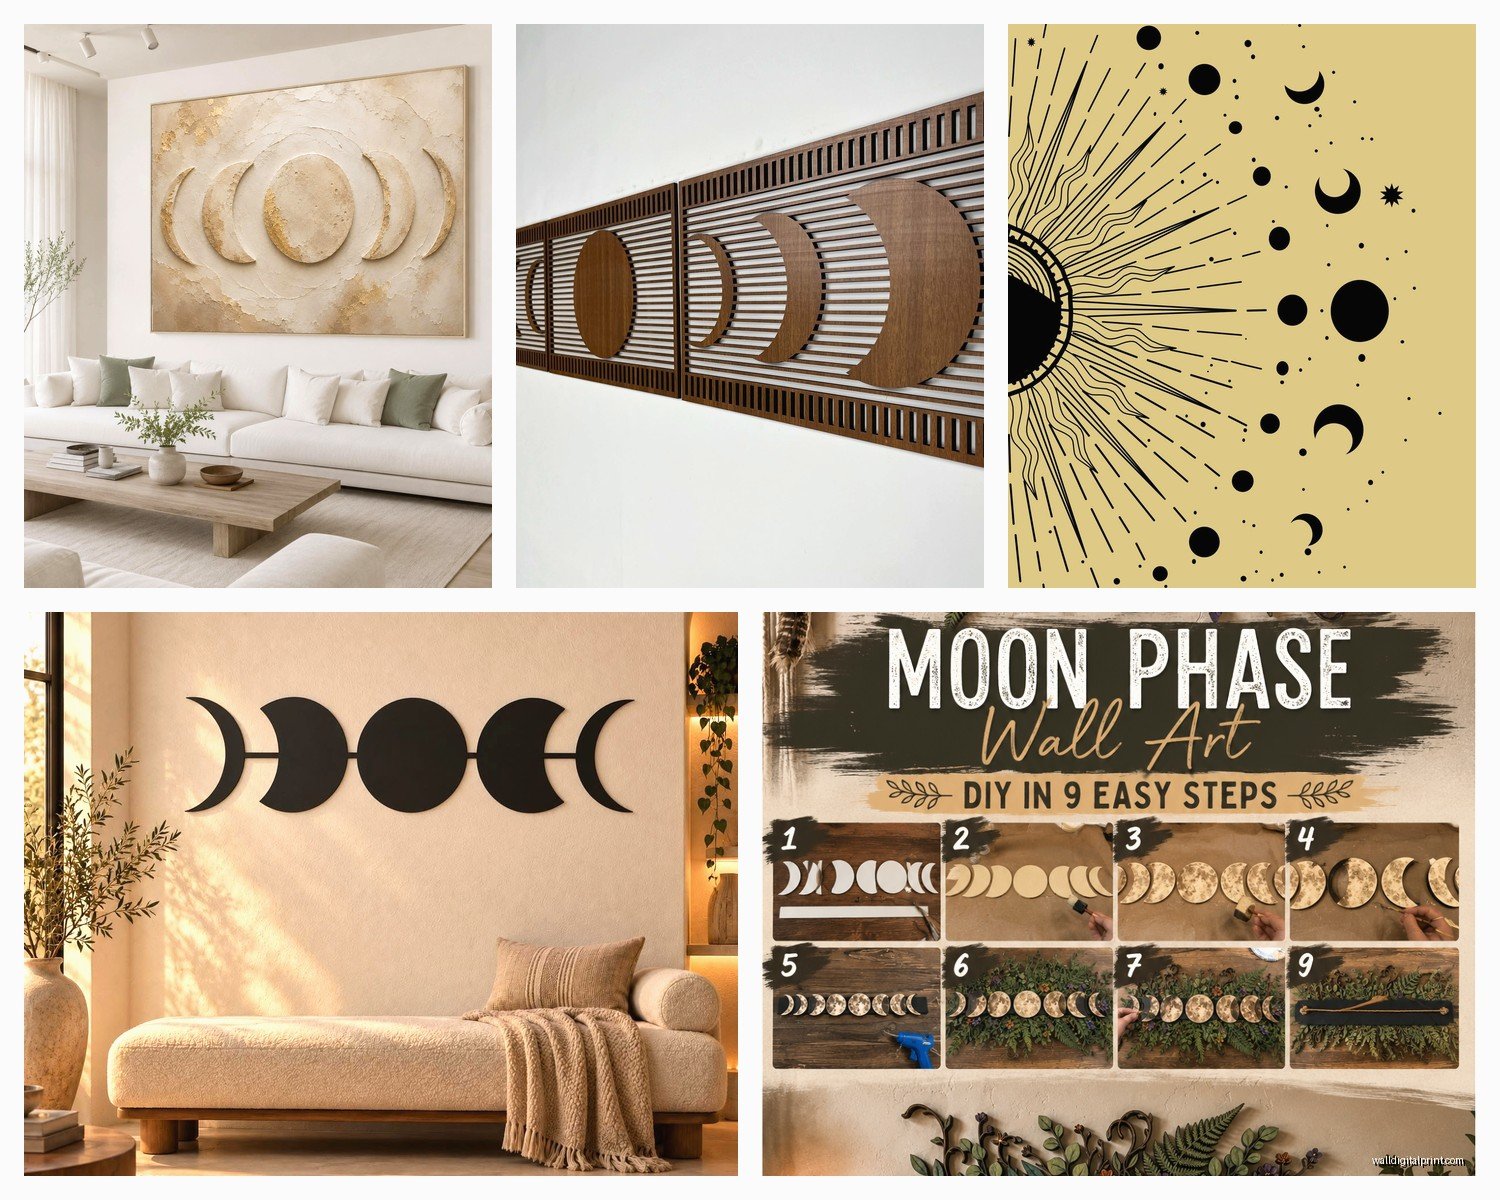
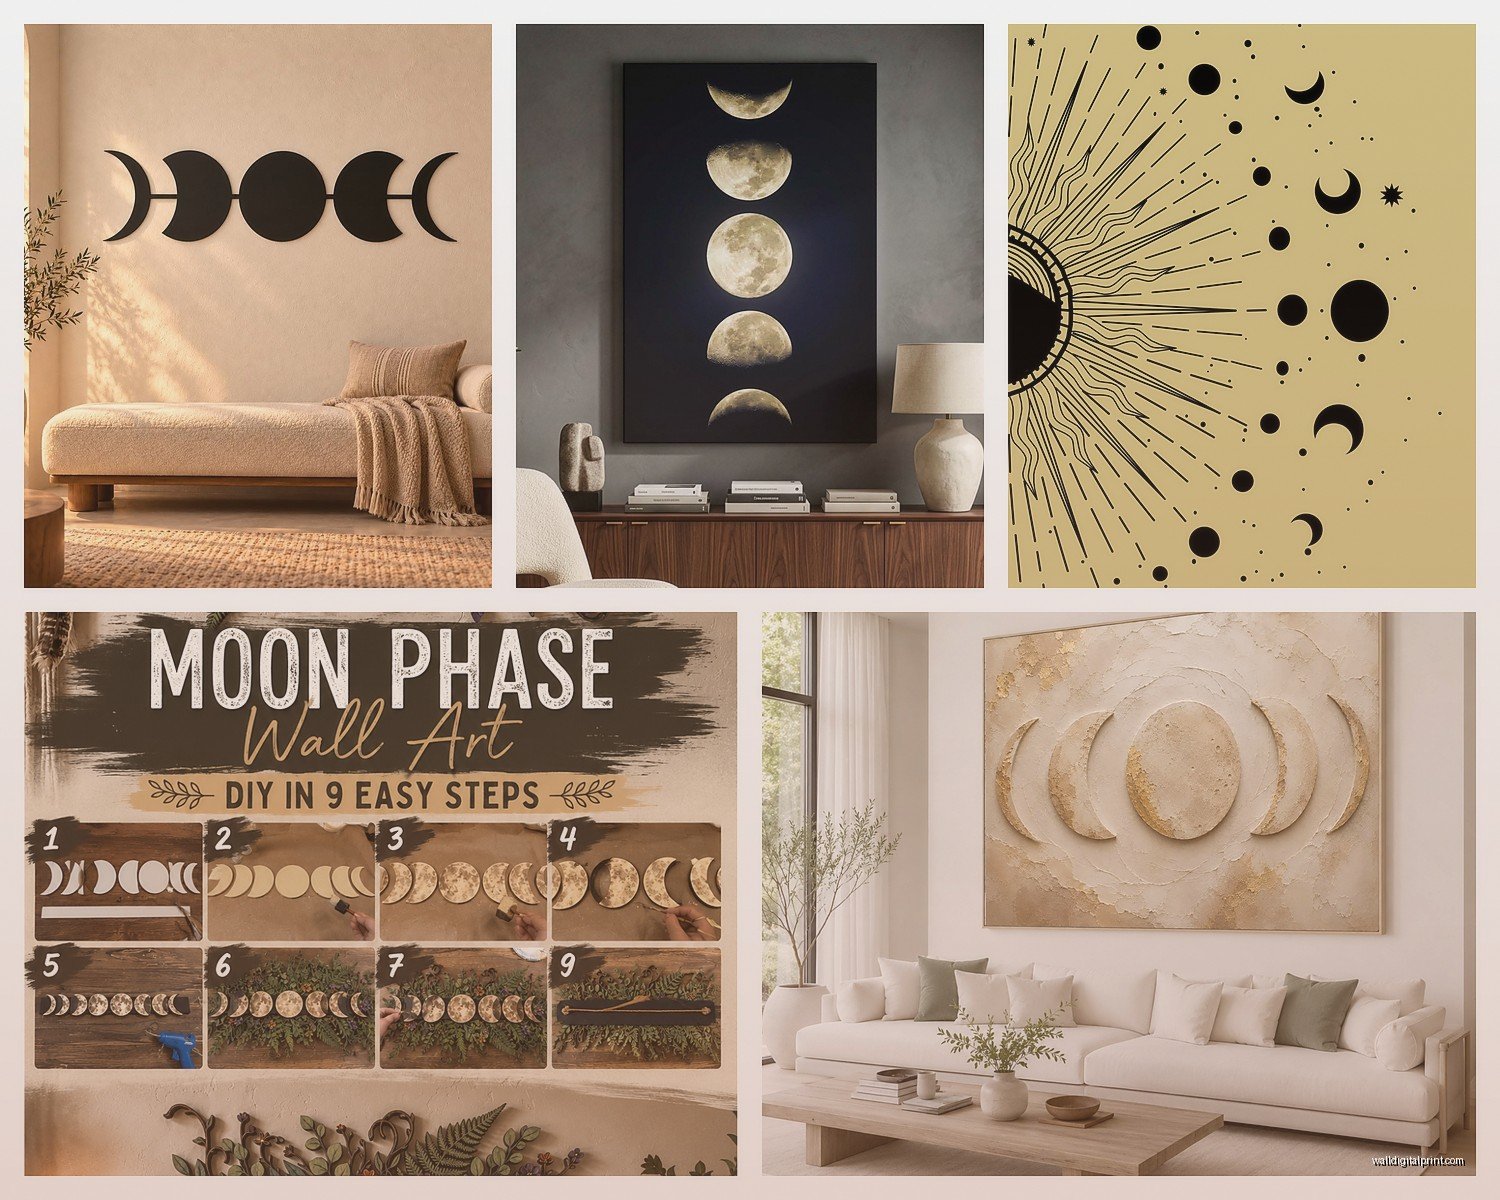
Wall Art Guide, Wall Art Tutoriels
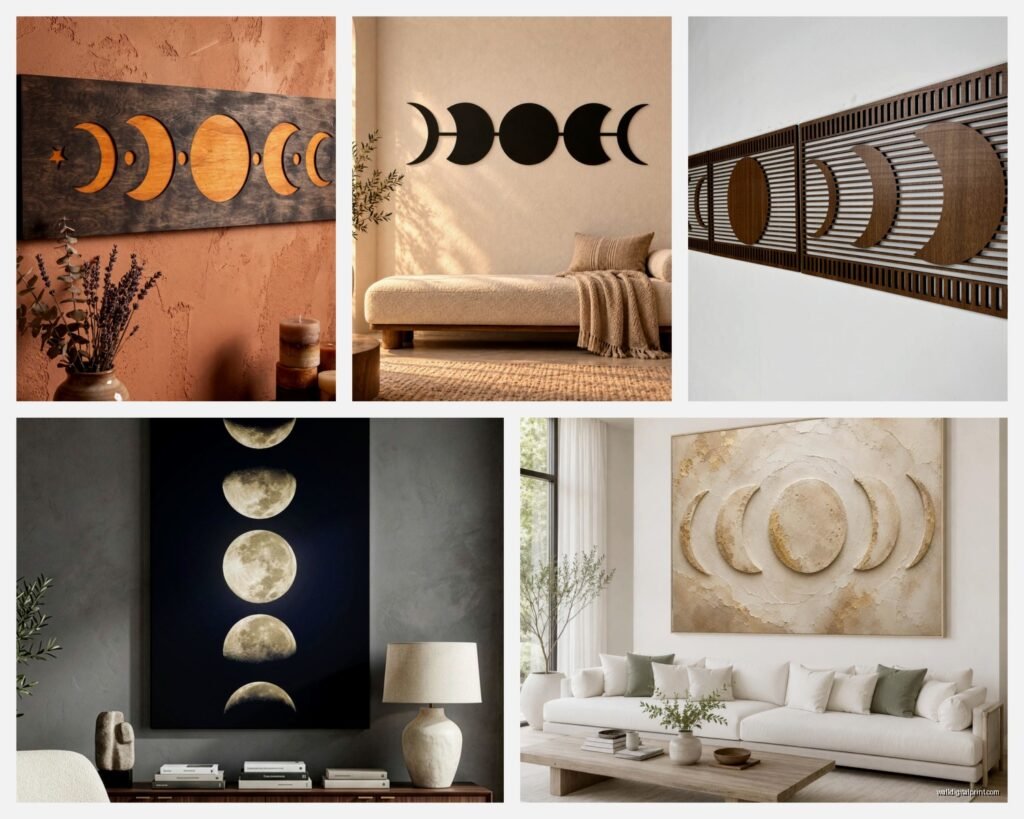
Moon Phase Wall Art: Lunar Cycle Celestial Astronomy
Sep
So I’ve been completely obsessed with moon phase wall art lately and honestly it started because a client wanted something “celestial but not cheesy” for her bedroom and I fell down this rabbit hole trying to figure out what actually looks good versus what screams “I bought this at a mall kiosk in 2003.”
First thing – you gotta decide if you want accurate astronomy or aesthetic vibes. Like, do you care if the phases are scientifically correct or do you just want something that looks pretty? I spent way too long (my dog was literally staring at me like “can we go for a walk already”) comparing lunar cycle prints and realizing half of them have the phases backwards or show shadows that make zero sense. If you’re into actual astronomy, look for prints that show the waxing and waning correctly – waxing means the lit portion grows from right to left in the Northern Hemisphere, waning goes the opposite way.
Types of Moon Phase Art That Actually Work
Okay so there’s basically a few categories here. You’ve got your photographic prints which are stunning if they’re high quality, illustrated versions that range from minimalist line art to watercolor situations, metallic/3D sculptural pieces, and then like… LED backlit ones that I’m still on the fence about but some people love them.
The photographic ones – I found this set on Etsy from a seller who actually photographs the moon through a telescope and the detail is insane. You can see the craters and maria (those dark spots on the moon’s surface). These work best when they’re large format, like 11×14 minimum per phase. Anything smaller and you lose that impact. I put a series of nine phases in my own hallway and people always stop to look at them closely. But here’s the thing – they need good framing. Don’t cheap out on frames for photographic moon prints because the contrast between the black sky and bright moon needs that crisp edge.
Illustrated versions are more forgiving with sizing. I’ve used minimalist line drawing versions in smaller spaces and they still read beautifully from across the room. There’s this one style that’s super popular right now with gold foil accents on black paper – looks expensive but you can find affordable prints if you know where to look. Minted has some good ones, and so does Society6, though quality varies by artist.
The Layout Question Everyone Gets Wrong
This is gonna sound weird but the biggest mistake I see is people hanging all the phases in a straight horizontal line at the same height. It works sometimes, don’t get me wrong, but it can feel really rigid. What I’ve been doing instead is creating a subtle arc – like the path the moon actually takes across the sky. You start with the new moon lowest on the left, arc up to the full moon in the center (highest point), then arc back down to the waning crescent on the right.
The measurements I use: if your center full moon is at 60 inches from the floor, your new moon and final crescent should be at about 54 inches, and the quarter moons at 58 inches. It’s subtle enough that it doesn’t look intentional but your eye follows it naturally.
Oh and another thing – spacing matters more than you think. I usually do 4-6 inches between frames for an 8-phase or 9-phase series. Any closer and they start competing with each other visually, any farther and they feel disconnected. I learned this the hard way in my first apartment where I spaced them like 10 inches apart and it just looked… lonely?
DIY Options That Don’t Look DIY
If you’re crafty at all, you can actually create pretty convincing moon phase art. I tried this last month because I had a weird-sized wall space and couldn’t find pre-made art in the right dimensions.
Got some 8-inch round canvas boards from Michael’s, painted them black (two coats, let it dry completely – don’t be impatient like I was the first time), then used a metallic silver acrylic paint to create the lit portions of each phase. The trick is using a fan brush and doing really light, sweeping strokes to build up the texture. You can find reference images from NASA’s website that show exactly what each phase looks like.
For the craters and details, I used a tiny detail brush and mixed the silver with just a touch of white and grey. It’s weirdly meditative once you get into it, though I definitely watched three episodes of that baking show while working on these.
You could also do a printing method – there are sellers on Etsy who sell actual lunar surface files that you can print on metallic paper. I haven’t tried this myself but I saw it in a design magazine and it looked really sophisticated.
What About Those LED/Backlit Versions
Okay so I was super skeptical about these but I installed one in a client’s nursery and it’s actually… kind of magical? The ones that are worth getting have individual LED lights behind each moon phase so they glow softly. There’s a brand called My Urban Crafts that makes decent ones, though they’re pricey.
The cheaper versions on Amazon can look tacky – the LED color is often too blue or too harsh. If you’re gonna go this route, look for “warm white” LEDs and make sure you can dim them. Nobody wants their bedroom lit up like a spaceship at 2am.
These work best in rooms where you want ambient lighting – kids rooms, meditation spaces, that kind of thing. I wouldn’t put them in a formal living room or anywhere you’re trying to be sophisticated. They have a definite vibe.
Materials and Finishes That Elevate the Look
Canvas prints are fine but honestly they’re kinda played out. What’s working better right now is printing on fine art paper and floating it in a frame with a mat. The mat color matters – I usually go with black, charcoal grey, or this deep navy that makes the moon imagery pop.
Metal prints are having a moment and they actually make sense for moon photography because the metallic surface catches light and creates this dimensional quality. I used aluminum prints for a restaurant project and they photograph so well, plus they’re durable.
Wood-mounted prints can be cool if you’re going for a more organic/bohemian vibe. There’s this process where they print directly on wood panels and the grain shows through slightly. Looks really good with illustrated moon phases rather than photographic ones.
wait I forgot to mention – if you’re buying frames separately (which I usually do because pre-framed art is almost always framed badly), measure twice and buy once. I cannot tell you how many times I’ve ordered frames that were like half an inch too small. Most moon phase prints come in standard sizes – 8×10, 11×14, 16×20 – so stick with those dimensions if you can.
Color Schemes Beyond Black and White
Everyone defaults to black background with white/grey moon but there’s so much more you can do. I’ve been experimenting with:
- Deep indigo backgrounds with cream-colored moons – feels vintage and romantic
- Warm sepia tones for the whole thing – gives it an antique astronomy vibe
- Navy blue background with gold-leafed moons – fancy but not over the top
- Actual watercolor washes in purples, blues, and greys with white moons on top
The watercolor versions are tricky because they can go twee really fast. The ones that work best have a subtle color gradient and don’t try too hard. Less is more here.
There’s also this trend of showing the moon in its actual colors – like enhanced satellite imagery that shows the different mineral compositions. The moon isn’t just grey, it has subtle browns, blues, and oranges when you look closely. These prints are stunning but they read as more scientific/educational than decorative, so consider your space.
Size and Scale Guidelines
For a standard 8-phase or 9-phase arrangement, I usually work with individual prints that are 8×10 or 8×8 (if you want them all circular or square). This gives you a total wall width of about 72-80 inches with spacing, which fits nicely above a queen bed or a long sofa.
If you’ve got a really large wall – like above a fireplace or in a two-story entryway – you can go bigger. I’ve done 16×20 individual phases and the impact is incredible, but you need probably 10-12 feet of wall space minimum.
For smaller spaces, consider doing just 4-5 key phases: new moon, first quarter, full moon, last quarter, and back to new. This abbreviated cycle still tells the story without overwhelming a small wall.
One of my favorite installations was in a narrow hallway where we did a vertical arrangement – stacked the phases from top to bottom instead of side to side. It worked because the space was only about 30 inches wide but had high ceilings.
Where to Actually Buy Good Moon Phase Art
Etsy is honestly my go-to because you can find independent artists and photographers who really know their stuff. Search for “lunar cycle print” or “moon phase astronomy art” and filter by reviews. I’ve found some incredible photographic prints for like $35-50 for a set.
Society6 has a huge selection and they print on demand, which means you can get the same design on different materials – framed print, canvas, metal, whatever. Quality is generally good though the frames aren’t amazing if you go that route.
Minted does curated art prints and their moon phase options tend to be more design-forward and less literal. Good for when you want something artistic rather than scientific.
For high-end stuff, check out 20×200 or Artfully Walls. They work with established photographers and artists, so you’re paying more but getting museum-quality prints.
If you want the sculptural/3D versions, West Elm and CB2 usually have some options, though they tend to be trendy and might feel dated in a few years. I’ve also seen really cool handmade ceramic moon phase wall hangings on Etsy from pottery artists.
Framing Tips Nobody Tells You
If you’re framing multiple prints that are gonna hang together, you gotta use the same frame style for all of them. Sounds obvious but I’ve seen people mix frame colors or styles and it just looks chaotic.
For moon photography, I almost always use black frames with white or off-white mats. The high contrast makes the images pop. For illustrated versions, you have more flexibility – natural wood frames can look really nice with minimalist line drawings.
Float mounting (where the print appears to float inside the frame with space around it) looks incredibly professional and isn’t that hard to do if you’re DIYing. You need foam board, double-sided tape, and some patience.
Glass versus acrylic – I prefer acrylic for anything going in a bedroom because it’s safer if it falls, plus it’s lighter so easier to hang. But glass has a clearer, crisper look if that matters to you. Museum glass is worth it if you’re spending serious money on the art itself, because it eliminates glare completely.
Hanging and Installation
Okay this is where people get stressed but it’s really not that hard. For a multi-piece arrangement, I always lay everything out on the floor first and take a photo. This is your reference when you’re up on the ladder getting confused.
Use a level. Like actually use one, don’t just eyeball it. Your phone probably has a level app built in if you don’t own one. Nothing makes art look worse than being crooked.
For the spacing, I cut strips of cardboard to the width I want between frames and use those as spacers while I’m measuring. Way easier than trying to measure each gap individually.
Command strips work fine for lightweight frames but anything over like 5 pounds needs real picture hangers. I use those wire picture hangers with the nail that angles down – they’re super secure and only leave a tiny hole.
If you’re doing the arc layout I mentioned earlier, mark all your spots with painter’s tape first before putting any nails in the wall. You can step back and see if the curve looks right and adjust before you commit.
Oh and funny story – I once spent an hour perfectly hanging a 9-phase moon series only to realize I’d put them in reverse order. Had to take everything down and start over. So maybe double-check that you’ve got new moon on the left, full moon in the middle, waning phases on the right. Just saying.
The whole project took me about two hours once I had all the materials, and that’s including my screw-up. If you plan it out and have everything ready to go, you could probably do it in 45 minutes.