Wall Art Guide, Wall Art Tutoriels
Movie Theater Wall Art: Cinema Film Poster Decor
Jul
So I just spent like three hours redoing my client’s home office into this mini cinema vibe and honestly, movie posters are WAY trickier than people think. Like you can’t just slap up a Pulp Fiction poster and call it a day… well you can, but it’s gonna look like a dorm room.
First thing – size matters SO much here. I learned this the hard way when I ordered what I thought was a full-size Casablanca poster and it showed up the size of a textbook. Most authentic movie posters come in these standard sizes: 27×40 inches (that’s your classic one-sheet), 24×36 (which is actually more common for reproductions), and then there’s the massive 40×60 if you’re feeling dramatic. Measure your wall space before you do ANYTHING. I use painter’s tape to map out the dimensions on the wall first because my spatial reasoning is apparently terrible.
Vintage vs. Reproduction and Why It Actually Matters
Okay so this is gonna sound pretentious but hear me out. Original vintage posters have this texture and color variation that you just can’t replicate. I found an original 1960s poster for “Breakfast at Tiffany’s” at an estate sale for like $200 and yeah it’s got some creases and the colors are slightly faded but that’s literally the appeal? It looks lived-in and authentic.
But here’s the thing – if you’re going for classics like “The Godfather” or “Star Wars,” original posters are insanely expensive. We’re talking thousands sometimes. Reproductions from places like AllPosters or MoviePosterShop are totally fine if you frame them properly. The key is getting high-quality prints, not the $10 Amazon ones that look pixelated from three feet away.
I usually recommend looking for:
- Officially licensed reproductions (they’ll say this in the description)
- Prints on actual poster paper, not just cardstock
- Color accuracy – check reviews with photos
- Whether it comes with the original taglines and studio info
The Framing Situation That Nobody Talks About
Oh and another thing – framing is where most people mess this up. You cannot put a movie poster in a basic black frame from Target and expect it to look curated. I mean you can, but it won’t have that theater lobby aesthetic you’re probably going for.
For vintage or expensive reproductions, go with museum glass. It’s pricier but it eliminates glare completely and protects against UV damage. Regular glass creates this weird reflection situation where you can’t actually see the poster from certain angles, which defeats the entire purpose.
My go-to framing options:
Simple black metal frames – These work for modern action movies or anything from the 90s onward. Clean lines, not too fancy. I get mine from Frame USA or American Frame online because they do custom sizes.
Wood frames with a vintage stain – Perfect for classic cinema posters from the 40s-70s. Think Hitchcock films, old westerns, film noir. The wood adds warmth that complements the aged look of the poster.
Floating frames – This is gonna sound weird but for really special posters, floating frames (where there’s space between the poster and the backing) create this shadow effect that makes the artwork pop off the wall. Super effective for bold, graphic posters like Saul Bass designs.
Don’t use clips or poster hangers unless you’re going for that temporary art gallery look, which can work in a modern space but usually just looks unfinished.
Matting – Yes or No?
I go back and forth on this constantly. Matting (that border between the poster and frame) can make a poster look more formal and gallery-like, but it also shrinks the visual impact. For smaller posters (24×36 or less), I usually skip the mat because you want to maximize the image size. For larger posters in a room with lots of wall space, a simple black or cream mat can help the poster not feel overwhelming.
Wait I forgot to mention – if you’re doing a gallery wall of multiple posters, keep the matting consistent. Either all with mats or all without. Mixing it looks chaotic in a bad way.
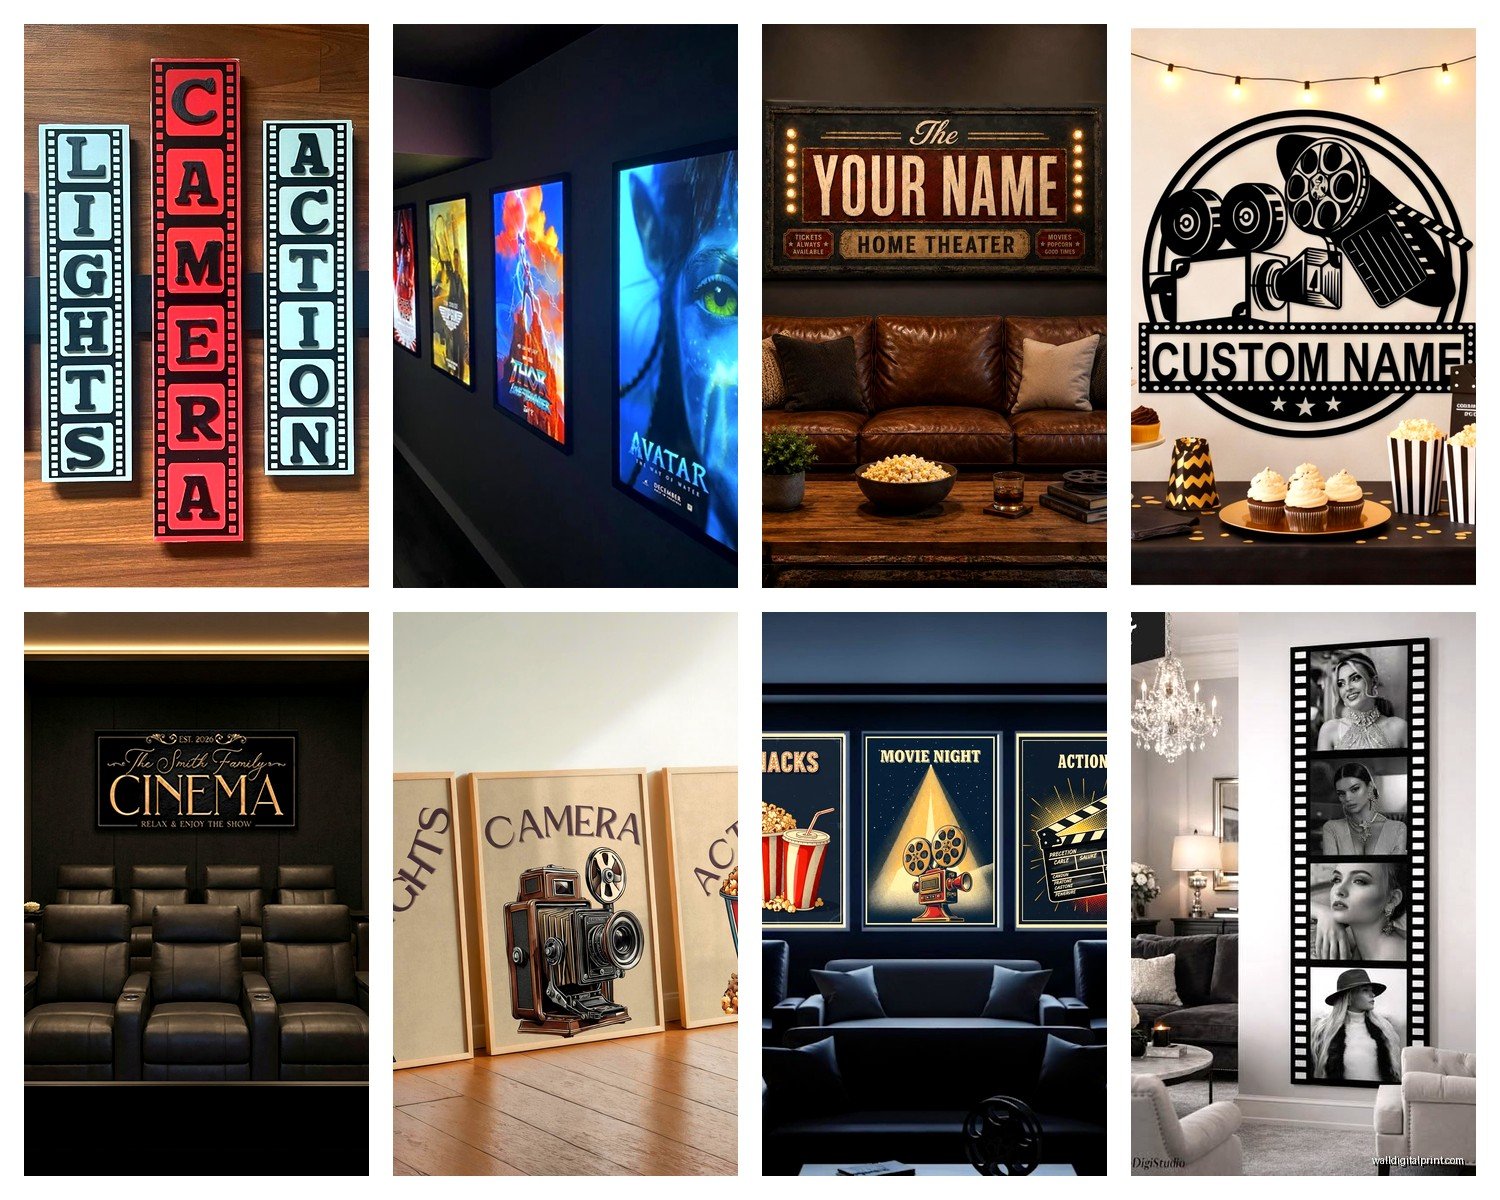
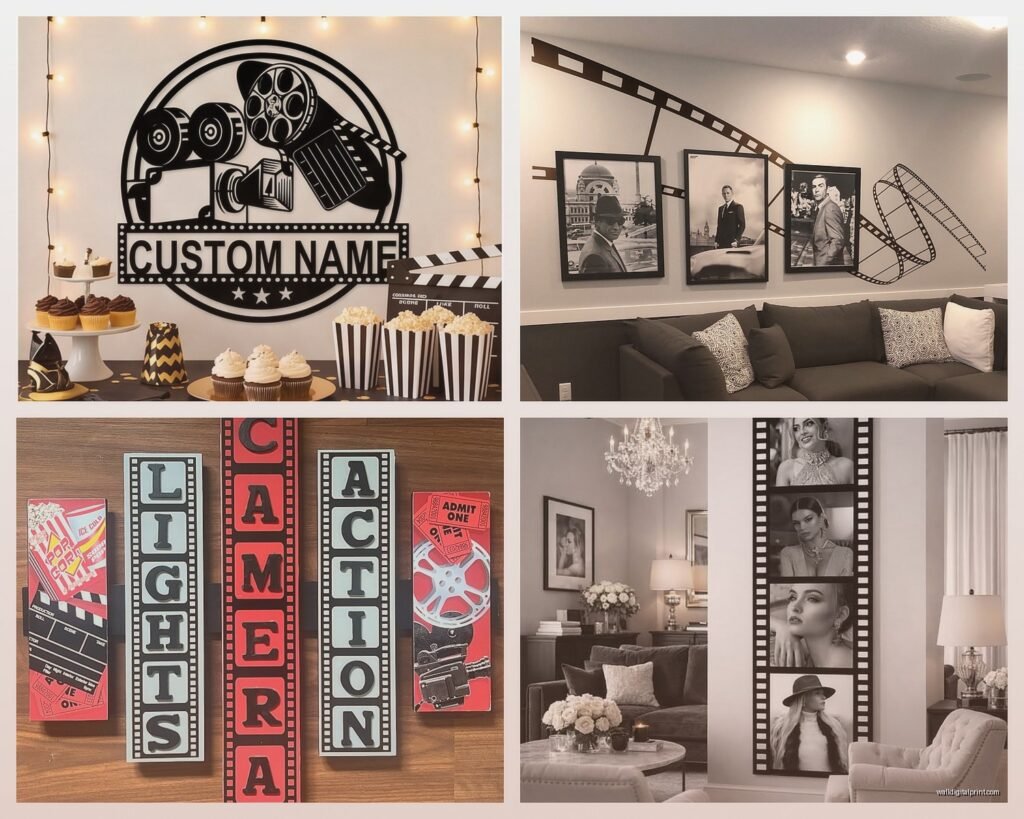
Choosing Posters That Actually Work Together
This is where I see people struggle the most. They love “Jaws” and “The Breakfast Club” and “Blade Runner” but those three together on a wall look completely random. You need a unifying theme.
Some approaches that actually work:
Era-based – All 1970s cinema, all silent films, all 90s indie movies. The design styles from each era have enough consistency that they naturally complement each other.
Genre-specific – Horror movie posters have such distinctive aesthetic that a wall of them looks intentional. Same with film noir, westerns, or sci-fi.
Director focus – A Wes Anderson wall, a Tarantino collection, all Kubrick films. This tells a story and shows you actually know your stuff.
Design style – This is my favorite approach lately. Focus on posters with similar graphic design elements. Like all minimalist posters, or all hand-drawn illustrated ones, or all Polish film posters (which have this amazing avant-garde style).
Color palette – Choose posters that share a color scheme. All black and white, all warm tones, all with red as the dominant color. This creates visual cohesion even if the movies are completely different.
I did a client’s screening room last year with all blue-toned posters – “Drive,” “Blade Runner 2049,” “The Grand Budapest Hotel” (the blue version), “Midnight in Paris” – and it looked SO much more sophisticated than just random favorites thrown together.
Placement and Layout Without Making It Look Cluttered
Okay so funny story, I once put up seven movie posters in a 10×12 room and it felt like the walls were closing in. Less is genuinely more here unless you’re deliberately going for a maximalist theater lobby vibe.
For a single statement poster, center it on the wall at eye level. Eye level is typically 57-60 inches from the floor to the center of the artwork. This is the museum standard and it’s standard for a reason – it just looks right.
For multiple posters, you’ve got options:
Grid Layout
The safest choice. Keep equal spacing between all posters (I use 2-4 inches depending on the wall size). This works best when all your posters are the same size and have similar frame styles. Super clean, very gallery-like. My dog literally walked through my tape measurements when I was planning one of these and I had to start over, so maybe lock your pets out of the room.
Salon Style
This is that floor-to-ceiling, slightly chaotic but intentional look you see in fancy theaters. Mix different poster sizes, but keep the frames consistent. Start with your largest poster as an anchor, then build around it. The trick is maintaining relatively consistent spacing even though the sizes vary. I usually lay everything out on the floor first and take a photo from above to see if the composition works.
Linear Arrangement
Hang posters in a single horizontal line, all at the same height. Works great above a couch or along a hallway. You can vary the sizes slightly but keep the top or bottom edges aligned.
Asymmetrical Balance
This is advanced level stuff – different sizes and heights but arranged so the visual weight feels balanced. Like a large poster on the left balanced by two smaller ones stacked on the right. Requires trial and error and honestly a good eye.
Lighting Makes or Breaks the Whole Thing
Cannot emphasize this enough – you need proper lighting on these posters or they’re just dark rectangles on your wall at night. I was watching “The Bear” the other night and got distracted by how well-lit the artwork was in the background shots and went down this whole rabbit hole about gallery lighting.
Picture lights are the classic choice. Those brass or black lights that mount above the frame. They work great for traditional spaces but can look too formal for casual rooms.
Track lighting or adjustable ceiling spots let you direct light exactly where you want it. This is what I use most often because it’s flexible and doesn’t require wiring into each frame location.
LED strip lights behind floating frames create this cool backlit effect that’s very modern. Works especially well for contemporary movie posters with bold graphics.
Just avoid direct sunlight on your posters because UV damage is real and irreversible. I learned this when a client’s original “Psycho” poster faded significantly in just six months near a south-facing window.
Where to Actually Buy Quality Posters
After trying basically every source available, here’s what I recommend:
For reproductions: Mondo (expensive but incredible quality and unique designs), MoviePosterShop, AllPosters, Etsy (search for specific sellers with good reviews)
For vintage originals: eBay (requires research to avoid fakes), Heritage Auctions, local estate sales and antique shops, specialized dealers like Film/Art Gallery or Hollywood Posters
For alternative designs: Mondo, Gallery1988, Bottleneck Gallery – these places commission artists to create new interpretations of classic films and the designs are usually more interesting than official posters
Avoiding Fakes and Reproductions Sold as Originals
This is important if you’re spending real money. Original posters have specific characteristics – certain paper types, printing methods, studio stamps on the back. Before buying anything expensive, research what the authentic version looks like. Vintage poster collector forums are incredibly helpful for this. Check the fold lines too – original posters were shipped folded, so authentic ones usually have horizontal and vertical creases unless they’re rare rolled versions.
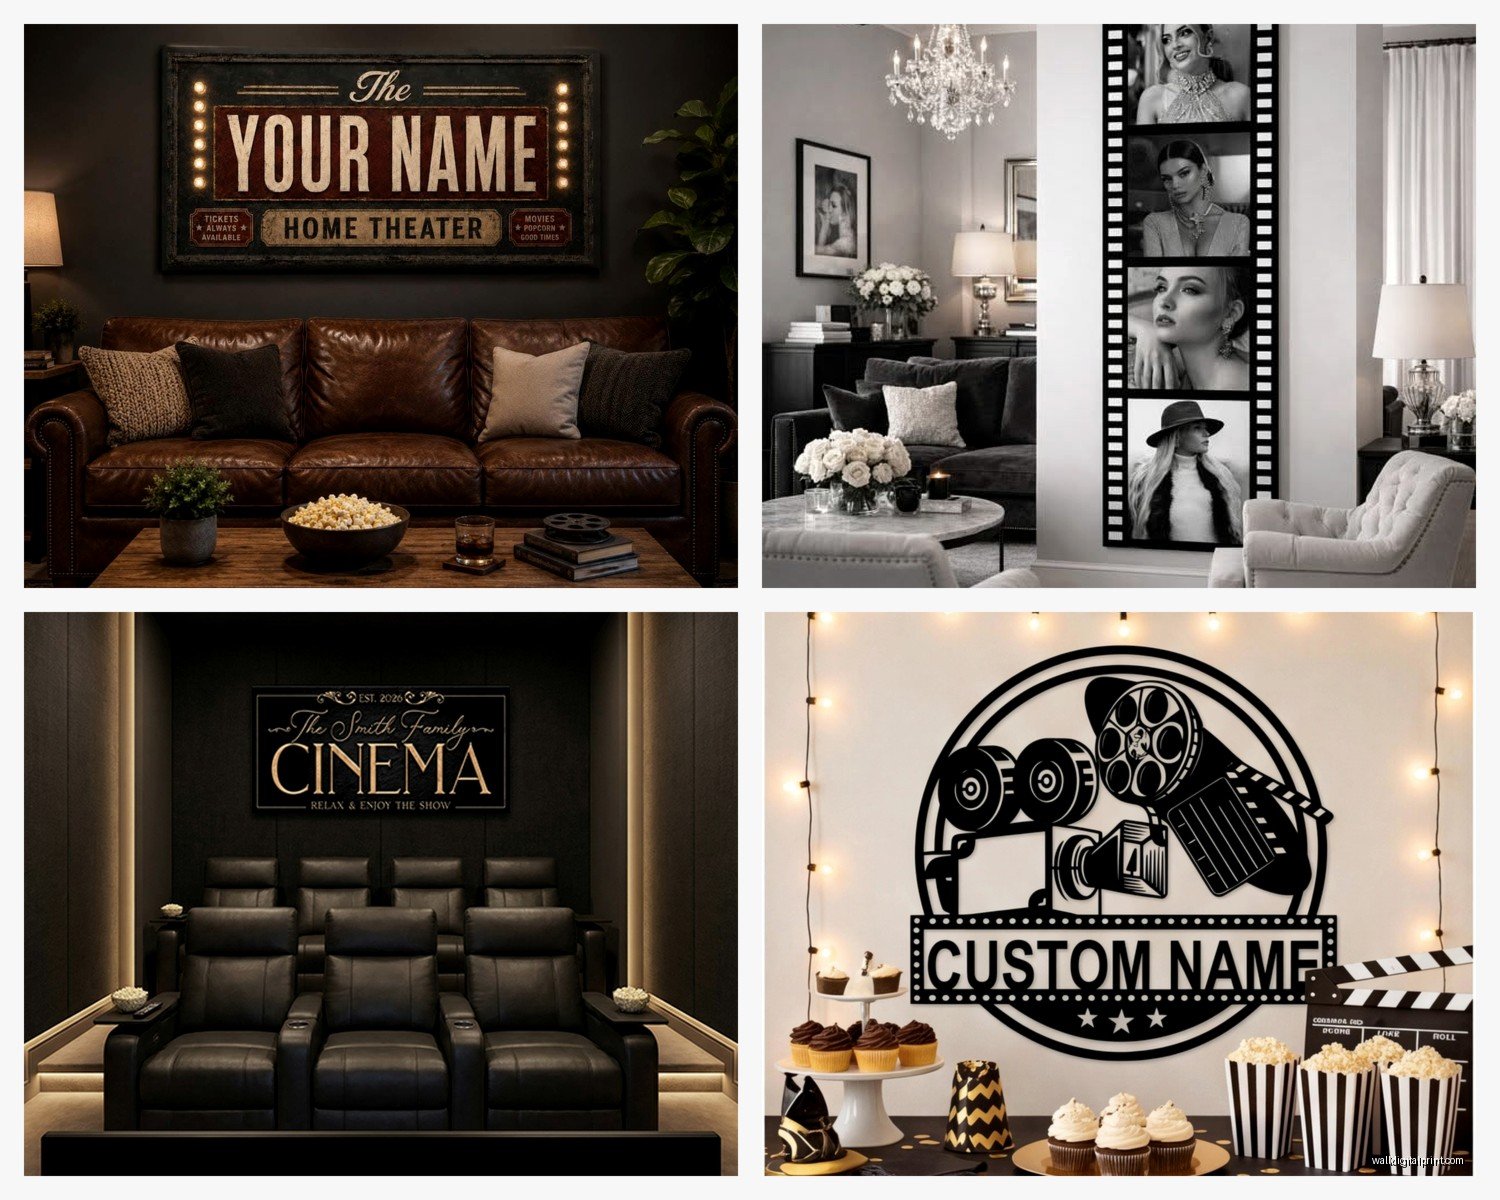
Making It Not Look Like a College Dorm
The difference between “curated cinema enthusiast” and “19-year-old with pushpins” comes down to a few things:
Quality frames – seriously cannot stress this enough. Even a $15 reproduction looks intentional in a $40 frame.
Thoughtful placement – not just filling every empty space. Leave some breathing room.
Complementary decor – add some vintage camera equipment, a director’s chair, old film reels, or cinema-related books nearby to build the theme.
Lighting – we covered this but it bears repeating.
Edit the collection – you don’t need to display every movie you’ve ever liked. Choose the ones that work together visually.
Unexpected Places to Put Movie Posters
Everyone thinks living room or home theater, but some of my favorite installations have been:
Home office – Inspirational if your work is creative. I did a writer’s office with all screenplay-to-film adaptations.
Bathroom – Hear me out. A small powder room with one perfectly chosen poster (maybe something humorous or unexpected) is such a conversation piece. Just make sure it’s sealed well because humidity.
Hallways – Perfect for creating a mini gallery walk. People actually stop and look at art in hallways.
Kitchen or dining room – Food-related movies like “Julie & Julia,” “Ratatouille,” “Chef,” “Big Night” can be really charming in these spaces.
Bedroom – Keep it to one or two posters maximum so it doesn’t feel overwhelming. Choose calming films or ones with personal meaning.
The key is making sure the room can handle the visual weight of the posters and that the movies connect somehow to the space’s function.
Look, at the end of the day, this should be fun, not stressful. Start with one or two posters you genuinely love, frame them properly, and build from there. You’ll figure out your style as you go. I’m still moving my “Vertigo” poster around trying to find the perfect spot and I’ve been doing this professionally for like 15 years, so don’t overthink it too much.