Wall Art Guide, Wall Art Tutoriels
Rustic Wooden Wall Art: Distressed Farmhouse Wood Designs
Aug
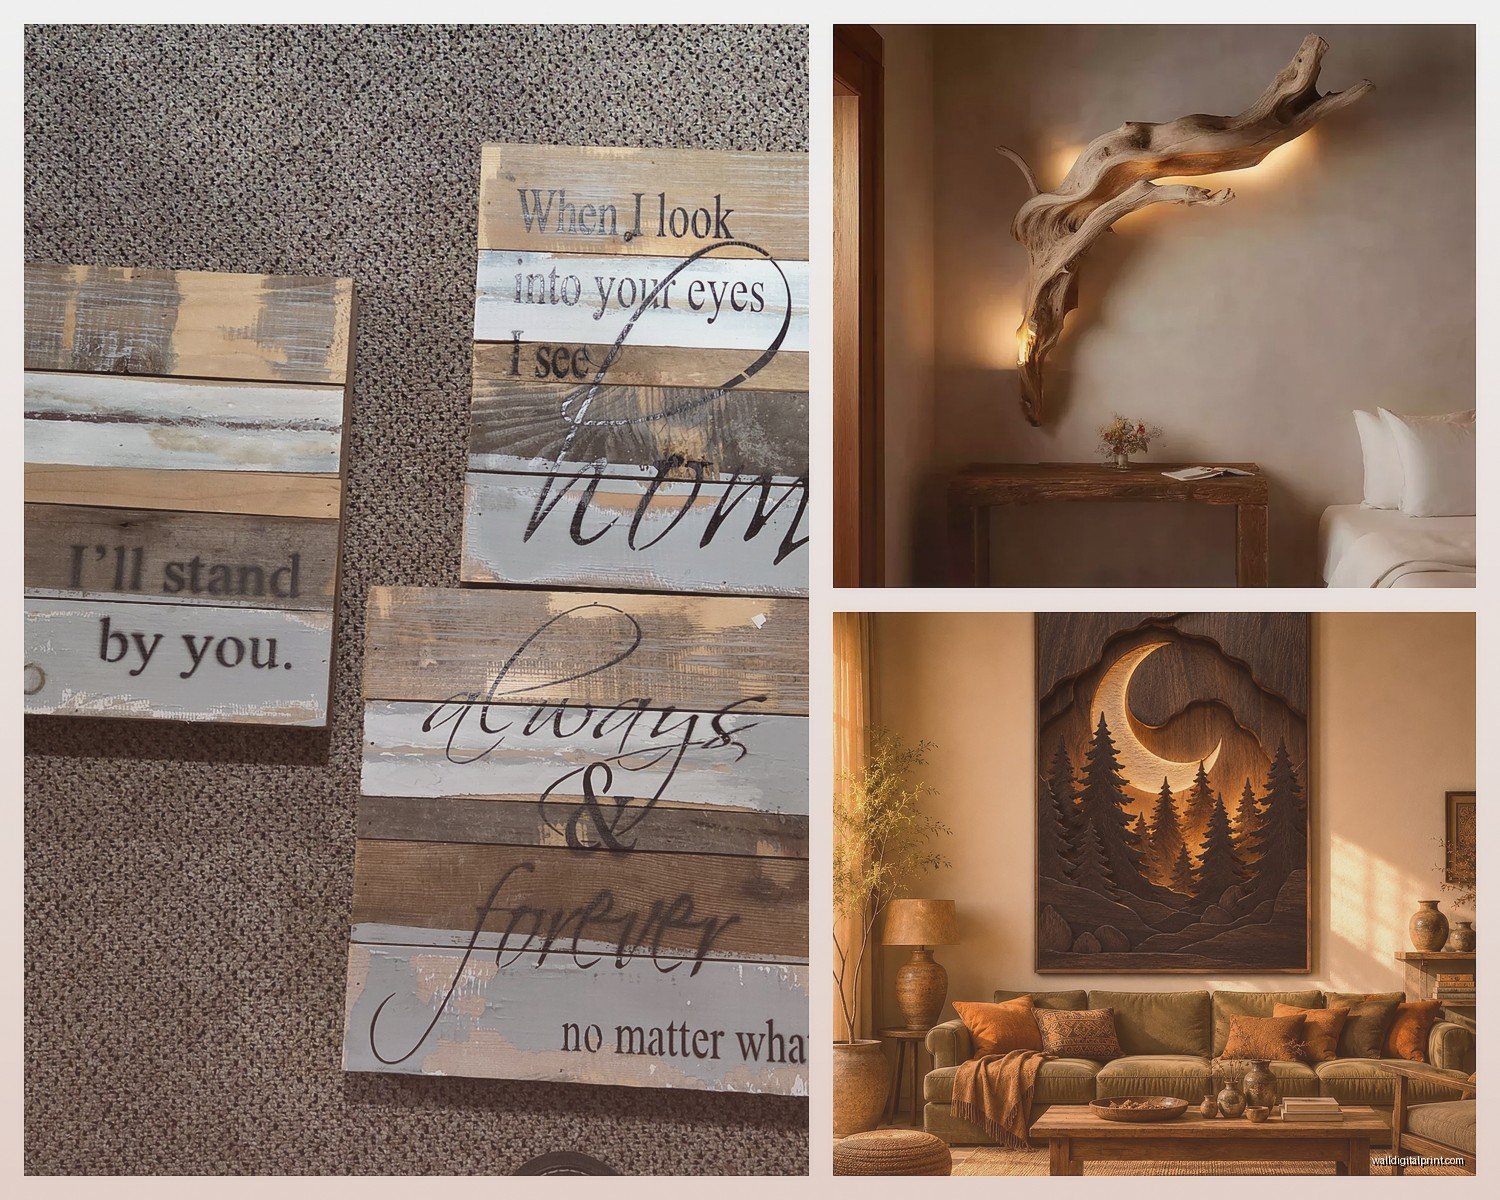
So I’ve been obsessing over distressed wood wall art lately because honestly, the farmhouse look just works when you need to fill those awkward wall spaces without dropping a fortune on actual antique finds. Let me walk you through what actually matters here.
What Actually Makes Good Rustic Wood Art
Okay so first thing – not all distressed wood is created equal. I learned this the hard way after buying three different pieces from different sellers and only one looked authentic once it arrived. The thickness matters way more than you’d think. You want at least 3/4 inch wood, preferably reclaimed or barn wood if you can swing it. Those thin craft store boards? They just look…cheap. Like obviously fake distressed.
The grain needs to be visible and interesting. Pine shows grain nicely but it’s soft so it dents easily which actually works in your favor if you’re going for that beat-up look. Cedar’s great too but pricier. My favorite piece in my own living room is made from old fence pickets and you can see where the nails used to be – those little holes and rust stains add so much character.
Real vs Fake Distressing
Here’s the thing about distressed finishes – there’s a difference between thoughtfully weathered and just beaten with a chain (yes that’s actually a technique some people use and it shows). Good distressing has:
- Worn edges where hands would naturally touch
- Uneven fading that looks sun-bleached
- Random scratches not uniform lines
- Color variation that makes sense with the wood grain
I was watching this old episode of Fixer Upper last week while working on a client’s mood board and Joanna had this massive wooden sign that looked perfectly imperfect. That’s what you’re going for.
DIY vs Store-Bought (Real Talk)
So you’re gonna see a million Pinterest tutorials promising you can make museum-quality rustic art for like $20. Can you? Sure. Will it actually look good? Depends on your skill level honestly.
Store-bought pros – consistency, professional finishing, properly sealed so it won’t shed wood particles all over your floor (been there). You can find decent pieces on Etsy from $50-200 depending on size. Home goods stores like Kirkland’s and World Market also stock them but they tend to be more mass-produced looking.
DIY pros – way cheaper if you have access to reclaimed wood, totally customizable, and there’s something satisfying about making your own. But you need the right tools and honestly, the time. My first attempt took me an entire weekend and I already had a workshop setup.
If You’re Buying Ready-Made
Check these things before you purchase:
- Read reviews with photos – listings always look better than reality
- Ask about the finish – is it sealed? With what?
- Confirm the hanging hardware – some pieces are weirdly heavy
- Look at the back – should be finished too or at least sanded
- Verify actual dimensions because “large” means different things to different sellers
I almost bought this gorgeous piece last month until someone’s review photo showed it was like half the size it appeared in the listing. Saved myself $150 right there.
Making Your Own Distressed Wood Art
Okay so if you wanna DIY this, here’s what’s actually worked for me and my clients who’ve attempted it.
Materials You Actually Need
- Wood boards (reclaimed is best but new pine works)
- Sandpaper – various grits from 80 to 220
- Paint or stain in multiple shades
- Dry brush for technique work
- Hammer, nails, chains, screws for distressing
- Polyurethane or wax for sealing
- Wood glue if you’re joining pieces
Don’t buy those “distressing kits” from craft stores. Total waste. You can create better effects with random hardware from your junk drawer.
The Process That Actually Works
Start with your base wood. If it’s new lumber, you gotta rough it up first. This is where people get too gentle – really go at it. I use:
Hammers to create dents and dings along the edges. Focus on corners and areas that would naturally get bumped. Chains dragged across the surface but like, not in obvious patterns. Screws poked into the wood at random angles. Sandpaper on the edges to round them out and create worn spots.
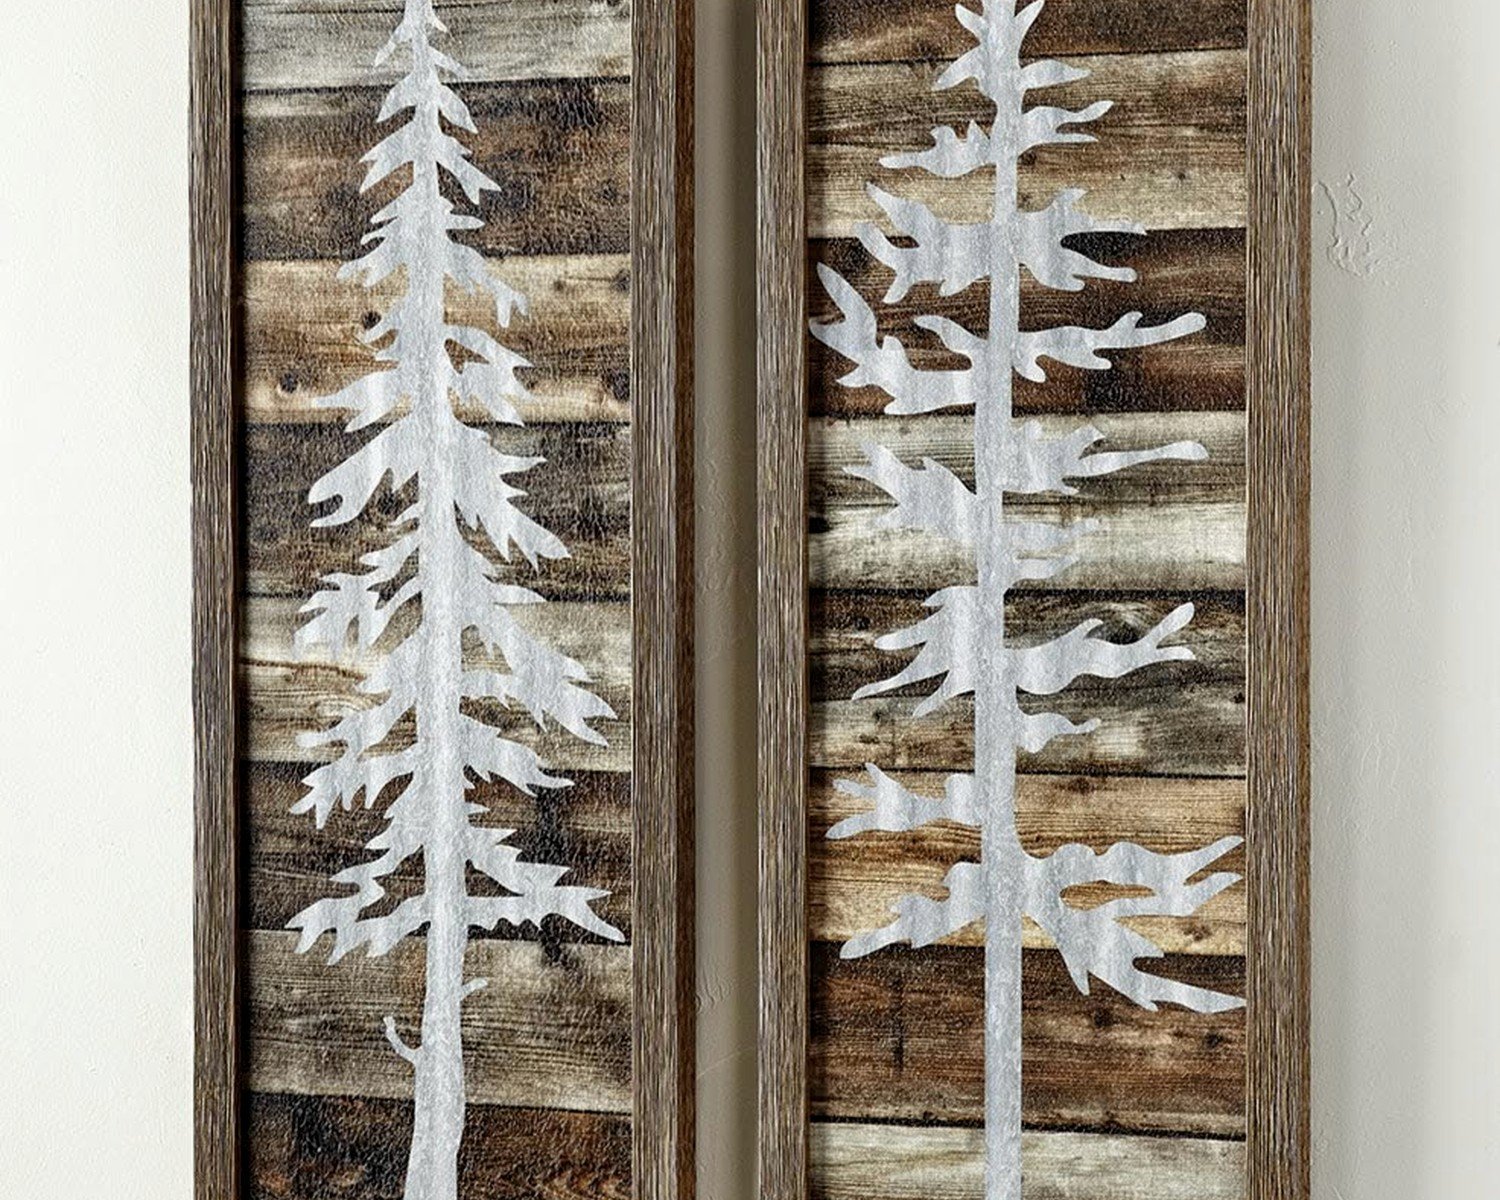
Then comes the color. Here’s where most DIYs fail – they use one color. You need layers for depth. I typically do:
- Dark base coat (grey, brown, or black)
- Let it dry completely
- Sand some of it off in random areas
- Apply your main color (white, cream, sage, whatever)
- While still slightly wet, wipe some away with a rag
- Dry brush a third shade over high points
My dog knocked over my paint water during the last one I made and honestly? The water stains added to the effect so I kept them.
Distressing Techniques That Look Authentic
Okay this is gonna sound weird but the best aged white paint effect I’ve achieved was using chalk paint, letting it dry, then literally scrubbing it with steel wool dipped in dark wax. The wax settles into all the grooves and cracks and suddenly your brand new wood looks 100 years old.
For that sun-bleached grey look – mix white and black paint super watery, almost like a wash. Apply it, let it sit for like 30 seconds, then wipe most of it off with a rag. The grain soaks up the color unevenly which is exactly what you want.
Another thing – don’t make everything uniform. Some boards should be lighter, some darker, some more distressed. Real weathered wood isn’t consistent.
Design Ideas That Work in Real Rooms
So beyond just making distressed wood, what do you actually do with it? Here’s what I’ve used successfully:
Horizontal Plank Art
This is probably the easiest. Take 5-7 boards, paint/distress them, mount them horizontally on a backing board. You can add words, leave them plain, or create patterns with different colored boards. I’ve done these in every size from small (like 2×3 feet) to massive statement pieces (6×4 feet).
The trick is spacing – don’t butt them directly against each other. Leave like 1/4 to 1/2 inch gaps. Makes it look more authentic and less crafty.
Geometric Patterns
Herringbone, chevron, or even just diagonal planks create interest without needing any painting skills. Cut your boards to size (this is the annoying part), arrange them in your pattern, and mount everything to a plywood backing.
Fair warning – the measuring and cutting is tedious. My client canceled last Thursday so I spent like three hours getting the angles right on a chevron piece and I wanted to throw it out the window by the end.
Shiplap-Style Backgrounds
Basically you’re creating a textured canvas. Install thin distressed boards in a shiplap pattern, then you can add metal letters, smaller wood elements, or leave it architectural. These work great over beds or in dining rooms.
Actually Hanging Heavy Wood Art
This is important because I’ve had two pieces fall off walls (not mine, clients’ – but still). Rustic wood art is heavy. Way heavier than canvas or framed prints.
Use heavy duty picture hangers rated for at least double the weight of your piece. Those little sawtooth hangers that come attached? Remove them. They’re useless for anything over like 5 pounds.
For really large pieces, I use D-rings on the back and heavy wire, or better yet, French cleats. French cleats are more work upfront but they’re basically bomb-proof once installed.
Finding Studs
Always try to hit at least one stud. Always. If your piece spans multiple studs even better. Drywall anchors can work for medium-weight pieces but wood art over 20 pounds should really be secured to studs.
And level that thing properly. Nothing screams amateur like a crooked rustic sign. I use a laser level now after eyeballing it one too many times and having to reposition.
Styling Around Rustic Wood Art
The piece itself is only half the equation. I’ve seen beautiful rustic art look terrible because of how it was styled.
Keep the wall around it relatively simple. Rustic wood has a lot of visual texture already so it competes with busy wallpaper or tons of other decor. A simple painted wall works best – white, grey, navy, sage green all work.
What to Pair It With
Things that complement rustic wood:
- Metal elements – iron, brass, copper
- Natural textiles – linen, cotton, jute
- Greenery – real or fake plants soften the rough texture
- Vintage finds – old books, pottery, glass bottles
- Simple modern furniture – creates nice contrast
What doesn’t work – overly ornate frames nearby, super contemporary abstract art next to it, anything too matchy-matchy. You want it to feel collected not coordinated.
Maintenance and Longevity
Real talk – unsealed distressed wood sheds. It drops little wood particles and if the finish isn’t sealed properly, the paint can flake off over time.
Always seal your pieces with something. Polyurethane gives a slight sheen but protects well. Wax looks more natural but needs reapplication. Matte poly is probably the best middle ground.
Keep them out of direct sunlight if possible. Even sealed wood will fade over time with constant sun exposure. And don’t hang them in super humid areas like bathrooms – the wood will warp.
If you’re buying vintage or actually old wood, check for insects. Seriously. I found powder post beetle evidence in a “authentic barn wood” piece once and had to treat the whole thing before bringing it inside.
Budget Breakdown
Since you’re probably wondering about actual costs:
DIY small piece (2×3 feet): $25-40 in materials if you buy new wood, $10-15 if you source reclaimed
DIY large piece (4×6 feet): $75-120 depending on wood quality and finish products
Store-bought small: $50-100
Store-bought large statement piece: $150-400
Custom commissioned: $200-600+
The time investment for DIY is real though. Plan on 6-8 hours minimum for a quality piece once you factor in drying time between layers.
Where to Find Cheap Wood
Habitat for Humanity ReStores are gold mines. Also check construction sites – I’ve gotten permission to take fence boards and old deck wood more times than you’d think. Facebook Marketplace always has people getting rid of old barn wood. Pallets work too but make sure they’re heat-treated not chemically treated (look for HT stamp).
Oh and another thing – old political signs after elections. The wooden stakes are perfect for smaller projects and they’re free for the taking once the signs come down.
Common Mistakes to Avoid
Using too much paint – thin layers look more authentic than thick ones
Making everything the same color value – you need light and dark variation
Ignoring the wood grain – work with it not against it
Over-distressing – less is weirdly more here
Not sealing properly – leads to mess and deterioration
Hanging without proper hardware – recipe for disaster
Buying without measuring your wall first – I’ve done this, it’s embarrassing when a huge piece arrives and you have nowhere it actually fits
The distressing should tell a story. Think about how wood actually ages – edges get worn, centers stay more protected, areas near handles or high-traffic spots show more wear. Random damage doesn’t look authentic, logical damage does.
Anyway that’s basically everything I wish someone had told me before I started working with rustic wood art. It’s honestly one of the more forgiving DIY projects because imperfections are kinda the point, but there’s still a learning curve to making it look intentionally distressed rather than just bad.