
Wall Art Guide, Wall Art Tutoriels
Santa Wall Art: Christmas Father St Nicholas Holiday
Oct
So I’ve been completely obsessed with Santa wall art lately and honestly it started because I was binge-watching some terrible Christmas movie and realized my own walls looked super boring for December. Like I curate art for other people’s homes but my apartment was just…blank? Anyway, let me walk you through what actually works because I’ve tested a ridiculous amount of this stuff.
Choosing Your Santa Style Because They’re Not All Created Equal
Okay first thing—you gotta figure out which Santa vibe you’re going for because there’s like a million different aesthetics and mixing them looks weird. I learned this the hard way when I put a vintage Victorian Santa next to a minimalist line drawing and my friend literally asked if I was having an identity crisis.
The main styles I’ve been working with:
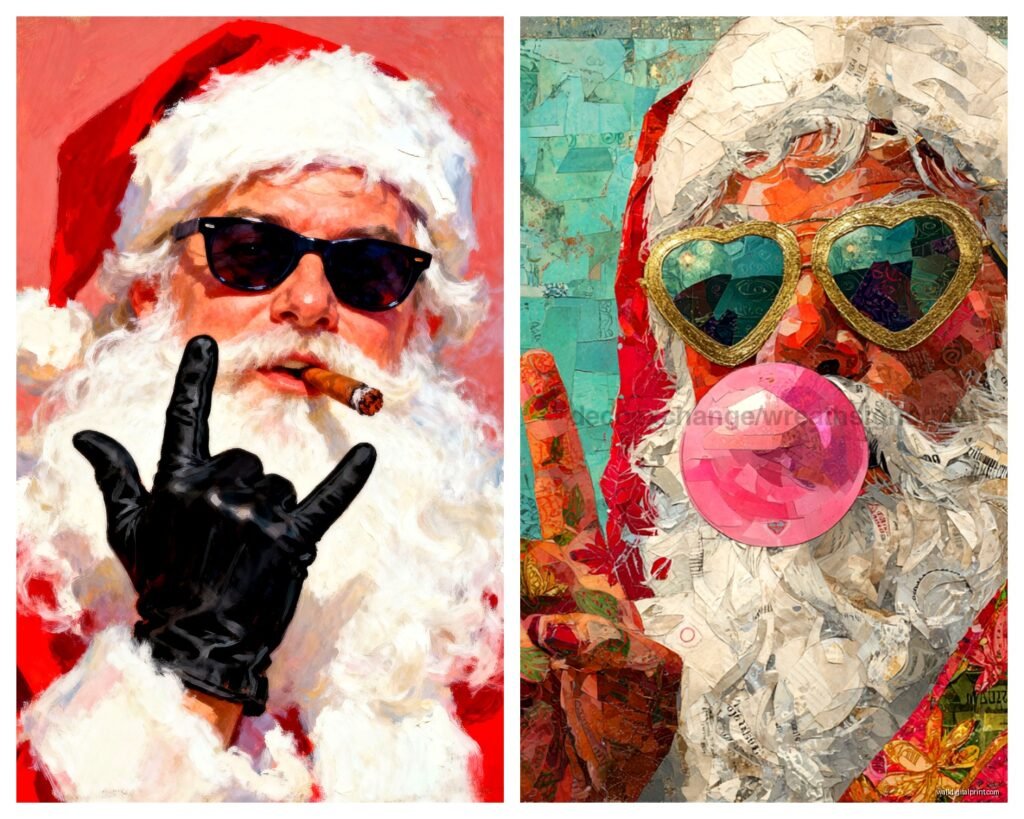
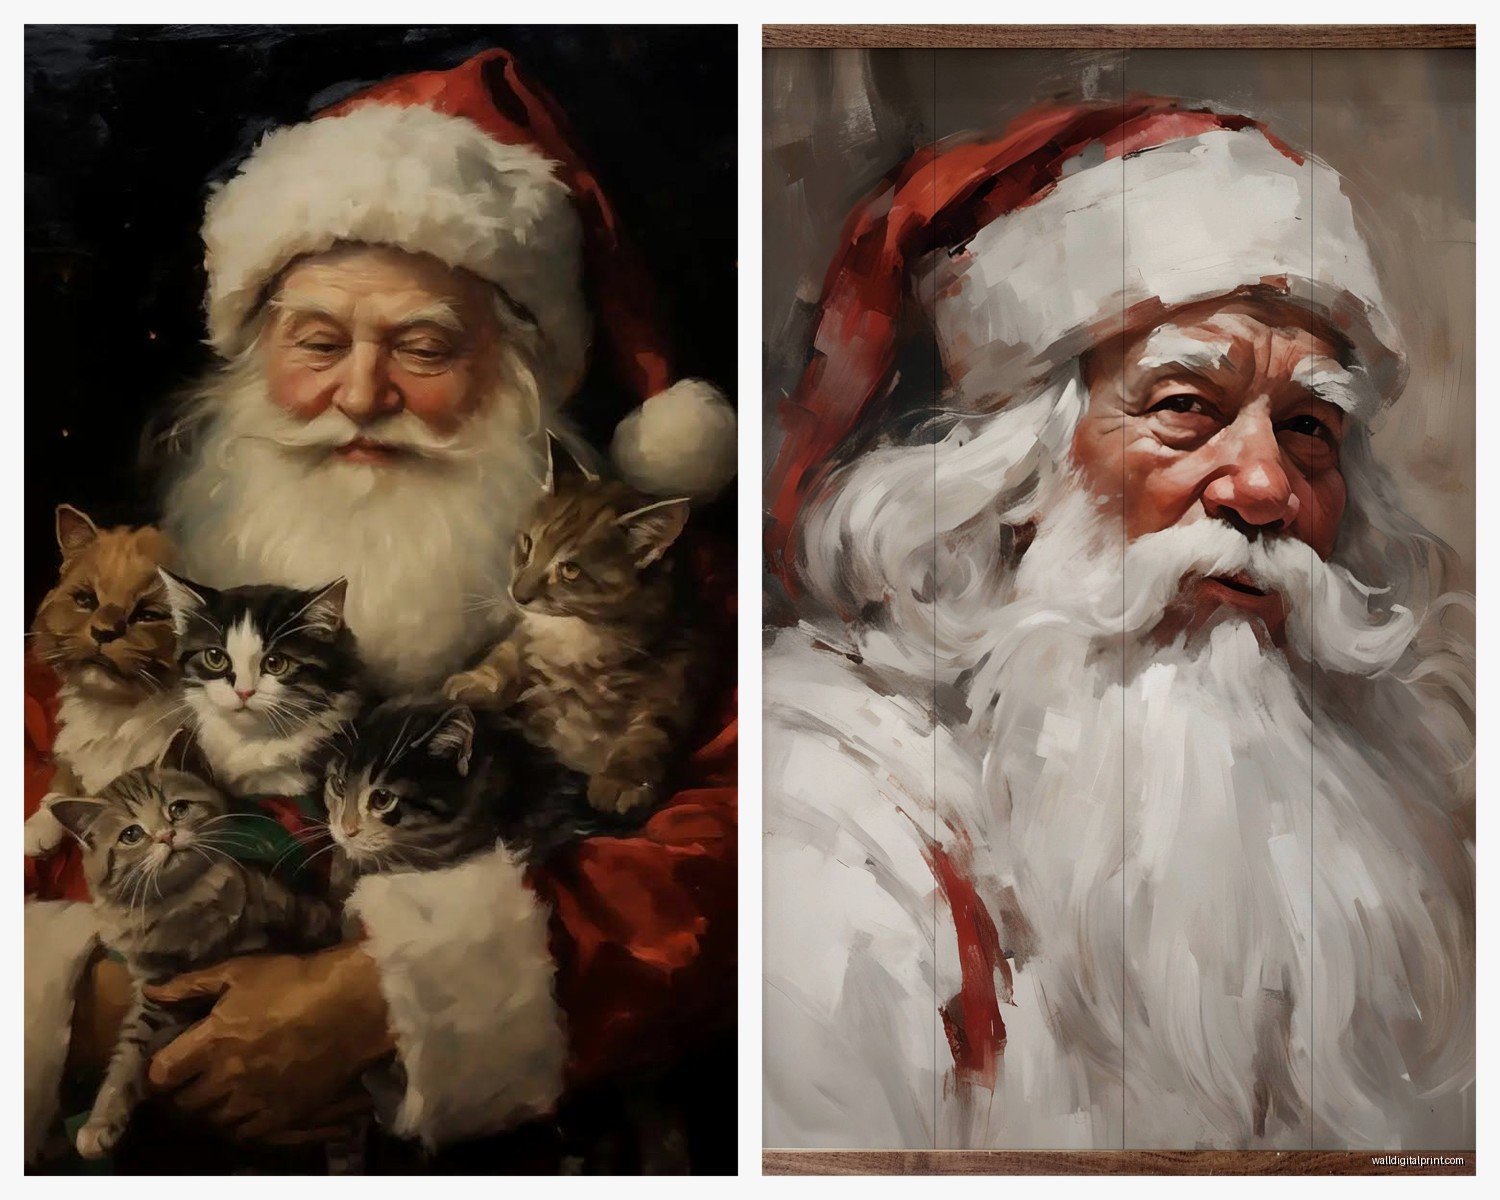
- Vintage/antique Santas—think those old Coca-Cola ads or Victorian Father Christmas vibes
- Modern minimalist—simple line drawings, geometric shapes, scandinavian-ish
- Traditional Americana—the classic red suit, rosy cheeks situation
- Folk art/rustic—more St. Nicholas historical stuff, earthy tones
- Retro mid-century—that 1950s illustrated look with the bold colors
I personally lean toward the vintage and folk art stuff because it doesn’t scream “CHRISTMAS!!!” in your face, you know? It’s more subtle. But if you’ve got kids or just love the full holiday energy, the traditional route is gonna make you happier.
Size and Placement That Actually Works
This is where people mess up constantly. They buy these tiny 8×10 prints and wonder why their wall looks sad. Here’s what I’ve figured out through way too much trial and error:
For above a console table or sofa, you want something at least 24×36 inches or a gallery wall situation with multiple pieces. A single small print just floats there looking lost. I did a client’s entryway last week and we went with a 30×40 vintage Santa print above a narrow console and it completely changed the space.
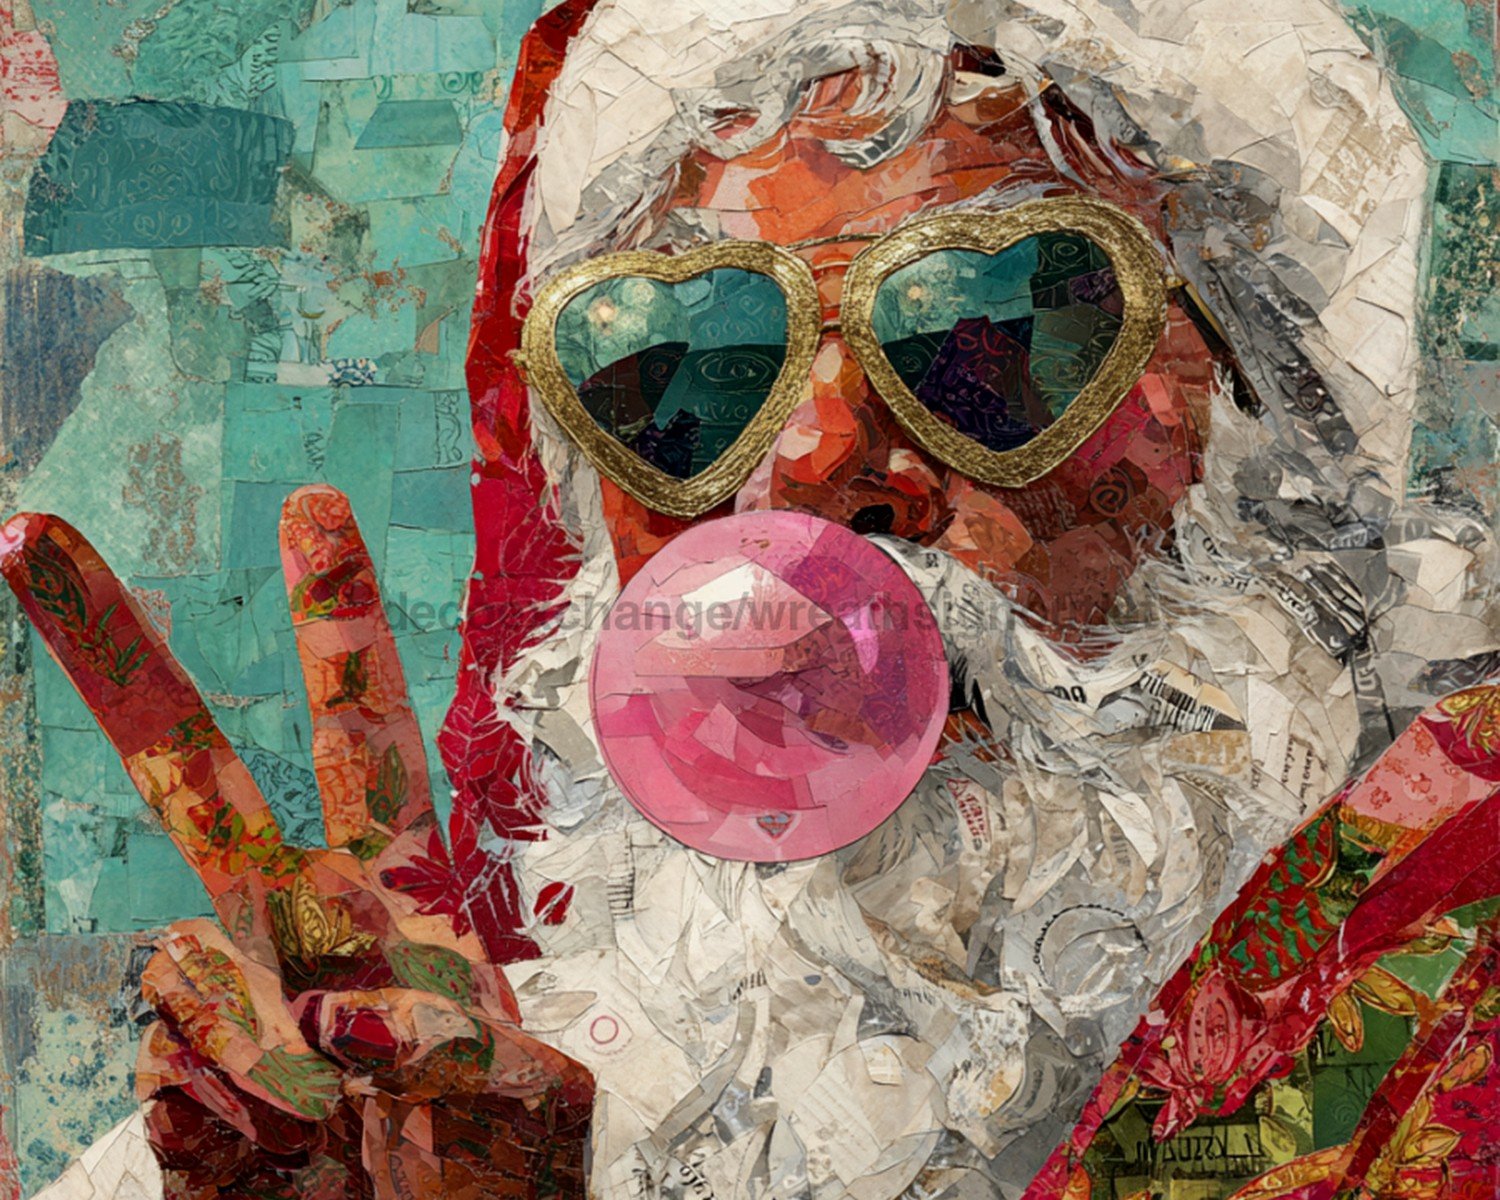
If you’re doing a gallery wall—and honestly this is my favorite approach for Santa art—aim for an odd number of pieces. Three or five works better than four or six for some reason our brains just like. I usually do one larger piece (like 16×20) flanked by smaller ones (8×10 or 11×14).
Where to Actually Find Good Santa Wall Art
Okay so I’ve spent embarrassing amounts of time hunting this stuff down. Etsy is obviously the goldmine but you gotta know what to search. Don’t just type “Santa wall art” because you’ll get buried in drop-ship garbage.
Try these search terms instead:
- “Vintage Santa print digital download”
- “Father Christmas antique illustration”
- “St Nicholas folk art”
- “Victorian Santa chromolithograph”
- “Retro Santa mid-century”
The digital downloads are clutch because you can print them at whatever size you need. I use a local print shop that does same-day service and the quality is way better than those online print services honestly. Plus you can test different sizes before committing.
For physical prints, I’ve had good luck with Minted and Artifact Uprising, though they’re pricier. Sometimes Target and Hobby Lobby have surprisingly decent stuff if you catch their sales. Oh and another thing—museum shops online! The Met and Library of Congress have incredible public domain Santa images you can download for free and print yourself.
Framing Without Spending Your Entire Paycheck
Listen, custom framing is like $200+ per piece and unless you’re keeping this up year-round (which…I actually do keep some up because I love the vintage aesthetic even in July but that’s just me being weird), you don’t wanna spend that much.
IKEA frames are your friend. The RIBBA series comes in tons of sizes and they look way more expensive than they are. I stock up on the black and wood ones. For a more rustic look, those chunky wood frames from Michael’s work great—wait for their 50% off sales which happen basically every other week.
Here’s a trick I use: buy mat boards separately and customize them. A white or cream mat makes even a cheap frame look professional. You can get pre-cut mats at craft stores or cut your own if you’re feeling ambitious (I tried this once while watching The Crown and messed up three mats before getting it right, so maybe just buy pre-cut).
The Practical Stuff Nobody Talks About
Command strips are gonna be your hanging method if you’re renting or don’t want holes everywhere. I use the large picture hanging strips and they’ve held up 16×20 framed prints with zero issues. Just make sure your wall is clean before applying them—I learned that after one fell at 3am and scared my cat so badly she didn’t come out from under the bed for six hours.
For heavier pieces or if you own your place, regular picture hangers work fine. The OOK brand ones with the little nail are super easy. Measure twice, hammer once, all that.
Creating a Cohesive Look Without Overthinking It
This is gonna sound weird but I keep all my Santa prints in similar color palettes even if the styles vary slightly. So like, if you go with vintage, stick to those faded reds, creams, and browns. For modern, maybe black and white with one accent color.
I made the mistake last year of mixing a bright red modern Santa with sepia-toned vintage ones and it just looked confused. Now I run everything through the same Lightroom preset if I’m printing digital files—just to unify the tones a bit. You don’t have to get that technical but keeping colors consistent makes a huge difference.
Also consider your existing decor. If your space is super minimalist and neutral, those busy Victorian Santas might clash. I’ve got a client with all-white walls and mid-century furniture and we went with simple line drawing Santas in black frames—looked absolutely perfect.
Temporary vs Permanent Display Options
Okay so funny story, I initially planned to only put Santa art up in December but then I fell in love with this 1920s Father Christmas print and now it lives in my hallway year-round. People either think it’s quirky or don’t even notice, so whatever.
But if you want truly temporary, there are peel-and-stick options now that don’t suck. Wallpops makes some decent removable wall art though I haven’t personally tested their Santa designs. I’ve also seen people use those magnetic poster hangers—you can swap artwork easily without dealing with frames.
For super temporary, washi tape works for lightweight prints. It’s not my favorite look aesthetically but if you’re in a dorm or rental with strict rules, it gets the job done.
DIY Options If You’re Crafty
I’m not super crafty but even I’ve made some simple Santa art that turned out okay. You can transfer vintage images onto wood plaques using Mod Podge—there are a million tutorials online. Takes like an hour and looks legitimately handmade in a good way.
Another easy one: print a vintage Santa image on cardstock, glue it to a canvas board from the craft store, and seal it with matte Mod Podge. Instant “art” for like $5. I did this for a friend’s kid’s room and she still has it up three years later.
What Actually Looks Good Together
If you’re doing a gallery wall situation, here’s the formula I use that works every time:
- One large focal piece—this is your main Santa, the star of the show
- Two medium pieces flanking it—these can be complementary images like vintage ornaments, winter scenes, or other holiday stuff
- Two to four smaller pieces filling in gaps—mix in some text prints like vintage Christmas sheet music or old postcards
I arrange everything on the floor first before hammering a single nail. Take a photo with your phone from standing height to see how it’ll actually look on the wall. This has saved me so many mistakes.
Oh and keep spacing consistent—I do about 2-3 inches between frames. Any closer looks crowded, any wider looks disconnected.
Mixing Santa Art with Other Holiday Decor
Your Santa wall art should vibe with your other decorations or it’ll look like two different people decorated your house. If you’ve got a rustic farmhouse Christmas thing happening, go with folk art Santas in wood frames. Modern glam setup? Maybe black and white photography-style Santa portraits in sleek frames.
I try not to compete with the Christmas tree too much. Like if your tree is the main event with tons of ornaments and lights, keep the wall art more subdued. But if you do minimal decorating elsewhere, your Santa gallery wall can be the statement piece.
Storing This Stuff for Next Year
Real talk, storage is annoying. I keep my framed Santa prints in those under-bed storage containers with bubble wrap between each piece. Takes up way less space than you’d think and everything stays protected.
For unframed prints, I’ve got a big portfolio case from Amazon—it was like $20 and holds tons of artwork flat. Way better than rolling them up which can leave crease marks.
Label everything or you’ll forget what you have. I learned this after buying basically the same vintage Santa print three times because I forgot I already owned it. Now I keep a photo album on my phone of all my Christmas art so I can reference it when I’m shopping.
Budget Breakdown from My Experience
Since you’re probably wondering what this actually costs:
- Digital print downloads: $3-8 each
- Professional printing: $15-30 depending on size
- Frames: $10-40 each depending on quality and size
- Physical prints from artists: $20-100+
- Vintage originals: super variable, I’ve found stuff for $15 at thrift stores and seen similar pieces for $200 online
You can honestly do a really nice gallery wall for under $100 if you go the digital download and IKEA frame route. That’s what I recommend for most people unless you’re really committed to having something super special.
Common Mistakes I See All the Time
Hanging things too high—the center of your artwork should be at eye level, which is usually around 57-60 inches from the floor. Everyone hangs stuff way too high and then wonders why it looks weird.
Not considering lighting. If your Santa art is in a dark corner, nobody’s gonna see it. I add a small picture light or position a floor lamp nearby to highlight gallery walls.
Buying prints that are too small for the space. I cannot stress this enough. Go bigger than you think you need. A 24×36 print feels enormous when you’re looking at it online but once it’s on your wall it’s usually just right.
Mixing too many styles. Pick a lane and stay in it. You can have variety within your chosen aesthetic but jumping from cartoon Santa to photorealistic to abstract all in one space is gonna look chaotic.
Okay I think that covers most of what I’ve learned through way too much trial and error with Santa wall art. The main thing is just start with one or two pieces you genuinely love and build from there. Don’t overthink it—it’s supposed to be fun and festive, not stressful. And honestly if you hate it after a week you can just take it down, that’s the beauty of seasonal decorating.
