Wall Art Guide, Wall Art Tutoriels
Scenic Wall Art: Landscape Nature Vista Photography
Jul
So I’ve been obsessing over landscape photography for wall art lately and honestly it’s completely transformed how I think about decorating spaces. Like, three months ago a client asked me to help her pick something for this massive blank wall in her living room and we went down this whole rabbit hole of scenic prints and now I can’t stop noticing what works and what absolutely doesn’t.
The Size Thing Everyone Gets Wrong
Okay so first thing – people always go too small. I see this constantly. You’ve got this huge wall and someone hangs like a 16×20 print and it just looks sad and floating there. For landscape photography especially, you want it to feel immersive, right? Like you’re looking through a window.
Here’s what I’ve learned actually works: measure your wall space, then think bigger than feels comfortable. If you’ve got a sofa that’s 84 inches wide, you want your art to be at least 2/3 that width. So we’re talking 56 inches minimum. I usually push clients toward 60-72 inches for that wall because it needs to anchor the whole seating area.
But here’s where it gets tricky with landscapes – the orientation matters SO much. Panoramic formats (like 1:2 or 1:3 ratios) work amazing for sweeping vistas, mountain ranges, ocean horizons. I just hung this 48×16 panoramic beach scene in my own hallway and it literally makes the space feel wider. Vertical formats though… those are trickier. They work great for waterfall shots, forest paths, canyon walls – anything with natural vertical movement.
Print Quality Actually Matters Here
I’m gonna be real with you, I wasted money on cheap prints before I figured this out. Landscape photography needs detail to work. Like, the whole point is you’re trying to capture the depth and texture of nature, so if your print is muddy or pixelated, it just looks like a blurry vacation photo.
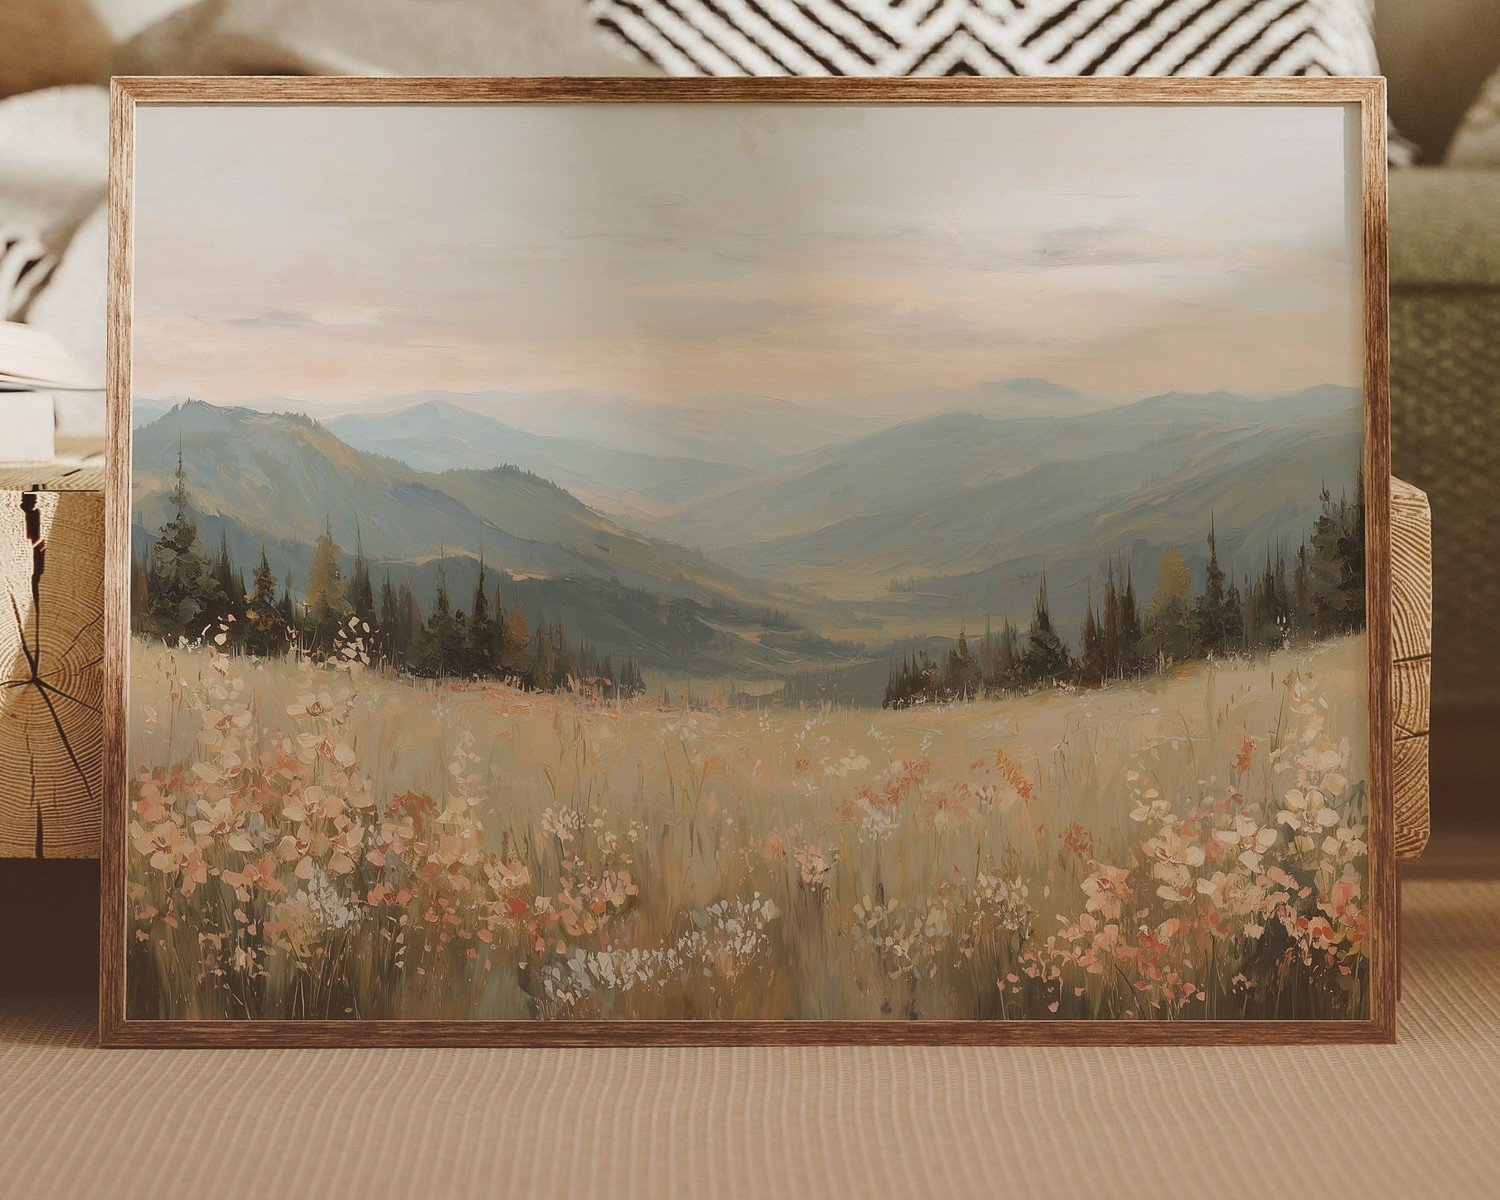
Canvas vs framed prints – this is where people have strong opinions. I’ve used both extensively and here’s my take: canvas works better for more painterly landscapes, softer scenes, misty mountains, that kind of vibe. It has texture which can enhance certain images. But for crisp, detailed photography – especially anything with fine details like rock formations, tree branches, or architectural elements in the landscape – you want a high-quality photographic print behind glass or acrylic.
Metal prints are having a moment right now and honestly they’re incredible for certain landscape shots. Water scenes especially – the metallic finish makes water look super luminous and reflective. I used a metal print of a glacier lake scene in a modern bathroom renovation last month and the client literally texts me photos of it still.
oh and another thing – matte vs glossy finish. Matte reduces glare which is huge if your art is going on a wall that gets direct sunlight or is across from windows. Glossy gives you richer colors and deeper blacks but you’re gonna see reflections. I default to matte like 80% of the time for landscapes.
Color Palette Coordination Without Making It Boring
This is where I see people overthink it. You don’t need your landscape to match your throw pillows exactly – that’s actually gonna look really staged and weird. But you DO want to think about color temperature and mood.
I’ve got this whole system now where I think about landscapes in color families:
Cool tones: ocean scenes, misty mountains, winter landscapes, blue hour photography. These work amazing in bedrooms, bathrooms, spaces where you want calm energy. They pair well with grays, whites, blues obviously, but also surprisingly good with warm wood tones because of the contrast.
Warm tones: desert scenes, golden hour shots, autumn forests, sunset photography. Better for living spaces, dining rooms, anywhere you want energy and warmth. These play nice with earth tones, creams, terracotta, that whole vibe.
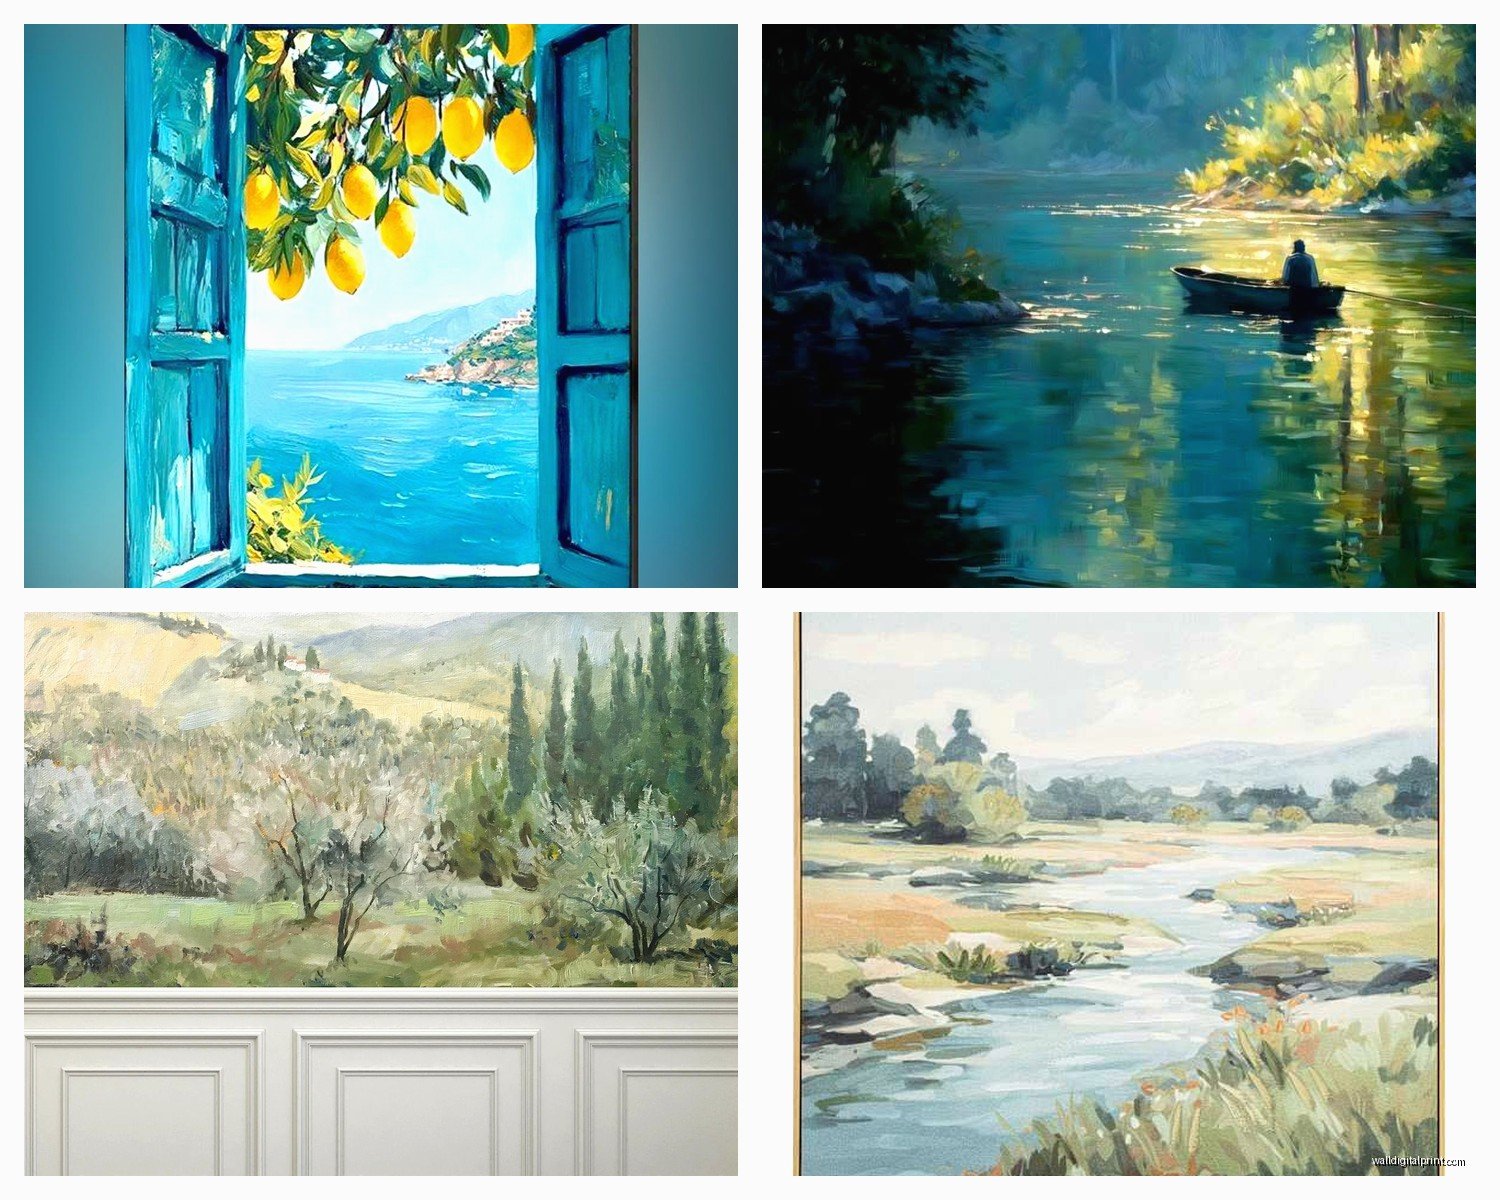
Neutral/green-heavy: forest scenes, meadows, rolling hills, tropical landscapes. These are your most versatile because green is literally neutral in nature. Works basically anywhere.
But here’s the thing I tell everyone – pick the image you’re emotionally drawn to first, THEN figure out how to make it work with your space. I’ve seen people choose art based purely on color matching and it never has the same impact as when someone picks something they actually connect with.
Subject Matter and Room Psychology
Wait I forgot to mention this earlier but it’s super important – certain landscape scenes work better in specific rooms and it’s not just about aesthetics.
Bedrooms: I steer people toward calmer, more horizontal landscapes. Ocean horizons, gentle hills, misty scenes, lavender fields. Anything that doesn’t have too much visual tension. You don’t want like a dramatic storm scene over your bed where you’re trying to sleep, you know?
Living rooms: This is where you can go bigger and more dramatic. Mountain peaks, dramatic coastlines, vast desert vistas. These spaces can handle more visual weight and dynamic compositions.
Home offices: I love using path or road imagery here – it’s subtle symbolism but it works. Forest paths, mountain trails, even roads disappearing into the horizon. Gives that forward-movement energy without being cheesy motivational poster territory.
Kitchens and dining areas: Harvest scenes, vineyard landscapes, Mediterranean vistas, anything that connects to abundance and gathering. Sounds woo-woo but I swear it creates a better atmosphere for these spaces.
The Frame Situation
Okay so framing can make or break landscape photography. I’ve seen gorgeous images completely ruined by the wrong frame choice.
For traditional or classic interiors: wood frames in darker finishes work great. Walnut, espresso, black-stained oak. They give landscapes that gallery-collected feel. I usually go with frames that have some depth to them – like 2-3 inches – because it creates shadow and dimension on the wall.
For modern or contemporary spaces: floating frames (where the print appears to float in the frame with a small gap), metal frames in black or brass, or even frameless options with just acrylic face-mounting. Super clean, lets the image do all the talking.
For transitional spaces: this is where I use natural wood frames a lot. Light oak, maple, or even whitewashed wood. They bridge traditional and modern really well and they don’t compete with the landscape imagery.
My cat just knocked over my coffee while I’m writing this but anyway – frame width matters too. Thin frames (like half-inch to one-inch) work for smaller prints or gallery walls. But for statement pieces, especially large landscapes, you want at least 2 inches of frame width. It gives the piece presence.
Gallery Walls vs Single Statement Pieces
So there’s this ongoing debate about whether landscapes work better as gallery walls or solo pieces. I’ve done it both ways probably hundreds of times now and here’s what I’ve figured out:
Single large-scale landscape = modern, clean, impactful. This works when you want one wow moment, when your space has a specific focal point that needs filling, or when the landscape itself is really dramatic and detailed. I default to this for minimalist or contemporary spaces.
Gallery wall of multiple landscapes = more traditional, collected, layered. This works when you want to create a whole mood or tell a story with different scenes. Like, I did this wall last year with all black and white mountain photography from different ranges – Alps, Rockies, Himalayas – and it became this whole conversation piece about travel and exploration.
The trick with landscape gallery walls is keeping some consistency. Either the same orientation (all horizontal or all vertical), the same color treatment (all color or all black and white), or the same subject matter (all water scenes, all forest scenes). Otherwise it gets visually chaotic.
Mixing Landscape Photography with Other Art
This is gonna sound weird but I actually love mixing landscape photography with abstract art or even figurative pieces. Like, you can absolutely have a serene lake photograph next to an abstract painting with similar colors. The key is treating them as equals in terms of framing quality and scale.
I just finished a living room where we did two large landscape photographs flanking an abstract piece and it created this really interesting dialogue between representational and non-representational. But you gotta be intentional about it – same frame style, similar scale, thoughtful spacing.
Where to Actually Source Quality Landscape Photography
Alright so this is probably what you’re actually wondering – where do you even find good stuff?
I’ve ordered from basically everywhere at this point. Here’s my honest rundown:
Fine art photography galleries online: This is where you get really unique pieces, often limited editions. More expensive but you’re supporting actual photographers and getting archival quality prints. I use these for high-end projects or when a client wants something really special.
Print-on-demand sites: These have gotten SO much better in the last few years. The quality can be great if you choose the right print options. I’ve had good experiences with several of the major ones. Just make sure you’re looking at the actual photographer’s work and reading reviews about print quality.
Direct from photographers: If you find a photographer whose work you love on Instagram or whatever, many of them sell prints directly. This is often the best value and you can sometimes request custom sizes.
High-end home decor retailers: They curate collections and handle all the framing which is convenient. You’re paying a premium but the quality control is usually solid and returns are easy if it doesn’t work.
What I avoid: those mass-market stores with the pre-framed prints that all look the same. The quality is usually meh and everyone has the same images in their homes.
Technical Stuff That Actually Impacts How It Looks on Your Wall
Resolution matters – for a large print, you want the image file to be at least 150-300 DPI at the final print size. Most good print services won’t even let you order if the resolution is too low, but some will and then you get a blurry mess.
Color profiles – if you’re ordering prints online, know that what you see on your screen isn’t exactly what you’ll get printed. Monitors display in RGB, prints are in CMYK. Most professional print services handle this conversion well, but it’s why I always order a small test print of anything important before committing to a huge expensive version.
Mounting and hanging – landscapes are often large and heavy. You need proper hanging hardware. I always use two D-rings or a french cleat system for anything over 30 inches wide. Those little sawtooth hangers that come on cheap frames are NOT enough and your beautiful vista is gonna crash to the floor at 3am.
oh and level your art properly please. I cannot tell you how many times I walk into a home and there’s this stunning landscape photo hanging at like a 5-degree angle. Get a level. Use it. Your wall will thank you.
Lighting Your Landscape Art
This is something people don’t think about until after they hang everything and then they’re like “why doesn’t this look as good as it did in the store?”
Natural light: Great for landscapes but watch for direct sunlight which will fade your prints over time. UV-protective glass or acrylic helps with this. I’ve also used solar shades on windows to filter harsh afternoon sun in rooms with important art.
Picture lights: These are those little lights that mount above frames. They work amazing for traditional spaces and really make landscapes glow, especially oil-painting-style landscape photography. Brass or bronze finishes for warm-toned landscapes, nickel or black for cool-toned.
Track or recessed lighting: More modern approach. You want adjustable heads so you can aim them at the art without creating glare. I usually angle them at about 30 degrees from the wall.
The goal is to light the art without creating hot spots or reflections. It’s honestly worth hiring an electrician for a few hours if you’re investing in quality landscape photography – proper lighting makes such a huge difference.
Seasonal Rotation
Okay so this is extra but some of my clients do this and I love it – they rotate their landscape photography seasonally. Like, ocean scenes in summer, autumn forest shots in fall, snowy mountain peaks in winter, flower fields in spring. You need storage space and it’s definitely extra effort, but it keeps your space feeling fresh and connected to the actual world outside.
I don’t do this in my own place because I’m lazy and also my storage situation is a disaster, but I get the appeal.
Anyway that’s basically everything I’ve learned from doing this constantly for the past few years. The main thing is just pick images that make you feel something and don’t stress too much about rules – like yes technical quality matters and yes scale is important, but at the end of the day you’re the one looking at it every day so it should be something you actually wanna see.