Wall Art Guide, Wall Art Tutoriels
Textured Wall Art: 3D Relief Dimensional Surface Designs
Oct
So I’ve been working with textured wall art for like three years now and honestly it completely changed how I approach bare walls. My client last month wanted something that wasn’t just another flat canvas print and we went down this whole 3D relief rabbit hole that was actually amazing.
Why Textured Wall Art Actually Works
The thing about dimensional surface designs is they catch light differently throughout the day. I installed this plaster relief piece in my own dining room and at 7am it looks completely different than at 3pm because of how the shadows fall. It’s like having multiple pieces of art that shift with natural light which sounds pretentious but it’s genuinely cool.
Regular flat art just sits there but textured pieces interact with your space. They create these micro-shadows and highlights that add depth without you having to hang fifteen things on one wall.
Types You’ll Actually Find and Use
Okay so there’s basically a few categories worth knowing about:
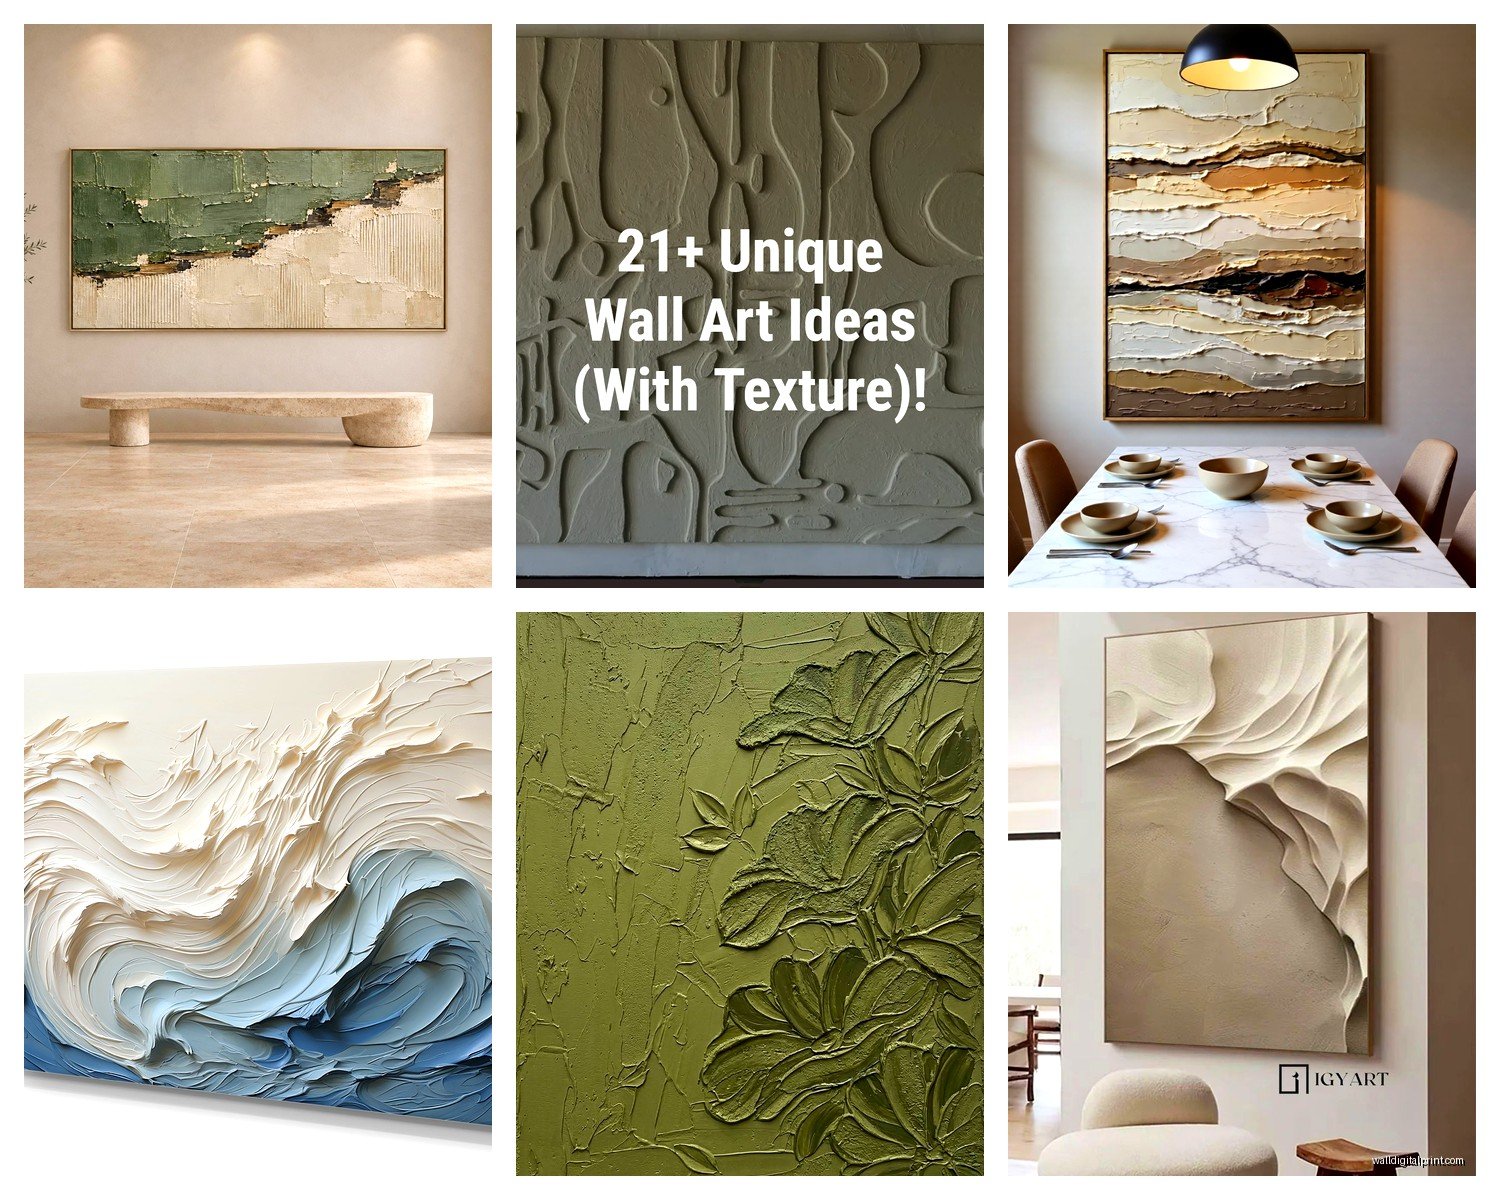
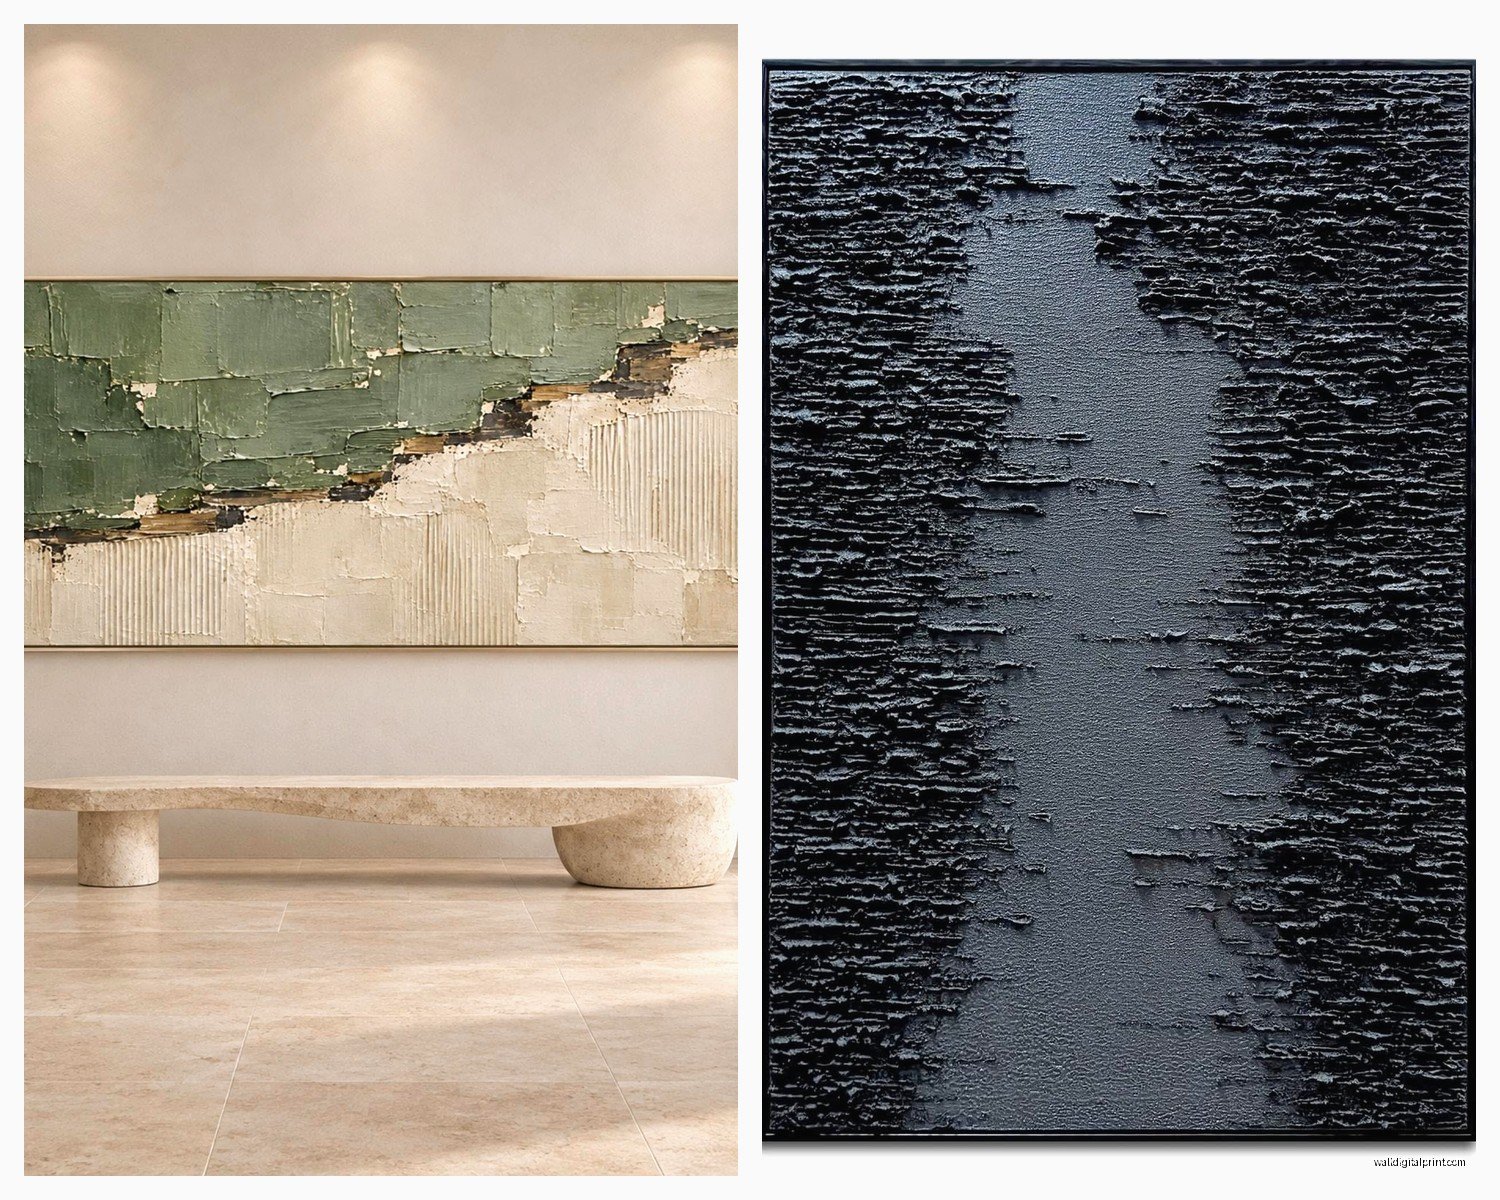
Plaster and Joint Compound Designs
This is probably the most DIY-friendly option. You can buy pre-made textured panels or make your own which I’ve done both ways. The pre-made ones from places like West Elm or CB2 are gonna run you $200-600 depending on size but they’re ready to hang. Making your own is cheaper but messy as hell.
I used joint compound on a 3×3 canvas panel last fall and it took me maybe four hours including drying time. You basically apply it thick with a putty knife, create your pattern or design, let it dry completely, then paint or leave it white. Mine cracked a tiny bit because I didn’t wait long enough between layers but honestly it added character.
Wood Relief Carvings
These are heavier and more expensive but they last forever. I’ve got a carved wood mandala thing in my bedroom that my dog ran into once and it didn’t even budge. Prices range wildly from like $80 for small pieces to $800+ for those massive geometric designs.
The installation is trickier because weight matters. Anything over 20 pounds needs proper anchoring. I use heavy-duty picture hangers rated for at least double the weight because I’m paranoid about things crashing down at 2am.
Metal Dimensional Art
This is having a moment right now. Layered metal pieces, copper reliefs, that hammered brass stuff everyone’s doing. They’re lighter than wood usually but can look cheap if you go too budget. I’d say spend at least $150 on metal pieces or skip it entirely.
The cool thing about metal is it reflects light in this warm way that plaster doesn’t. I have a copper geometric piece above my desk that catches afternoon sun and it’s like having a little light show.
Fabric and Fiber Textures
Woven wall hangings, macrame, layered fabric panels. These add texture but in a softer way. Not technically 3D relief in the traditional sense but they create dimensional interest. My sister has this chunky woven piece that’s maybe 4 inches deep in places and it completely softens her modern living room.
How to Actually Choose What Works
This is gonna sound obvious but consider your wall color first. White or neutral textured art on a white wall creates this sophisticated monochromatic thing that reads as expensive. Colored textures on colored walls can look muddy unless you really know what you’re doing.
I learned this the hard way with a terracotta textured piece on a warm beige wall and it just… disappeared. Moved it to my white hallway and suddenly it was a statement piece.
Scale Matters More Than You Think
Small textured pieces (under 20 inches) look like afterthoughts on big walls. You need substantial size for texture to register from across a room. I usually go at least 30×30 inches for a focal wall, bigger if the ceiling is over 9 feet.
But also don’t go so big that the texture gets lost. I saw this 6-foot textured canvas once where the relief pattern was so large you couldn’t read it as a design, just looked like a damaged wall.
DIY Textured Wall Art Methods I’ve Actually Done
The Joint Compound Method
Get a canvas panel or stretched canvas, joint compound from hardware store (the lightweight kind is easier to work with), putty knives in various sizes, and optionally acrylic paint.
Apply compound in layers. First layer is your base, maybe quarter-inch thick. Let it dry completely which takes like 6-8 hours. Then add your dimensional elements. I use:
- Palette knives for sweeping textured strokes
- Combs or forks for lined patterns
- Crumpled plastic wrap pressed into wet compound for organic texture
- Stencils for repeated relief patterns
The trick is working in sections because compound dries faster than you think. I usually do a 12×12 area at a time, create the texture, then move on.
Once everything’s completely dry (wait 24 hours to be safe), you can paint it. Spray paint gives even coverage. Or do what I did and dry brush acrylic paint so it only hits the raised areas and leaves shadows in the recesses.
Carved Foam Board Technique
This sounds weird but insulation foam board from Home Depot makes great relief art. Get the 1-inch or 2-inch thick sheets, draw your design, and carve it with a hot knife or even a regular utility knife.
I made a geometric design last year by cutting the foam into strips and layering them at different depths on a backing board. Covered the whole thing in plaster to hide the foam texture, painted it, and people think I spent $400 on it. Cost me maybe $30.
The foam is super light so installation is easy. Just use construction adhesive to attach pieces and regular picture hanging strips for the wall.
Layered Cardboard or Paperboard
Okay this is my secret cheap method. Get thick cardboard or chipboard, cut out shapes in your design, and layer them with different heights of spacers in between. Mod Podge or white glue everything together, then coat the whole thing in gesso or joint compound to unify the surface.
I did a whole series of these for a client’s office using just Amazon boxes and it looked legitimately artistic. The key is committing to the layers… like really building up depth with at least 3-4 levels.
Installation Without Destroying Your Walls
Heavy textured art is where people mess up. That 40-pound wood carving needs more than a single nail.
For pieces under 10 pounds I use 3M Command strips, the heavy-duty ones. They actually hold and you can remove them without damage though the removal process is annoying.
10-30 pounds gets picture hanging hooks rated for the weight, screwed into studs if possible. If there’s no stud where you want it, use toggle bolts or those screw-in drywall anchors. I’ve had good luck with the E-Z Ancor ones.
Over 30 pounds I’m using two heavy-duty hangers, definitely into studs, and probably calling someone stronger than me to help with installation because I dropped a metal piece once and it dented my floor.
The Wire Hanging Setup
Most dimensional art comes with D-rings on the back. String picture wire between them, making sure it’s taut but with a little give. The wire should sit about a third of the way down from the top of the piece.
Use a level. I know everyone says this but textured art shows off-kilter positioning more than flat art because of the shadows. Even slightly crooked looks really crooked.
Styling Around Textured Pieces
This is where it gets fun. Textured wall art is a statement so you can actually keep surrounding decor simpler than you might think.
I usually do a textured focal piece with one or two smaller flat pieces nearby for balance. Or a textured piece flanked by floating shelves with minimal objects. The texture is doing the heavy lifting so you don’t need tons of other stuff.
Lighting is huge. If you can put a picture light on it or position a floor lamp to graze across the surface, the dimensionality gets amplified. I have a small LED picture light on my plaster piece and it’s probably the best $35 I’ve spent on decor.
Don’t match textures. If you have a chunky woven wall hanging, don’t put a textured ceramic vase right next to it. Mix textures throughout the room but give each one space to be noticed.
Maintenance Real Talk
Textured art collects dust in all those crevices. I use a soft brush attachment on my vacuum on low power or a clean paintbrush to gently dust it every few weeks. Don’t use cleaning sprays unless you made it yourself and know what it’s sealed with.
Plaster and joint compound pieces can be fragile. I chipped mine moving furniture once and had to patch it with more compound which actually blended fine but was annoying.
Wood pieces are pretty durable but can fade in direct sunlight. My carved wood thing has darkened slightly over two years near a west-facing window which I actually like but worth knowing.
Where to Buy If You’re Not DIYing
For budget-friendly: Target’s Project 62 line sometimes has textured pieces under $100. West Elm’s sale section. Etsy has tons of options but quality varies wildly so read reviews carefully.
Mid-range: CB2, Anthropologie (wait for sales), local art fairs where you can see quality in person.
Investment pieces: I’ve had good experiences with Chairish for vintage textured art and one-of-a-kind stuff. Also artisan cooperatives if you have them locally.
Common Mistakes I’ve Made So You Don’t Have To
Going too subtle with the texture. If relief is less than a quarter-inch deep it barely registers as dimensional. Commit to real depth.
Hanging textured art too high. The standard “60 inches to center” rule applies but with textured pieces you want people to be able to see the dimensionality, not just look up at a shadowy blob.
Not considering the whole room’s texture balance. I once did a space with textured walls, textured art, and a shag rug and it was sensory overload. Mix smooth and textured surfaces.
Forgetting that dimensional art sticks out from the wall more than you expect. I’ve bumped into pieces walking past them more than I’d like to admit. Leave clearance space especially in hallways.
Oh and one more thing, if you’re making your own, wear old clothes because joint compound gets everywhere. I ruined a shirt last month because I thought I’d be careful and of course I wasn’t.
The whole textured wall art thing really does make spaces feel more curated and less like you just bought stuff from the same store everyone else did. It’s worth the extra effort of installation or the mess of DIY.