Wall Art Guide, Wall Art Tutoriels
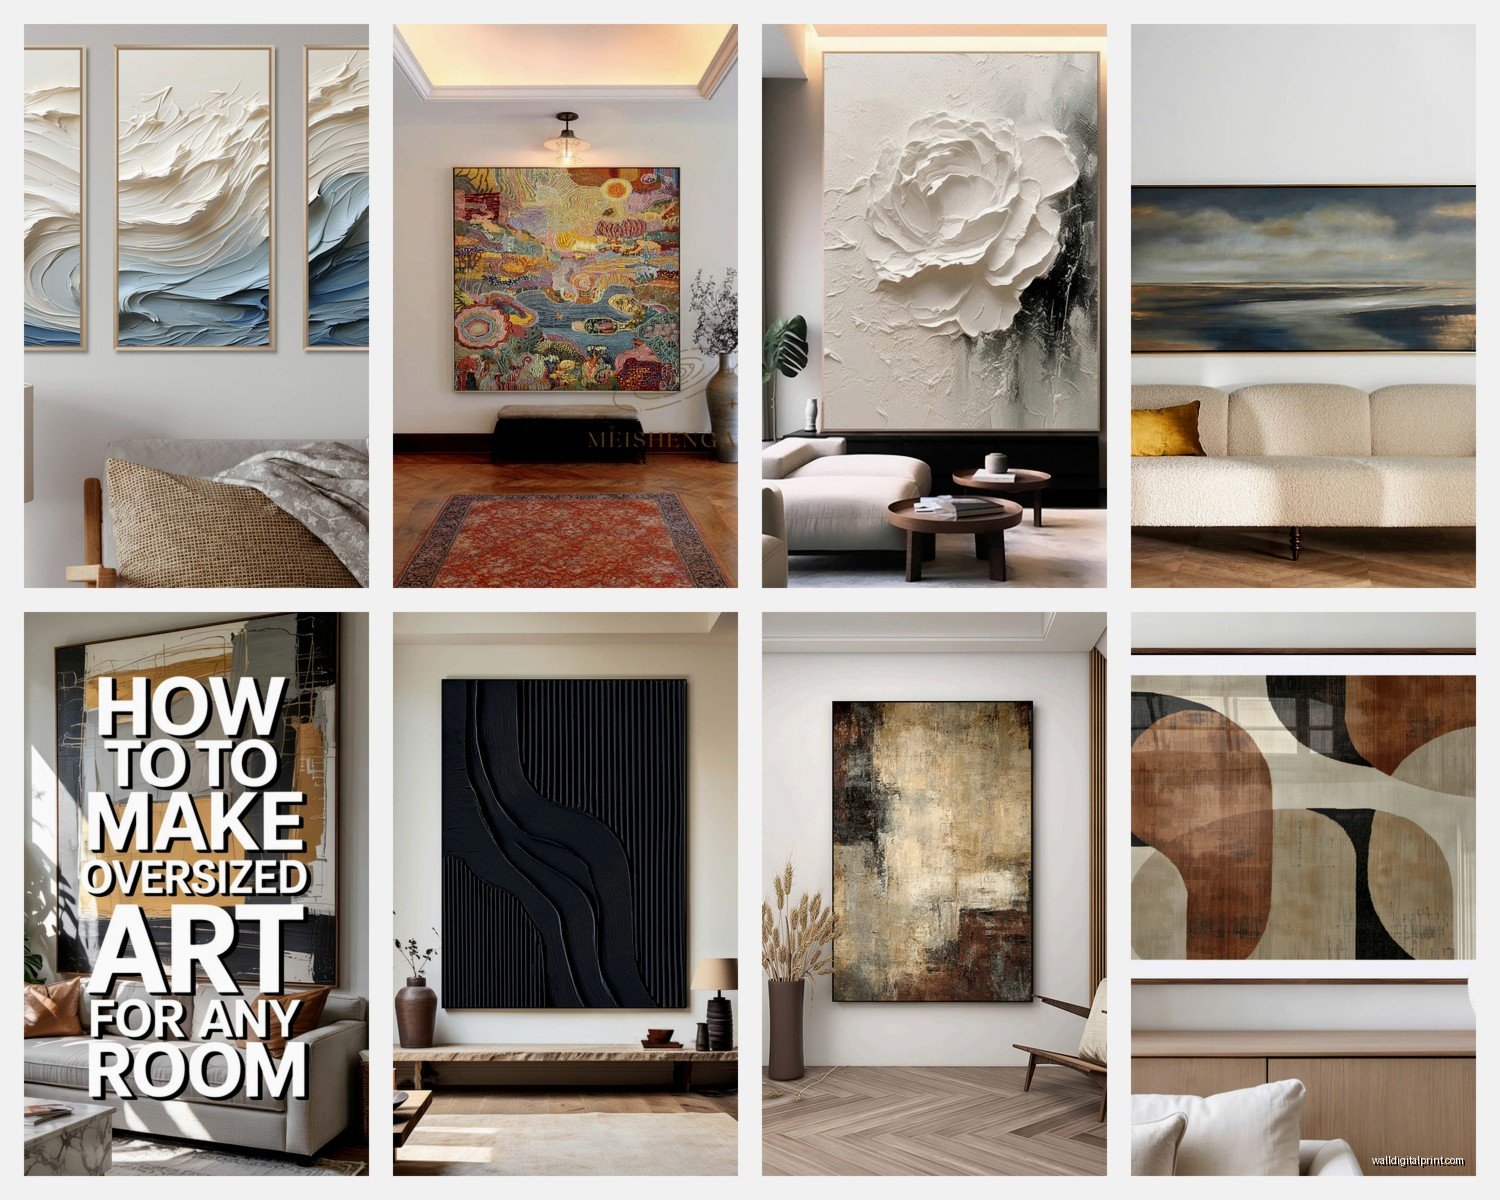
Very Large Wall Art: Oversized Statement Wall Pieces

May
So I’ve been living and breathing oversized wall art for the past three years and honestly, the biggest mistake people make is thinking bigger is just… bigger. It’s actually way more complicated than that and I learned this the hard way when I hung a 6-foot canvas in my own living room that looked absolutely ridiculous for reasons I didn’t understand at first.
The Actual Size You Need (Not What You Think)
Okay so here’s the thing nobody tells you. That wall you’re staring at right now? Measure it. Then measure your sofa or whatever’s underneath where you want the art. The piece should be roughly 2/3 to 3/4 the width of your furniture. I know everyone says this but they don’t tell you WHY it looks wrong when you ignore it—it’s because your eye needs the art to feel anchored to something, not just floating up there like a random thought.
I had a client last month who bought this absolutely stunning 4×6 foot abstract piece, spent like $2,800 on it, and it looked terrible above her sectional because the sectional was 10 feet long. We ended up doing two large pieces instead and she was… not thrilled about the additional cost but it actually worked.
For rooms with high ceilings (I’m talking 10 feet or more), you’re gonna need something at least 48 inches in one direction. Probably more like 60-72 inches. I have 9-foot ceilings in my dining room and anything under 40 inches just disappears up there.
Scale Testing Before You Buy
This is gonna sound weird but tape garbage bags together or use brown paper to mock up the size on your wall. I do this with every single project now because I got burned too many times. You can also use painter’s tape to outline the dimensions. Take a photo from where you normally sit in the room—your phone camera will show you immediately if the proportions are off.
Weight and Installation Reality Check
Oh and another thing—large art is HEAVY. Like really heavy. A 4×5 foot canvas can easily weigh 30-40 pounds, and if you’re looking at framed pieces or anything with glass, double that. I once watched a $3,000 piece fall off a wall because someone used regular picture hangers. It was… not great.
You need proper hardware:
- French cleats for anything over 50 pounds (these are amazing, they distribute weight across the whole back)
- Heavy duty picture hangers rated for at least double your art’s weight
- Wall anchors if you’re not hitting studs, and not those cheap plastic ones
- A studfinder that actually works—I like the Zircon models around $25
- A level that’s at least 24 inches long because small levels lie to you on big pieces
My cat knocked my level off the ladder last week and it broke, which is how I discovered that a 6-inch level is completely useless for this stuff anyway.
The Two-Person Rule
You absolutely cannot hang large art alone. I mean you CAN but you’re gonna mess up your wall and possibly drop expensive art. Get a friend, bribe them with pizza, whatever. I have a whole system now where one person holds it up while the other steps back to direct positioning. We use pencil marks that we’re willing to erase and adjust like five times.
Types of Oversized Art That Actually Work
Canvas is your friend for large scale because it’s relatively lightweight. I’m obsessed with gallery-wrapped canvas right now—that’s where the image wraps around the sides so you don’t need a frame. Frames on huge pieces add so much weight and cost.
Canvas prints: Can go up to 6 feet easily, lightweight, you can find affordable options. Mixtiles does large sizes now but I haven’t tested their biggest ones yet. Most print-on-demand places max out around 40×60 inches.
Acrylic prints: These are gorgeous and modern-looking but heavy and expensive. A 48×60 inch acrylic will run you $800+ and weigh a ton. The depth and luminosity is insane though. I used one in a client’s entry and people literally stop and stare at it.
Framed pieces: If you’re doing this, go for lightweight frames. Metal frames are usually lighter than wood for large sizes. Or do a floating frame which uses less material.
Photography: Large-scale photography is having a moment. Black and white especially. Just make sure the resolution is high enough—you need serious megapixels for a 5-foot print or it’ll look pixelated.
Textiles and tapestries: Lightweight, easier to hang, bohemian vibe. You can find huge ones for reasonable prices. Hanging system is usually just a rod.
Wait I forgot to mention—if you’re buying art online, check the return policy obsessively. Returning a giant piece of art is a nightmare. I had to return a 5-foot painting once and the shipping cost me $180.
Where to Actually Buy This Stuff
Minted: Goes up to 54×40 inches, good quality, I’ve ordered from them probably 15 times. Their engineering prints on matte paper are affordable for huge sizes.
Desenio: European company, ships to US, reasonable prices for large prints. Quality is hit or miss—their premium paper is worth it for big sizes.
Saatchi Art: Original art, you’re supporting artists, prices vary wildly. I’ve found amazing oversized pieces here for $1,500-3,000. You can negotiate with artists sometimes.
Society6: Maxes out around 88×68 inches for some designs. Quality has gone downhill in my opinion but still decent for trendy stuff.
Local artists: Check Instagram, seriously. I found a woman in my city who does 6-foot abstract paintings for $800 and they’re better than anything I’ve seen online. Custom sizes too.
Etsy: For oversized printable art that you take to a print shop yourself. This can save you money if you have a good local printer. I use a place that does architectural prints and their prices for large format are way better than online art retailers.
The Room-by-Room Breakdown
Living Room
This is where oversized art really shines. Above the sofa is obvious but make sure you leave 6-8 inches between the sofa back and the bottom of the art. Not 4 inches, not 10 inches—that range just works visually.
I’m currently watching this documentary about art forgers and it’s making me paranoid about buying original art but anyway—
For living rooms with a fireplace, art above the mantel should be roughly the same width as the firebox opening, maybe a bit wider. Going too big here actually overwhelms the architecture.
Dining Room
Horizontal pieces work better here usually because they echo the table shape. I did a 72×48 inch landscape photograph in my own dining room and it completely changed the space. Made it feel like an actual room instead of just a place where we pile mail.
Bedroom
Above the bed is tricky with oversized art because you want it big enough to make an impact but you’re lying down looking at it which changes the perspective. I usually go 60-75% of the bed width. So for a king bed (76 inches), you want something around 48-56 inches wide.
One designer friend does two large vertical pieces instead of one horizontal and honestly it’s brilliant. Two 24×48 inch pieces flanking the center.
Entryway
Go BOLD here. This is your first impression. A massive piece in an entry—like floor to ceiling almost—is so dramatic. I did a 6×8 foot photograph in a client’s two-story entry and it’s the first thing everyone talks about when they visit.
Styling Around Large Art
The art should be the star, so don’t compete with it. This means:
- Keep furniture simple if your art is colorful or busy
- Use the colors in the art to inform your accent choices—pull one or two colors for pillows or throws
- Don’t hang anything else on that wall, seriously just let it breathe
- Lighting matters SO much—picture lights or track lighting can make a huge difference
I see people put oversized art on a gallery wall and it just… doesn’t work. The whole point of going big is making a singular statement.
The Matting Mistake
If you’re framing, don’t do a mat on really large pieces unless you want to add another $400 to your framing cost. The mat would need to be proportionally large and it gets expensive fast. Plus it adds weight. Gallery wrap or float mounting looks more modern anyway.
Budget Real Talk
Oversized art is expensive, there’s no way around it. A quality 60×40 inch print will cost $300-500. Original art in that size starts around $1,500 and goes up to… infinity basically.
Ways to make it more affordable:
Printable art: Buy a digital file for $10-30, take it to a local print shop. For a 40×60 inch print I usually pay around $80-120 locally versus $400+ from online retailers.
DIY canvas: You can buy blank canvas and paint it yourself. Abstract art is forgiving. I did a 5-foot abstract for my office using house paint samples and it cost me $65 total.
Discount sites: Overstock, Wayfair, AllModern have sales on large art. I’ve gotten 60-inch pieces for under $200 during their big sales.
Thrift and estate sales: Sometimes you find amazing oversized art for nothing. I found a 4-foot vintage landscape painting for $40 last year. Needed cleaning but totally worth it.
Common Problems I See All the Time
Hanging it too high. The center of your art should be at 57-60 inches from the floor, which is average eye level. People think bigger art should go higher and it ends up floating near the ceiling looking weird.
Not considering the viewing distance. If you’re putting art in a small room where you’ll be close to it, super detailed pieces work. In a large room where you view from 15 feet away, you need bold shapes and colors or it’ll look muddy.
Choosing trendy art that’ll look dated in two years. I mean if that’s your thing go for it, but spending $1,000 on a huge geometric print that screams “2023” might not have staying power. I try to steer clients toward more timeless stuff for big investments.
Forgetting about light. Direct sunlight will fade art fast. UV-protective glass helps but adds weight and cost. I usually just avoid hanging valuable pieces where afternoon sun hits directly.
Oh and another thing—measure your doorways before buying. I had to return a 72-inch piece once because it literally would not fit through any door in my client’s house. We had to crane it through a second-story window for the replacement piece which was its own adventure.
The Installation Day Checklist
Have everything ready before you start:
- All hardware including extras
- Power drill with correct bits
- Hammer
- Level (the long one)
- Pencil
- Measuring tape
- Stud finder
- Step ladder tall enough that you’re not reaching
- Your helper person
- Snacks because this takes longer than you think
I always do a practice run where we just hold the art up without committing to holes. Take photos from different positions in the room. Sometimes what looks perfect straight-on looks too high from the sofa.
The actual hanging process takes me about 45 minutes for a large piece when I’m being careful. Don’t rush it. I’ve seen so many walls with multiple patch jobs from people who rushed and got it wrong.
Okay so that’s basically everything I wish someone had told me before I started dealing with oversized art. It’s intimidating at first but once you’ve done it a few times you’ll get a feel for what works. Just measure everything twice, get proper hardware, and don’t try to hang a 50-pound painting by yourself at 9pm on a Tuesday because you’re impatient like I did once.