Wall Art Guide, Wall Art Tutoriels
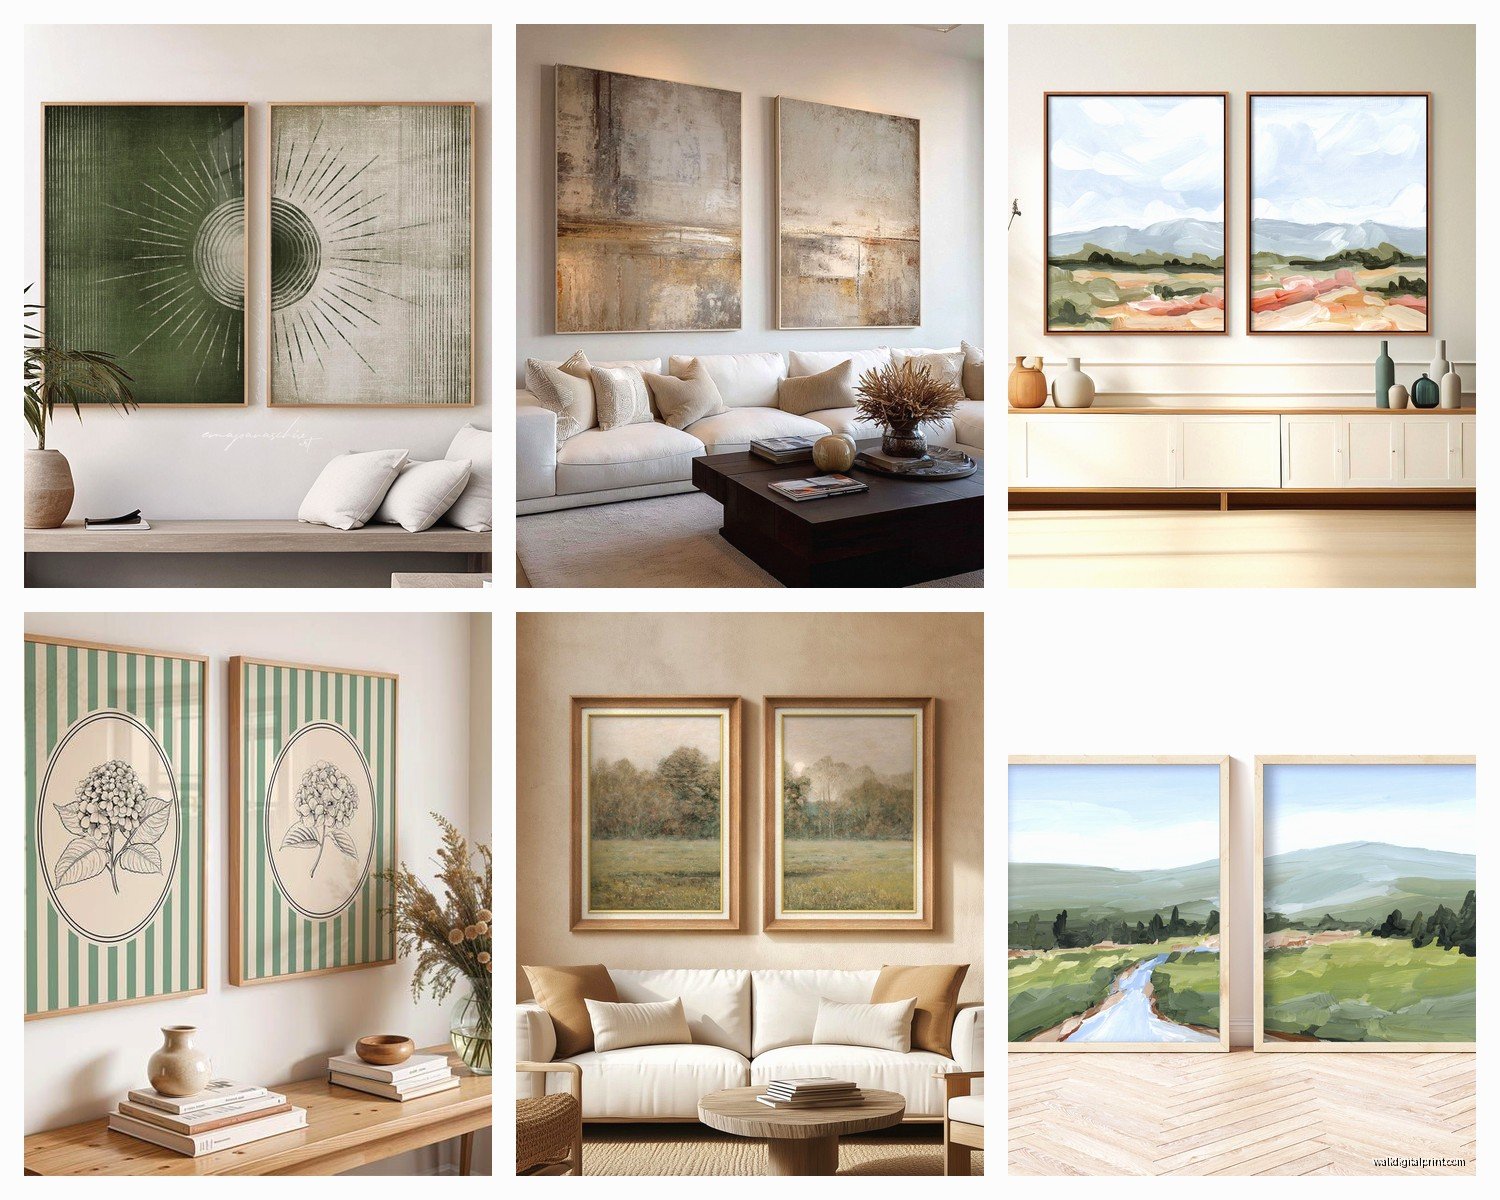
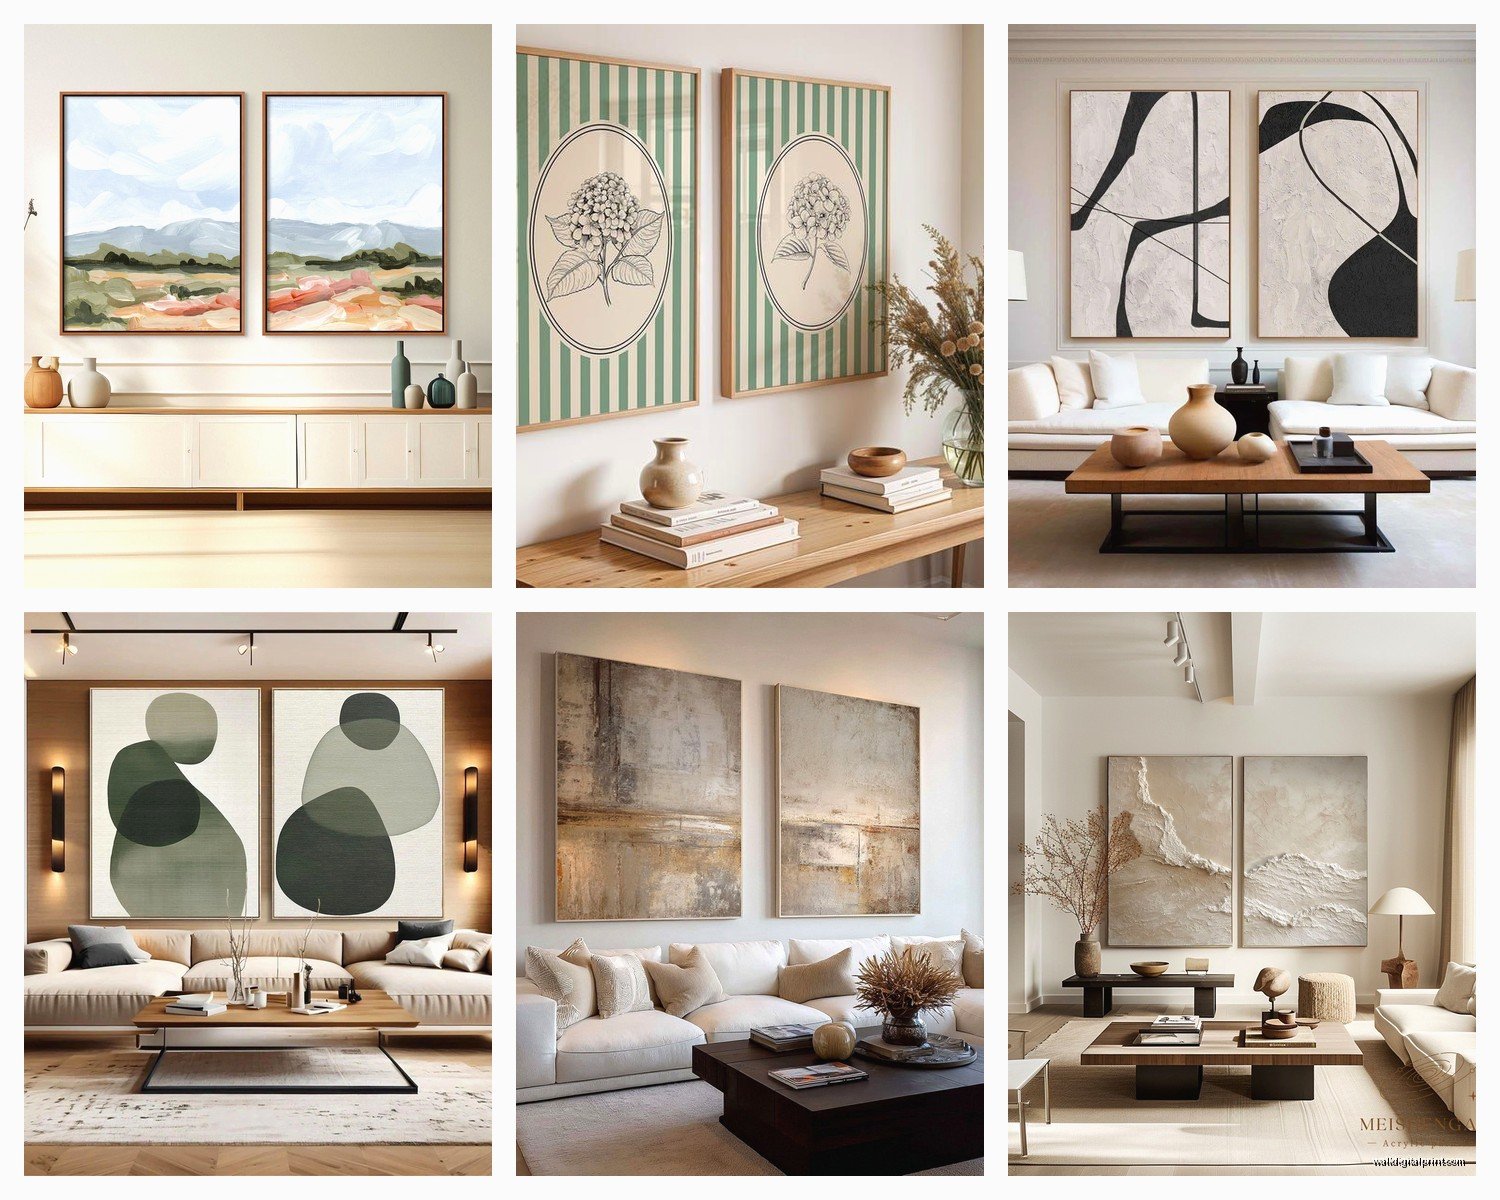
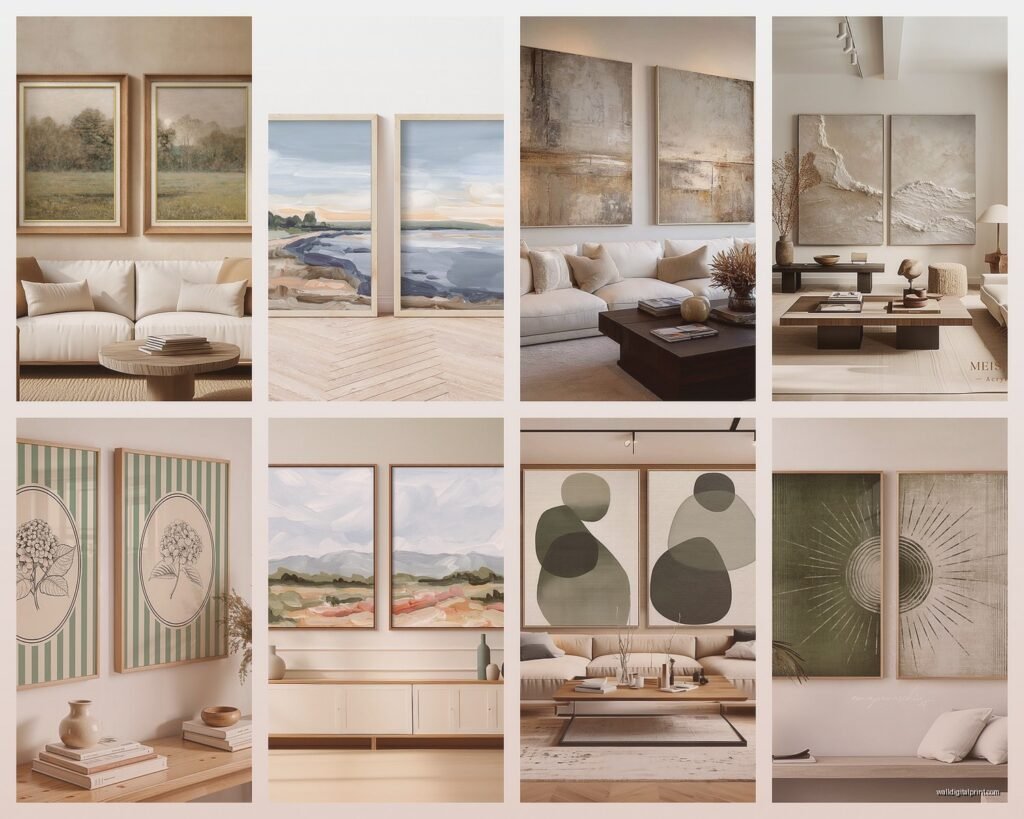
Wall Art Set of 2: Matching Pairs & Diptych Collections
Mar
So I’ve been hanging wall art sets for like forever now and honestly the two-piece thing is way trickier than people think. My client literally texted me last week asking why her “matching pair” looked weird and I had to drive over there at 8pm because she’d hung them like six feet apart and couldn’t figure out why it felt off.
The Spacing Thing Everyone Gets Wrong
Okay so the number one mistake is spacing. For a true diptych where the images are meant to be read together, you want like 2-4 inches between frames max. I usually go with 3 inches because it’s enough to see they’re separate pieces but your eye still reads them as one composition. If you go wider than 6 inches it starts looking like two random pieces that happen to be near each other.
But here’s where it gets weird… if you’ve got matching pairs that are more like coordinating pieces rather than one image split across two canvases, you can go wider. I’ve done 8-12 inches between frames when they’re complementary but not literally part of the same scene. Like if you have two abstract prints in the same color palette versus a landscape that continues from left panel to right panel.
Measuring Without Losing Your Mind
Get painter’s tape. Seriously just trust me on this. Cut strips the exact width of your frames and stick them on the wall first. You can move tape around way easier than you can move holes in your drywall. I learned this after putting like fourteen holes in my own hallway wall and my cat just sat there judging me the entire time.
For matching pairs above a sofa or bed, the total width of both pieces plus the gap should be about two-thirds to three-quarters the width of your furniture. So if your couch is 84 inches wide, you’re looking at roughly 56-63 inches total. If each frame is 24 inches wide, that’s 48 inches of frame plus say 4 inches gap = 52 inches, which is a bit narrow. You might want 30-inch frames or go with a wider gap like 10 inches.
Height Placement That Actually Works
The center of your art should be at eye level, which everyone says is 57-60 inches from the floor but like… whose eyes? I’m 5’6″ and my husband is 6’2″ and we definitely don’t have the same eye level. I usually aim for 58 inches to the center point as a compromise.
But wait here’s the thing nobody tells you about two-piece sets – you measure to the center of the PAIR, not each individual piece. So if you’ve got two 20×24 inch frames hung vertically with a 3-inch gap between them, your total height is 48 inches plus 3 inches gap = 51 inches. The center of that whole composition is 25.5 inches from the bottom. So the bottom of your lowest frame should be at about 32.5 inches from the floor (58 minus 25.5).
I literally have this written on a sticky note in my toolkit because I kept messing it up.
Over Furniture Is Different
When you’re hanging above a sofa, bed, console table, whatever – different rules. You want the bottom of your frames to be 6-10 inches above the furniture. I usually do 8 inches because it feels the most balanced. This often means your art sits higher than the standard 57-inch eye level thing and that’s totally fine.
Oh and another thing, if you’re doing a set of 2 above a headboard, go slightly higher than you think. Like 10-12 inches above because you’re viewing it from a reclined position sometimes and the perspective is different.
Horizontal vs Vertical Arrangements
Okay so you can hang two pieces side by side horizontally or stack them vertically and this choice matters more than people realize.
Horizontal arrangements make a wall feel wider. Great for above sofas, beds, long console tables. They create this calm, expansive vibe. I use these in narrow rooms to trick the eye into thinking there’s more width.
Vertical stacks make ceilings feel higher and work amazing in tight spaces like between windows or in hallways. I did a vertical diptych in a bathroom between the mirror and the towel rack last month and it totally changed how big that tiny space felt.
For matching pairs that aren’t a true diptych, you’ve got more flexibility. Sometimes I’ll do a diagonal arrangement where one piece is higher than the other but they’re still clearly paired. This works really well on stairway walls where you’re following the angle of the stairs.
Frame Matching and When to Break the Rules
Most people assume matching pairs need identical frames but honestly that can look kinda boring. If the artwork itself is very cohesive – like same artist, same color story, clearly meant to go together – you can actually use slightly different frames as long as they’re the same finish.
I mixed a thin black metal frame with a slightly thicker black wood frame once and it added this subtle visual interest that made the whole thing feel more curated and less “I bought a set from HomeGoods.” Which I mean sometimes you do buy a set from HomeGoods and that’s fine, but you don’t want it to LOOK like you did, you know?
Mat Boards Are Your Secret Weapon
If your two pieces are slightly different sizes – which happens more than you’d think even with “matching” sets – use mat boards to equalize them. A wider mat on the smaller piece brings it to the same outer dimension as the larger one. This is gonna sound weird but I keep a bunch of pre-cut mats in my storage unit just for this exact situation.
White mats are classic but black mats make colors pop like crazy. I used black mats on a beach photo diptych last year and the blues and whites just sang.
The Hardware Situation
For lightweight frames under 10 pounds each, regular picture hanging hooks are fine. The ones rated for 20-30 pounds give you a safety margin.
Medium weight 10-20 pounds per frame, I use two hooks per frame in a level line about a third of the way from each edge. This distributes weight better and keeps things from tilting over time.
Heavy frames over 20 pounds need wall anchors or you gotta hit studs. I use a stud finder that also detects wires because I once drilled into electrical and it was a whole thing. Get the good anchors, not the cheap plastic ones. Toggle bolts or the threaded drywall anchors that you screw in.
The Level Thing
Both pieces need to be level individually AND level with each other. I use a 4-foot level across both frames to make sure they’re on the same plane. You can have two perfectly level frames that are still slightly off from each other and your brain will pick up on it even if you can’t consciously tell what’s wrong.
My trick is to measure from the ceiling down to the top of each frame in like three spots. If those measurements match, you’re good.
Styling Around Your Set of 2
Don’t put other art too close. Give your pair some breathing room – at least 6-8 inches from any other artwork or wall decor. They need space to be read as a cohesive unit.
If you’re putting them above a console or dresser, style the surface with odd numbers of objects. Three vases, one stack of books with a small plant, whatever. The even number on the wall (your set of 2) plays nicely against odd-numbered styling below.
I learned this from watching too much HGTV while I was sick last winter and honestly it’s one of those rules that actually works.
Lighting Considerations
Picture lights are great for fancy art but they can look weird on casual matching pairs. Instead, use directional track lighting or wall sconces placed to either side of the pair. This creates a gallery effect without being too precious about it.
Avoid hanging art where direct sunlight hits it for hours daily. UV damage is real and I’ve seen prints fade in like six months when they’re in a south-facing window situation. If you must put art in sunny spots, use UV-protective glass or acrylic.
Common Diptych Mistakes I See All the Time
Hanging them too far apart – already covered this but it’s SO common. They should feel connected.
Not accounting for frame width when measuring – you gotta measure the whole thing including frames and gaps.
Forgetting about light switches and outlets – I once designed this perfect placement and then realized there was a light switch right between where the two frames would go. Had to shift everything over and it threw off the whole furniture alignment.
Using wire hangers on both pieces and wondering why they won’t hang level – wire hangers shift and settle differently. Use sawtooth hangers or D-rings for more control.
Mixing orientations randomly – if you have one landscape and one portrait orientation, there needs to be a reason. Otherwise stick with matching orientations.
My Go-To Sources for Sets of 2
I’m not gonna lie, I find the best matching pairs at estate sales and antique markets. There’s something about vintage prints that just work better as pairs than a lot of the mass-produced stuff.
But for clients who want new, Minted has really good artist collaborations where the pairs actually look like they were designed together. Etsy is hit or miss – search for “diptych” specifically rather than “set of 2” to find actual artistic pairs versus just two random prints bundled together.
Oh and Society6 lets you buy the same image in different sizes which is perfect for creating your own custom pairs with coordinating but not identical pieces.
DIY Diptych Options
You can make your own by taking one large photo or artwork and splitting it across two canvases. Print shops can do this pretty cheap. I did this with a panoramic beach photo from a vacation and it turned out way better than I expected for like $80 total.
Or go to a thrift store, buy two identical frames, and put complementary prints or fabric or even wallpaper samples in them. Instant custom matching pair.
When to Choose Sets of 2 Over Other Options
Two pieces work best when you have a medium-sized wall space. Too small and you should just do one piece. Too large and you probably want 3+ pieces in a gallery wall situation.
They’re perfect for symmetrical spaces – between two windows, over a centered bed or sofa, flanking a fireplace (though that’s technically two separate singles, not a pair).
I always recommend sets of 2 for indecisive clients because it’s enough visual interest to not feel boring but not so much that it feels cluttered or requires a ton of planning like a gallery wall does.
The thing about matching pairs is they give you that collected, intentional look without requiring you to be like an expert art curator. Just get the spacing and height right and you’re basically done.