Wall Art Guide, Wall Art Tutoriels
Removable Wall Art: Peel & Stick Temporary Decals
Apr
So I’ve been working with peel and stick wall decals for like three years now and honestly they’re such a game-changer when you’re renting or just don’t want to commit to anything permanent. Let me tell you what actually works because I’ve wasted money on some absolute garbage ones.
The Main Types You’ll See
Okay so there are basically three categories and they’re NOT all the same even though stores act like they are.
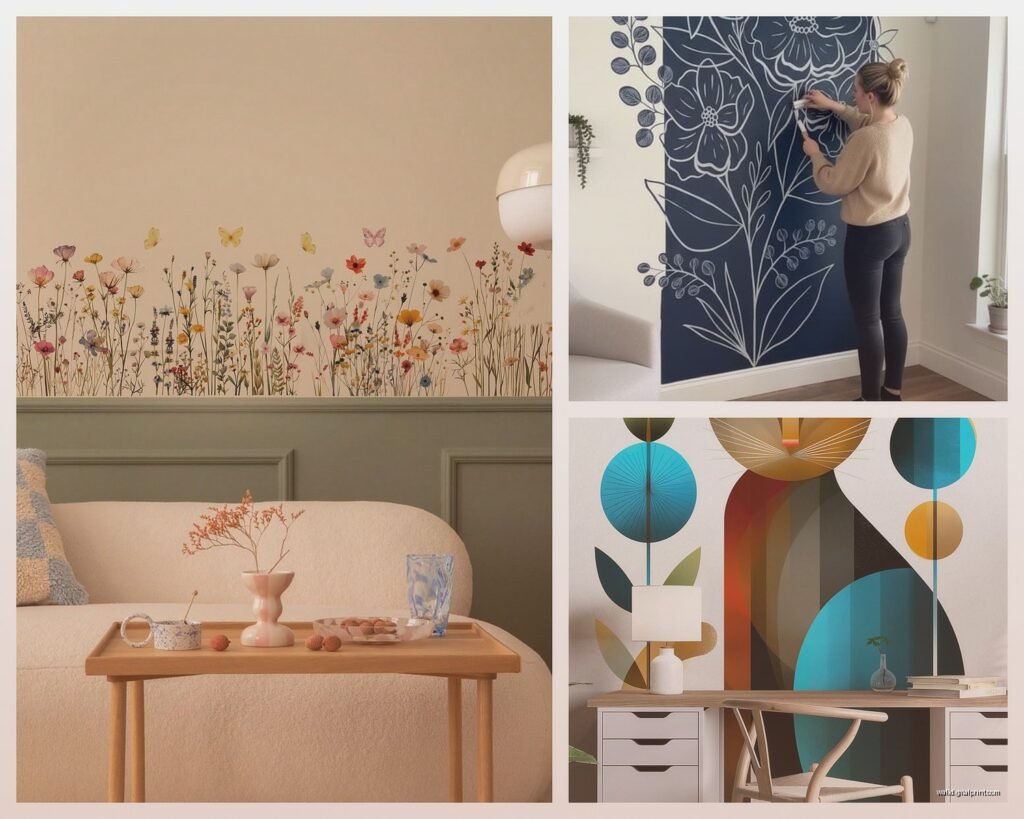
First you’ve got your vinyl decals – these are the most common ones you’ll find. They’re basically like a giant sticker situation. The good ones use fabric-backed vinyl which sounds fancy but it just means they won’t tear as easily when you’re peeling them off. I learned this the hard way with a geometric mountain range design that ripped into like seven pieces. My cat was sitting there judging me the entire time.
Then there’s fabric wall decals which are actually woven material with adhesive backing. These are really forgiving and you can reposition them multiple times without losing stick. I used these in a client’s nursery last month and we moved the cloud decals around probably fifteen times before she was happy with the layout.
The third type is static cling which technically isn’t adhesive at all – it just clings to smooth surfaces using static electricity. These only work on really smooth walls or glass though so like if you have textured walls forget it.
What Actually Sticks (And What Doesn’t)
This is gonna sound obvious but wall texture matters SO much. I’ve tested decals on probably thirty different wall types at this point and here’s what I know:
- Smooth painted walls – perfect, this is what everything is designed for
- Eggshell or satin finish – totally fine, works great
- Matte paint – also good but sometimes needs a bit more pressure when applying
- Semi-gloss – surprisingly works better than matte actually
- Textured walls or that orange peel texture – maybe 50/50 success rate depending on how aggressive the texture is
- Brick or concrete – nope, don’t even try unless it’s sealed really smooth
- Wallpaper – depends on the wallpaper but usually okay if it’s vinyl wallpaper
I had this whole situation last year where a client insisted on putting decals over her grasscloth wallpaper and I told her it probably wouldn’t work but she wanted to try anyway and yeah… they fell off within two days. The adhesive just couldn’t grip those fibers.
Brands That Don’t Suck
Okay so after testing way too many of these, here are the ones I actually recommend to people:
WallPops is probably my go-to for most projects. Their vinyl is thick enough that it doesn’t tear easily but thin enough to look painted on. They have this NuWallpaper line that’s actually repositionable peel and stick wallpaper and I’ve used it in three different spaces. Comes off clean every time. Price range is like $30-80 depending on the design size.
RoomMates makes really good illustrated decals especially if you’re doing kids rooms or want something whimsical. Their adhesive is super forgiving – you can literally peel it off and stick it back on multiple times. I’ve reused the same set of decals in two different apartments.
Blik is the expensive option but their designs are actually cool and modern. Like stuff you’d see in a design magazine. They work with actual artists so you’re not getting the same generic mandala that everyone has. They run $40-200+ but the quality is noticeably better.
Urban Walls does these confetti dot decals that I’m lowkey obsessed with. Sounds simple but they’re perfect for adding subtle texture without overwhelming a space. Each dot is individually placed so you can create whatever pattern you want.
Wait I forgot to mention – avoid the super cheap ones from like those random Amazon sellers with weird brand names. I ordered some botanical decals once that were $12 for a huge set and they showed up printed on what was basically paper with barely any adhesive. Total waste.
How To Actually Apply These Without Losing Your Mind
So the application process isn’t hard but there’s definitely a right way to do it. I was watching The Great British Baking Show while doing this last time and almost messed up because I wasn’t paying attention during a critical part.
First thing – clean your wall. I know this seems basic but use rubbing alcohol or just water with a tiny bit of dish soap. Let it dry completely. Any dust or grease will make the adhesive not stick properly. I usually clean the wall the night before so I know it’s totally dry.
Most decals come with transfer tape or backing paper. Here’s where people mess up – you gotta understand which side is which. Usually the decal is sandwiched between backing paper and transfer tape. You peel off the backing paper first while the transfer tape holds everything in position.
Step by step process that actually works:
- Plan your layout first – use painters tape to mark where things go or take a photo with the positioning you want
- Start from the center of the decal and work outward when peeling the backing
- Use a credit card or squeegee to smooth as you go – this pushes out air bubbles
- Work slowly, you can’t rush this part
- If you get a bubble, peel back to it and reapply rather than trying to push it to the edge
- For large decals get someone to help you hold the other end because trying to do it alone is… not fun
Oh and another thing – temperature matters more than you’d think. Don’t apply these when it’s super cold because the adhesive won’t activate properly. Room temperature or warmer is ideal. I made the mistake of doing an installation in January in an apartment with terrible heating and had to use a hair dryer to warm up the wall first.
The Repositioning Thing Everyone Asks About
So brands love to say their decals are “repositionable” but that’s like… technically true but with limits. You can usually reposition within the first few minutes of application no problem. After that it depends on the quality of the adhesive.
Good quality decals can be removed and repositioned maybe 2-3 times total before the adhesive starts losing its grip. Cheap ones? Maybe once if you’re lucky. I’ve had clients who wanted to “try different spots” and moved decals around eight times and then wondered why they wouldn’t stick anymore and I’m like… that’s not how adhesive works unfortunately.
The fabric-based ones are the most forgiving for repositioning. Vinyl can stretch or tear if you’re not careful pulling it off the wall, especially if it’s been up for a while.
Removing Them Later
This is actually the biggest selling point of these things – they’re supposed to come off without damaging walls. And mostly they do, but here’s what I’ve learned:
Peel slowly at a 45-degree angle. Not straight out, not flat against the wall – 45 degrees. This is the magic angle that releases the adhesive without pulling paint. If you feel resistance, use a hair dryer on low heat to warm the adhesive first. It softens it and makes removal way easier.
Sometimes you’ll get adhesive residue left behind. Don’t panic. Rub it gently with your finger and it’ll ball up and come off. Or use a bit of rubbing alcohol on a cloth. I keep Goo Gone on hand for stubborn spots but honestly I rarely need it with quality decals.
The only time I’ve seen paint damage is on really old paint that was already flaking or on flat/matte paint that wasn’t properly cured before the decal went up. Wait at least 30 days after painting before applying decals to new paint.
Design Ideas That Actually Look Good
Okay so this is gonna sound weird but most people go way too big with their first decal purchase. They see these huge tree designs or massive geometric patterns and think bigger is better. But honestly some of the best applications I’ve done are smaller and more subtle.
My client canceled last week so I spent an hour comparing different ways to use decals and here’s what looks most sophisticated:
Above the bed headboard – instead of a huge dramatic design, try a simple arch or abstract shape that frames the bed. Adds visual interest without overwhelming the space.
On closet doors – this is such an underutilized spot. You can go bold here because it’s a defined area. I did a client’s closet doors with a chinoiserie pattern and it completely transformed her bedroom.
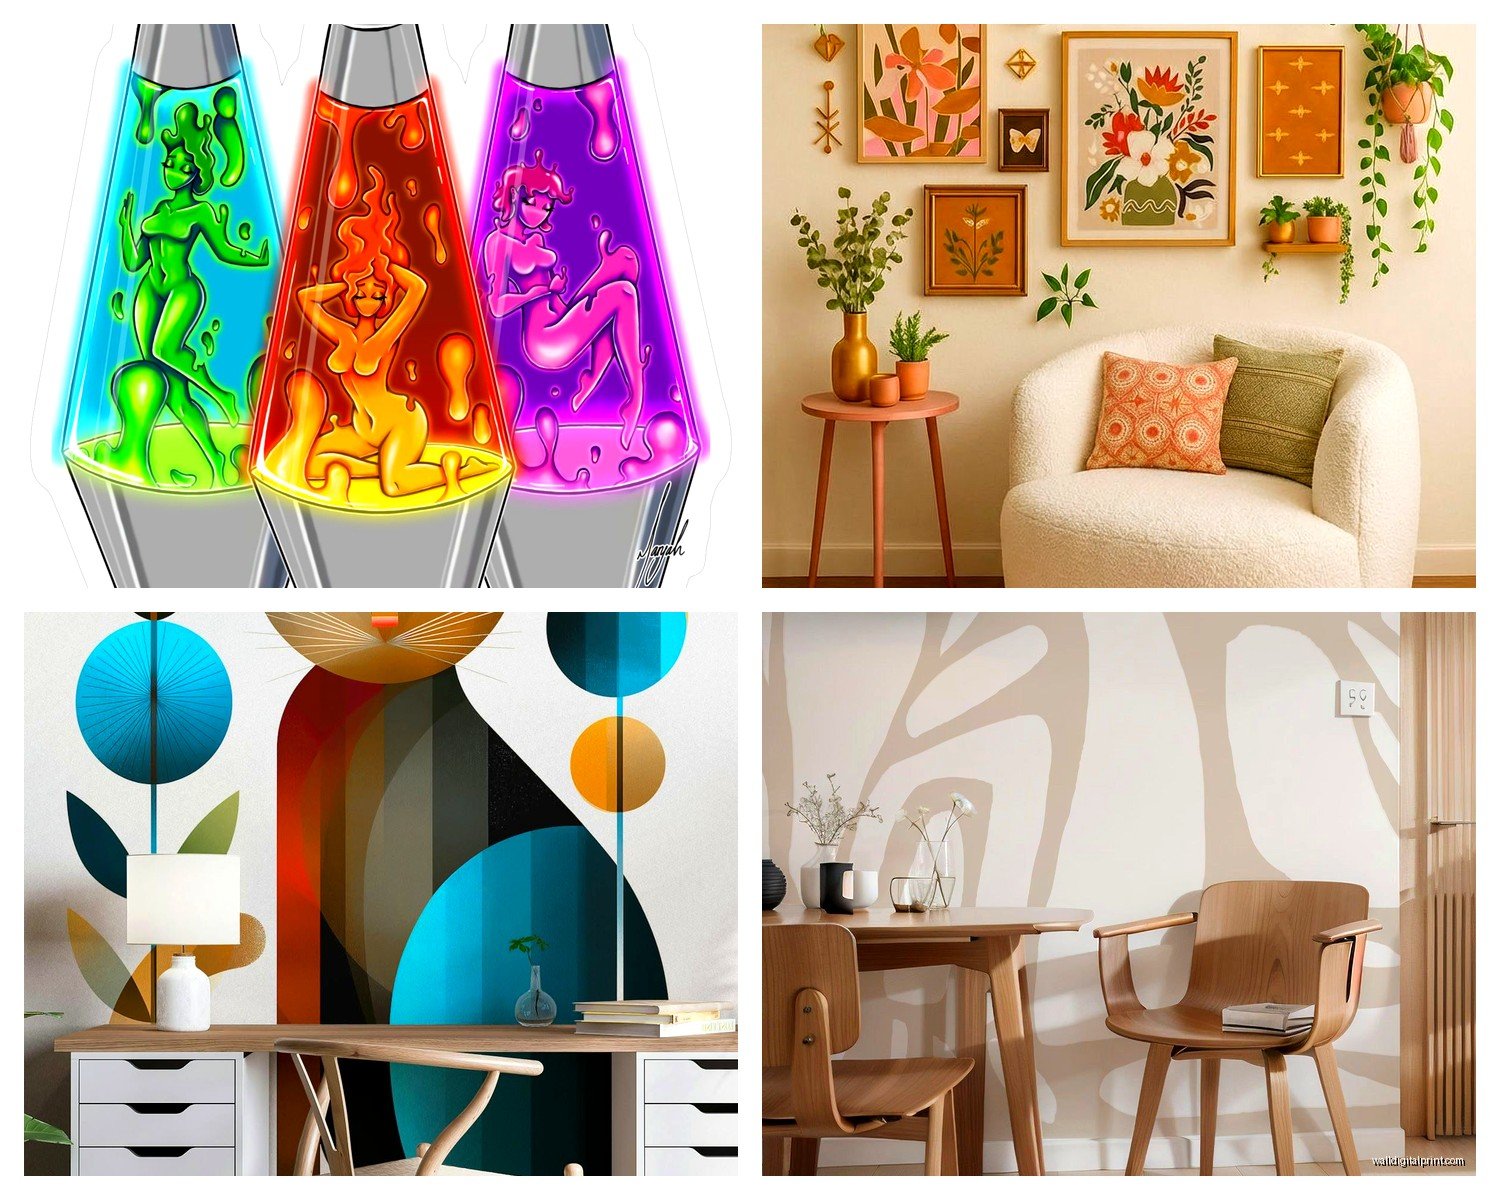
Scattered small elements – like those confetti dots I mentioned or small botanical leaves. Create an organic pattern up a wall or around a corner. Looks way more custom than one big decal plopped in the middle of a wall.
Behind floating shelves – adds depth and makes the shelves look more intentional. Works especially well with geometric patterns.
In awkward spaces – that weird wall next to the bathroom door? The space above the washer and dryer? These are perfect for decals because you probably wouldn’t hang art there anyway.
What To Avoid
Don’t get inspirational quotes unless you’re absolutely sure. I’ve removed so many “Live Laugh Love” type decals from clients’ homes I’ve lost count. They date really quickly and honestly they’re kinda cringe unless it’s something really meaningful to you specifically.
Avoid super trendy designs unless you’re okay with them feeling dated in a year. That chevron pattern that was everywhere in 2015? Yeah. The millennial pink wave? Over. Stick with geometric shapes, botanicals, or abstract designs that have more longevity.
Skip the metallic finishes on textured walls – they highlight every imperfection. Matte finishes are much more forgiving.
Don’t try to apply these on humid days or right after showering if it’s a bathroom. The moisture in the air affects adhesion. Found this out the hard way in a beach house rental where nothing would stick until we ran a dehumidifier for an hour.
Mixing Decals With Other Wall Decor
You can totally combine decals with framed art and it looks great if you do it intentionally. I usually use decals to create a backdrop or frame for art pieces. Like putting botanical decals around a gallery wall to connect the pieces visually.
Or use them to extend a design element – if you have one piece of art with a specific motif, pull that same shape or element and repeat it with decals. Creates cohesion without looking too matchy.
Just make sure there’s enough breathing room. Don’t crowd every surface. The decals should enhance your space, not compete with everything else you have going on.
Storage and Reuse
If you’re taking decals down but want to save them, you gotta store them properly. Put them back on the original backing paper if you still have it, or use wax paper or parchment paper. Roll them loosely – don’t fold or crease. Store flat if possible.
I have a whole bin of decals I’ve collected from various projects and installations. Some are still usable after two years of storage. The vinyl ones hold up better than fabric for long-term storage.
Realistically though, most decals are good for one solid use. Maybe two if you’re careful. They’re not really meant to be permanent reusable items, more like temporary solutions that you can change out when you want something different.
Cost Breakdown
Since people always ask about budget – here’s what you’re actually looking at:
- Small accent decals (dots, small shapes): $15-30
- Medium sized designs (single image, moderate detail): $30-60
- Large statement pieces (tree designs, big geometrics): $60-120
- Full wall murals or peel and stick wallpaper: $80-200+
- Custom designs: $100-500+ depending on size and complexity
It’s more expensive than regular paint but way cheaper than actual wallpaper installation or hiring a muralist. And you can take it with you when you move which is huge if you’re renting.
The quality difference between a $20 decal and a $60 decal is usually pretty significant. The more expensive ones have better adhesive, more durable materials, and designs that don’t look cheap. Sometimes it’s worth spending more.
Honestly the biggest thing is just to start small and test it out. Get one simple design for a space you’re not super precious about and see how it goes. Once you get the hang of application and understand how they work with your specific walls, you can get more ambitious. I’ve seen people transform entire rooms with these things and I’ve also seen people give up after one bad experience with a cheap product. Quality matters, patience matters, and proper wall prep matters way more than people think it does.