Wall Art Guide, Wall Art Tutoriels
Lighted Wall Art: LED Backlit Illuminated Designs
Nov
So I’ve been totally obsessed with LED wall art lately and honestly it’s because I installed this backlit piece in my own living room about six months ago and now every client wants one. Let me just dump everything I know because I’ve tested way too many of these things.
The Basic Types You’ll Actually See
Okay so there’s basically three categories and they’re super different. You’ve got your edge-lit panels where the LEDs are around the sides and light shoots through acrylic or glass. Then there’s backlit where the lights sit behind the art creating this halo effect. And direct-lit which is like… the LEDs are the art itself, think neon signs but LED.
Edge-lit is what I started with because it looked the cleanest. The light diffuses through frosted acrylic and makes these geometric designs or nature scenes glow evenly. Problem is if you get a cheap one the light distribution is terrible and you see these weird bright spots near the edges. I bought one off Amazon for like $45 thinking I was being smart and yeah no, it looked like a science fair project gone wrong.
What Actually Works (From Someone Who Wasted Money)
The backlit ones are honestly my favorite now. You mount the art piece about half an inch to two inches off the wall and the LEDs create this ambient glow behind it. Works amazing with metal art, wood cutouts, canvas prints. My friend Sarah has this mountain range silhouette in her bedroom and the blue LED glow behind it is just *chef’s kiss*.
Here’s the thing though – you gotta think about your wall color. I installed a backlit piece on my client’s dark grey wall and the effect was so subtle it basically disappeared during the day. White or light colored walls reflect that LED glow way better. Or you can paint just that section which is what we ended up doing.
Installation Reality Check
Nobody talks about this but installation can be annoying. Most backlit pieces need:
- Mounting brackets or standoffs to create that gap from the wall
- Access to an outlet unless you want visible cords everywhere
- Sometimes a transformer box that’s bulkier than you’d think
- Level hands because if it’s even slightly crooked the light spread shows it
I spent three hours installing one last month because the mounting system was these tiny spacers and getting them all level was… my cat kept jumping on the ladder which didn’t help. But yeah budget at least an hour even for “easy install” ones.
The Power Situation
This is gonna sound obvious but you need to plan for power and I’ve seen so many people not think this through. Your options are:
Plug-in with visible cord – fine if you can hide it behind furniture or run it along baseboards. I use those flat extension cords that you can paint over sometimes.
Plug-in with hidden wiring – means cutting into drywall to run the cord behind the wall to a lower outlet. Technically you’re supposed to use in-wall rated cable for this and honestly I just hire an electrician because I don’t wanna deal with code violations.
Hardwired – cleanest look but you definitely need an electrician unless you’re handy with electrical work. Usually means installing a junction box behind where the art goes.
Battery powered – these exist but they’re weak and you’re changing batteries constantly. Only worth it for small accent pieces.
The one I have in my living room is hardwired and it was worth paying the electrician $200 because there’s literally no visible cords and it’s on a dimmer switch which brings me to…
Dimming and Color Control
Oh and another thing – check if it’s dimmable before you buy. Some LED wall art is fixed brightness which is fine until you realize it’s blazing at full power every time and you can’t adjust it for movie watching or whatever.
RGB color changing ones are trendy right now. You get a remote or phone app to change colors and honestly? It’s fun for like two weeks then most people just pick one color and leave it. I have a client who changes hers with the seasons which is cute. Blue in summer, amber in fall, that whole thing.
The app-controlled ones connect via Bluetooth or WiFi. WiFi is better because you can control it when you’re not home but the cheap ones lose connection constantly. I tested this one brand where the app crashed every three days and you had to unplug the whole thing to reset it. So annoying.
Smart Home Integration
If you’re into smart home stuff, look for ones compatible with Alexa or Google Home. Being able to say “dim the wall art” is actually pretty nice. I have mine connected to a routine so it turns on automatically at sunset and dims at 10pm.
The RGBW strips (that’s RGB plus white) are better than just RGB because you get actual white light not that bluish fake white. Trust me on this one.
Sizing and Placement
Biggest mistake I see is people buying pieces that are too small. That 16×20 inch backlit print that looks substantial online? It’s gonna look like a postage stamp on your big empty wall.
For a focal point piece you want minimum 30×40 inches. I usually go bigger. Like 48×36 or even larger for spaces with high ceilings. The LED glow adds visual weight but you still need actual physical presence.
Height matters too – center of the art should be around 57-60 inches from the floor which is standard gallery height. But with backlit pieces sometimes I go slightly higher because the glow effect extends downward and you want that halo visible from your normal sitting position.
DIY vs. Pre-Made
Okay so funny story, I tried making my own LED backlit art thinking how hard could it be. Bought LED strips, mounted a canvas on standoffs, and it looked… homemade. The light was uneven, the strips showed through the edges, the whole thing just screamed “I watched a YouTube tutorial.”
That said, if you’re actually handy it’s totally doable. You need:
- Your art piece (canvas, metal work, wood cutout, whatever)
- LED strip lights – get the ones with good reviews for even lighting
- Mounting standoffs or French cleats with spacers
- Power supply that matches your LED voltage
- Maybe aluminum channels to diffuse the light better
The trick is spacing the LED strips evenly and far enough from the wall edge that you don’t see individual diodes. I’ve found 1.5 to 2 inches works well. And use a diffuser channel, seriously, it makes such a difference.
Pre-made is obviously easier. You’re paying for someone else to figure out the engineering. Good brands have even light distribution, clean mounting systems, proper power supplies that won’t catch fire (hopefully).
Where to Actually Buy These
I’ve ordered from everywhere at this point. Etsy has amazing custom stuff – there’s sellers who’ll do personalized designs, your city skyline, coordinates of special places, all backlit. Quality varies wildly though so read reviews carefully.
Amazon has the full spectrum from garbage to decent. The generic Chinese brands are hit or miss. Some are fine, some arrive broken, some stop working after three months. I only buy from there now if it has like 500+ reviews and actual photo reviews showing it installed.
Specialty sites like Lux Lounge or Illume Gallery (I’m probably forgetting names) sell higher-end pieces. You’re paying more but the quality is noticeably better. Better LEDs that don’t shift color over time, nicer mounting hardware, actual customer service.
Wait I forgot to mention – local metal workers and woodworkers often make custom backlit pieces. I found this guy at a craft fair who makes geometric mountain ranges from layered wood with LEDs between the layers and his work is incredible. Sometimes local is the way to go.
Price Reality
Budget pieces: $40-150 – probably edge-lit acrylic, smaller sizes, basic designs. Fine for trying out the look.
Mid-range: $150-400 – better construction, larger sizes, more design options, possibly color changing.
High-end: $400-1500+ – custom designs, premium materials, sophisticated lighting effects, actually looks like art not a gadget.
I’ve got pieces across this whole range in different client projects and honestly the mid-range stuff offers the best value unless you want something really specific.
Design Choices That Actually Matter
Abstract geometric stuff is super popular right now. Hexagons, mountains, waves, that kind of thing. Clean lines look better with LED backlighting than complex detailed images.
Nature scenes work great – forests, mountains, ocean waves. The backlighting adds depth that makes them feel dimensional.
Typography and quotes… this is gonna sound weird but I’m kinda over them? They were everywhere for a while. If you do go this route pick something meaningful to you not just a generic “live laugh love” situation.
Custom silhouettes are my favorite to recommend. Your city skyline, your actual mountain view, coordinates of where you met your partner, whatever. Makes it personal and the backlight effect adds this cool ambiance.
Metal vs. wood vs. acrylic – metal gives the sharpest cleanest look and the light reflects off it in interesting ways. Wood is warmer and more organic. Acrylic is most affordable and versatile but can look cheap if it’s not done well.
Maintenance and Longevity
LEDs last forever supposedly but I’ve had strips start dying after a year. Usually it’s the power supply that goes first actually. Keep your receipt.
Dust builds up behind backlit pieces and affects the glow over time. You gotta take it down every few months and wipe down both the art and the wall behind it. Pain in the neck but necessary.
Color shifting is real with cheap LEDs. That bright white slowly turns bluish or yellowish. Quality LEDs maintain color better – look for high CRI ratings (90+).
Common Problems I’ve Troubleshooted
Flickering usually means loose connection or dying power supply. Check all your connections first before assuming the LEDs are bad.
Uneven lighting – either your LED placement is off or you need a diffuser. Sometimes adding a layer of white fabric or diffuser material behind the art helps.
Too bright/too dark – this is why dimmers are essential. What looks good in the evening might be way too bright at night or too subtle during day.
The glow color doesn’t match your space – warm white (2700-3000K) for cozy spaces, cool white (5000-6000K) for modern spaces, RGB if you can’t decide.
Visible LEDs around edges – your standoffs aren’t deep enough or the art piece needs to be larger to cover the spread. I’ve fixed this by adding trim around the edges before.
My Current Favorites
The mountain range backlit piece in my living room is still my favorite thing. Warm white LEDs, walnut wood, about 48 inches wide. Cost around $350 but worth every penny.
For clients I’ve been installing these minimalist line art pieces lately – single continuous line drawings of faces or figures with RGB backlighting. Super striking and they photograph really well which clients love.
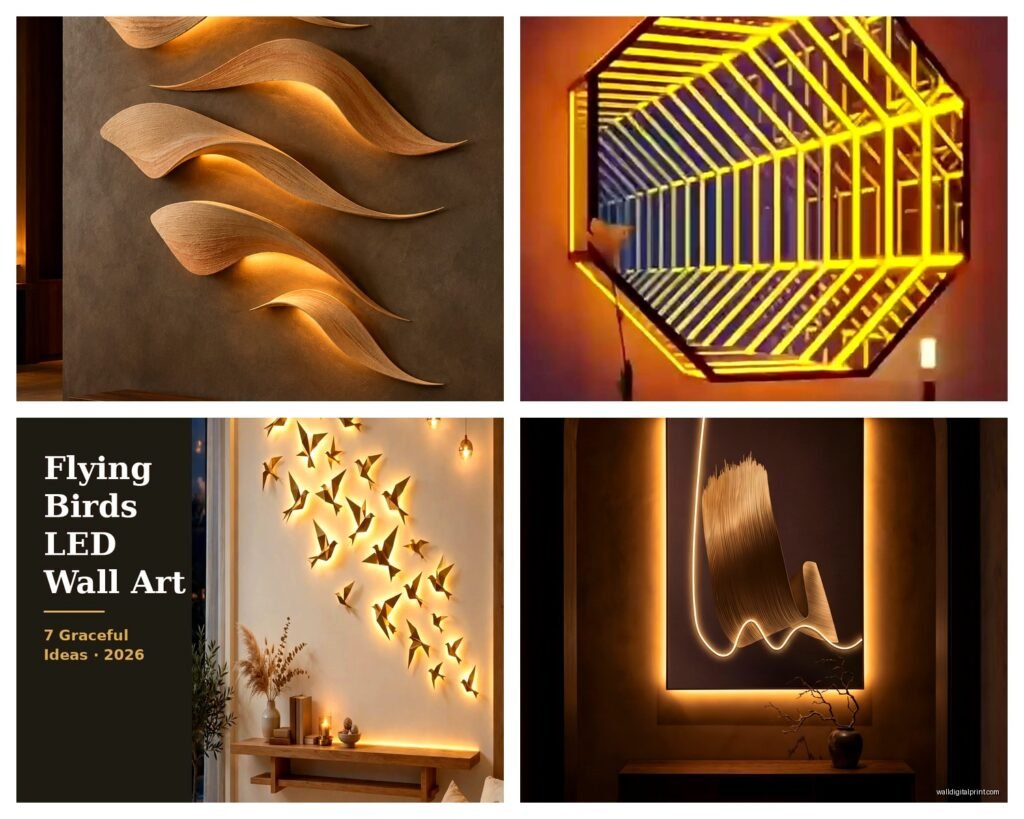
There’s this infinity mirror style that’s having a moment – LED strips create this tunnel effect that looks endless. Little gimmicky but fun in the right space like a home bar or game room.
Just installed one last week that’s a city skyline that changes color based on the actual weather in that city via WiFi connection. Honestly a bit much but my client loves it and it’s a great conversation piece.
The main thing is just making sure whatever you get actually fits your space and lifestyle. A bright RGB color-changing piece might be perfect for someone’s game room but totally wrong for a bedroom. And don’t forget about the installation reality – if you can’t easily hide cords or you’re renting and can’t make holes, that affects what’ll actually work for you.
Anyway yeah that’s basically everything I’ve learned from installing probably 30+ of these things at this point. The technology keeps getting better and cheaper which is cool, just gotta wade through a lot of mediocre options to find the good stuff.