Wall Art Guide, Wall Art Tutoriels
Country Wall Art for Living Room: Rustic Farmhouse Decor
Apr
So I’ve been completely obsessed with country wall art lately because honestly, my living room looked like a sad beige box and I needed to fix it without spending a fortune. Let me tell you what actually works because I’ve tried… way too many things.
Wood Signs and Reclaimed Materials
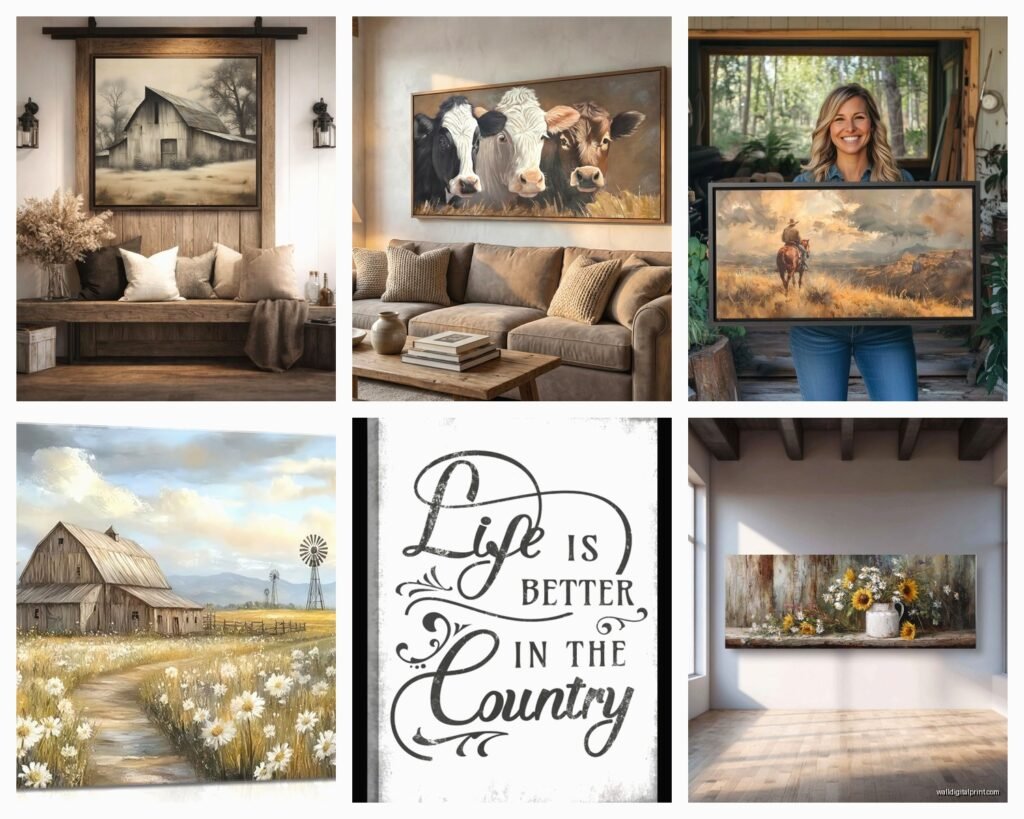
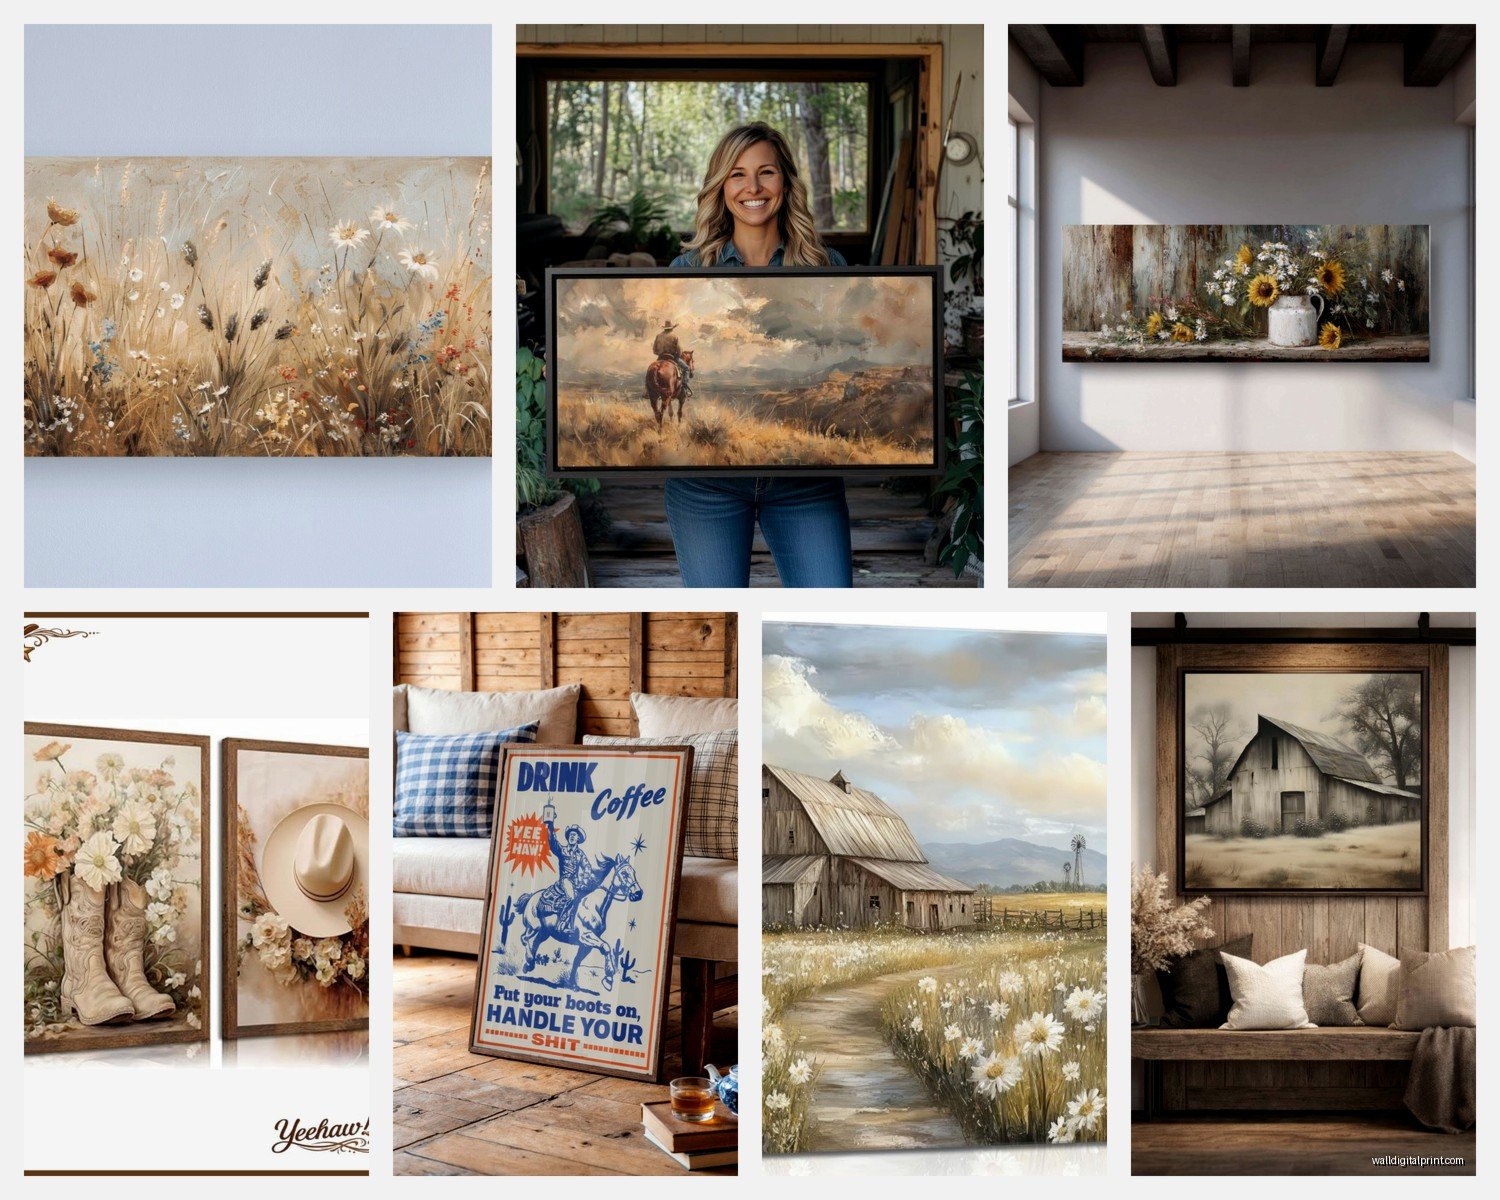
Okay so wood signs are everywhere right now but here’s the thing – most of them look cheap and fake. You gotta look for actual distressed wood, not that printed-on-fake-wood-grain stuff they sell at certain big box stores. I learned this the hard way after buying three signs that literally peeled after like two months.
Real reclaimed wood pieces have texture you can feel. Run your hand over it before buying. If it’s smooth as plastic, it’s probably printed. The good ones have actual grooves, rough edges, sometimes even old nail holes which sounds weird but actually adds character.
I found this amazing barn wood piece at a local salvage yard – it was literally part of an old barn door – and had someone cut it down and sand the edges. Cost me $40 but it looks like a $200 piece from those fancy farmhouse stores. You can also check Facebook Marketplace because people are always getting rid of old fence boards and stuff.
For the signs with sayings on them (you know the “Gather” and “Blessed” type things), I actually like the ones from Etsy better than mass-produced ones. Search for sellers who do hand-painted signs on real wood. Yeah they’re pricier but the paint actually soaks into the wood instead of sitting on top of it.
Sizing for Wood Pieces
This is where everyone messes up including me initially. A 12×12 wood sign looks cute in photos but disappears on your wall. For above a couch, you want something at least 36 inches wide, honestly closer to 48 inches if your couch is standard size. I have a 7-foot couch and my wood piece is 42 inches wide and it finally looks proportional.
If you’re doing a gallery wall with smaller wood pieces, aim for the whole arrangement to take up about 2/3 the width of your furniture below it. I use painters tape to map it out on the wall first because I’ve made too many unnecessary holes.
Metal Farmhouse Art
Oh and metal pieces are actually genius for country decor because they don’t compete with wood – they complement it. I was watching this home reno show while eating cereal at like 11pm and noticed they mixed metal windmill art with wood shelves and it clicked.
Galvanized metal pieces work great. Think old-style windmills, metal farm animals (I have a cow silhouette that people always comment on), or those big metal letters. The key is to get stuff that looks aged or has that rusty patina finish. Shiny new metal reads more industrial than farmhouse.
I got a metal windmill piece from Hobby Lobby during one of their 50% off sales and it was $35 instead of $70. Pro tip – they have sales literally every other week so never pay full price there. Sign up for their emails or just check the app before you go.
The metal monogram letters are hit or miss though. I tried one above my fireplace and it looked too modern somehow? But then I saw someone use a metal letter as part of a layered look with a wood board behind it and THAT worked. It’s all about layering with farmhouse stuff.
Canvas Prints and What Actually Looks Good
Okay so here’s where I wasted the most money. Those printed canvas things can look amazing or absolutely terrible depending on what you choose. Avoid anything too glossy or with super saturated colors – it’ll look out of place with country decor.
What works:
- Black and white farm animal photography (cows, horses, chickens)
- Vintage truck prints with muted colors
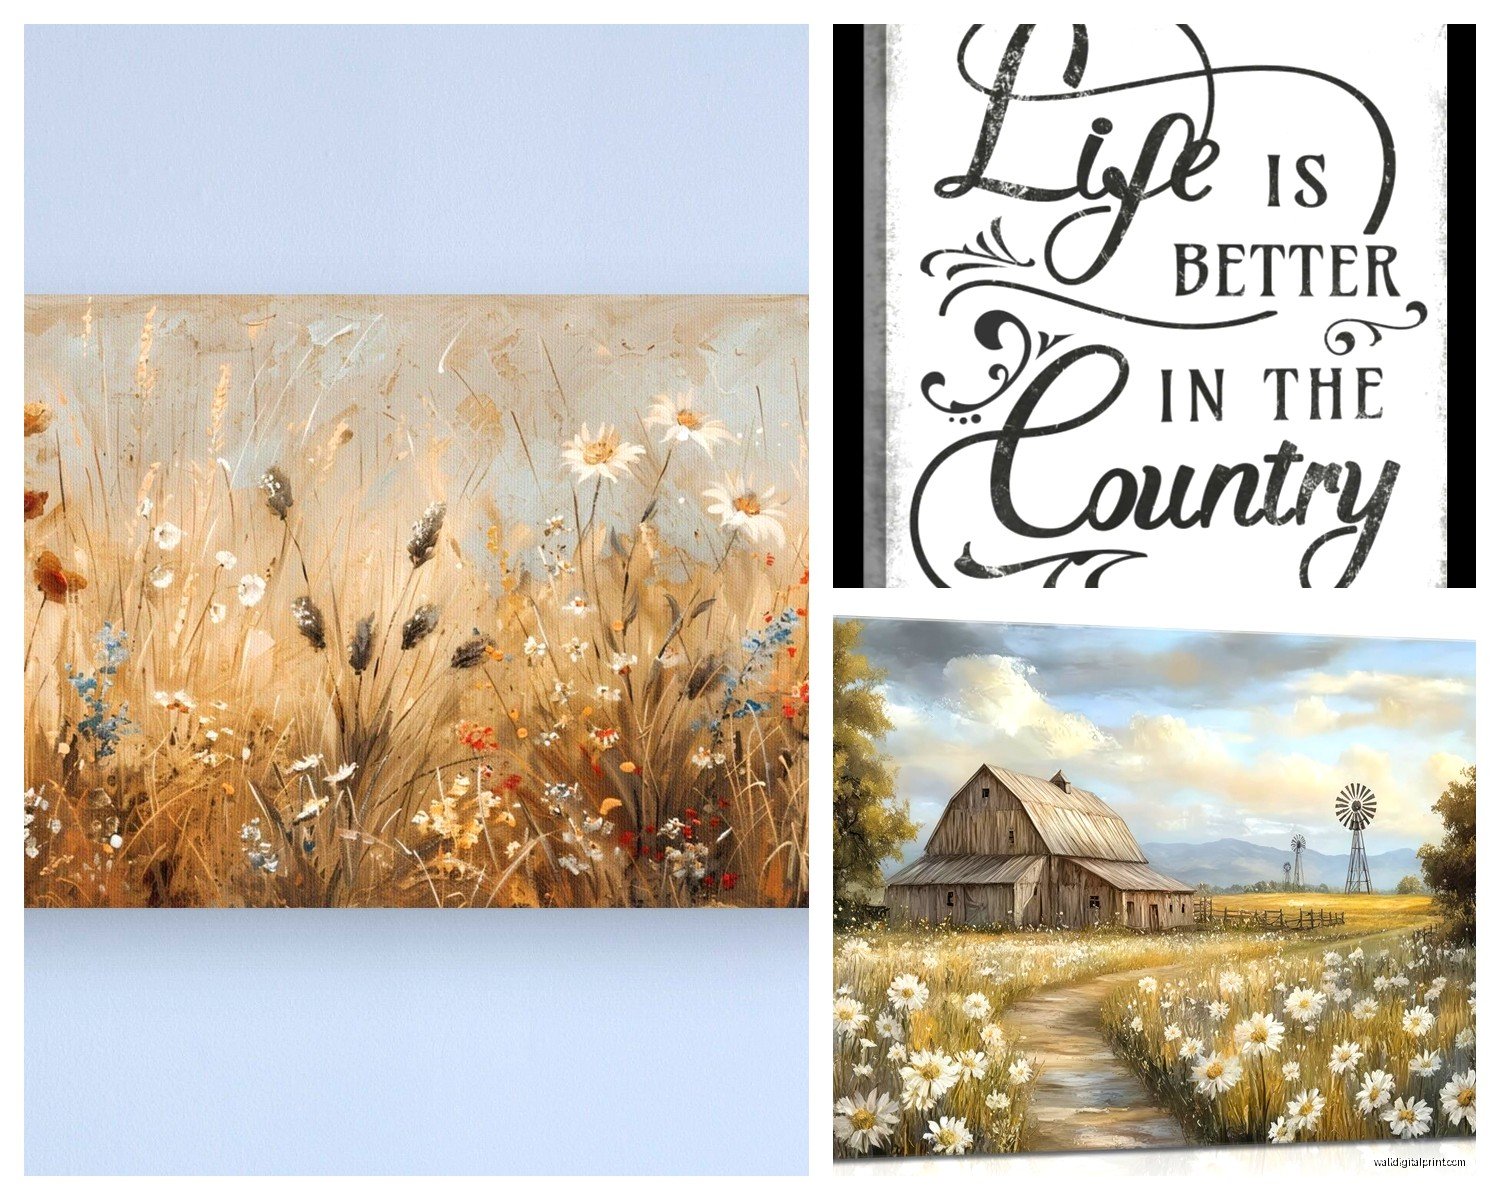
- Botanical prints with that aged paper look
- Landscape scenes in sepia or muted tones
- Cotton stems or wheat bundles
I have this canvas print of a cow that’s mostly black and white with just a hint of brown and everyone asks where I got it. It’s from Amazon actually, cost like $45 for a 24×36. The trick was finding one that had a matte finish option.
The Canvas Quality Thing
Gallery wrapped canvas is what you want – that means the image wraps around the edges so you don’t see white sides. Cheaper canvases have staples showing on the sides which looks unfinished. Also check the thickness… 0.75 inch depth minimum or it looks flimsy.
I ordered three different cow prints to compare (my partner thought I was losing it) and two of them had this weird digital look up close, like you could see the pixels. The third one had actual texture that mimicked brush strokes. That’s the one that stayed up.
DIY Options That Don’t Require Skills
Wait I forgot to mention – if you’re even slightly crafty, making your own stuff is gonna save you so much money. And I’m not talking about complicated projects.
I made a huge farmhouse sign by buying a $12 pine board from Home Depot (they’ll cut it for you), staining it with Minwax in Dark Walnut, and using vinyl letter stickers from Amazon. Slapped some matte sealer on top and it looks professionally made. Total cost was maybe $25 and it’s 48 inches wide.
The vinyl stickers are key because hand-painting letters is hard and looks wonky unless you’re actually artistic. I’m not gonna pretend I can freehand perfect letters because I absolutely cannot.
Another easy one – print your own farmhouse quotes or images on regular paper, put them in cheap frames, and distress the frames with sandpaper and dark wax. I did four 8×10 frames this way for my gallery wall and spent like $30 total. The frames were from IKEA (the RIBBA ones) which are basic but sturdy.
Where to Find Free Printables
Pinterest has tons of free farmhouse printables if you search “free farmhouse wall art printable.” Some are honestly terrible quality but I found a few good ones. Make sure you’re downloading high resolution files – at least 300 DPI or they’ll print blurry.
I also use Canva to make my own sometimes. They have farmhouse templates and you can customize the colors and text. Then just download as a PDF and print at FedEx or Staples. An 18×24 print costs like $8 at FedEx.
Shelving as Display Space
This is gonna sound weird but floating shelves completely changed my wall art game. Instead of just hanging flat art, you can layer things and add dimension.
I installed two floating wood shelves (the chunky rustic kind, not those thin modern ones) and now I lean canvas prints against the wall on the shelf, add some mason jars with cotton stems, maybe a small wood sign, and it creates this whole vignette situation. It’s more forgiving too because you can move stuff around without making new holes.
The shelves I got are from Amazon – search “rustic floating shelves farmhouse” and you’ll find tons. Mine are 24 inches long, about 7 inches deep, and came with hidden brackets so you don’t see the mounting hardware. Cost was $35 for a set of two.
You can also do the same thing with a narrow ledge shelf across a whole wall. I’ve seen people line up multiple canvas prints and wood signs on one long ledge and it looks like a curated gallery without the commitment of hanging everything.
Mixing Textures and Materials
The best country living rooms I’ve seen (including ones I’ve styled for clients) mix at least three different materials. So like wood + metal + canvas, or wood + fabric + metal. All wood looks flat, all canvas looks boring.
I have this arrangement above my couch that’s a large wood sign in the center, two smaller metal pieces on either side, and then I added some dried eucalyptus in a wall-mounted vase. The eucalyptus was $12 from Trader Joe’s and lasted literally months before I replaced it.
Oh and burlap or linen pieces add good texture too. You can get burlap-covered cork boards and pin stuff to them, or frame burlap with a stenciled design. I made one by stretching burlap over a canvas frame and stenciling “Farmhouse” in white paint. Took maybe 20 minutes and cost $8.
Color Palette Stuff
Okay so color matters more than I thought it would. True farmhouse style sticks to pretty neutral colors – whites, creams, grays, black, natural wood tones. You can add ONE accent color but keep it muted.
I tried adding teal farmhouse art because I loved the color and it clashed with everything. Switched to navy blue accents instead and suddenly everything looked cohesive. Navy works because it’s dark enough to read as almost-neutral.
Sage green is another good accent color for country decor. I have one small canvas with sage green eucalyptus leaves and it ties in nicely with the other neutral pieces.
Avoid: bright reds (unless you’re going super traditional Americana), bright turquoise, anything neon obviously, and too much brown. Brown overload makes everything look muddy.
Keeping It From Looking Too Themed
The thing about farmhouse decor is it can quickly become theme-park-ish if you’re not careful. Like when every single piece says something about farms or roosters or whatever.
Mix in some pieces that are just… pretty or interesting without being obviously “farm” themed. A simple botanical print, a landscape photo, abstract wood art. My cat actually knocked over a vase onto one of my rooster prints and honestly the room looked better without it so I never replaced it.
Budget Breakdown From My Experience
Since I basically redecorated my whole living room wall situation, here’s what I actually spent:
- Large wood sign (DIY): $25
- Metal windmill art (Hobby Lobby sale): $35
- Cow canvas print (Amazon): $45
- Two floating shelves: $35
- Four small frames with DIY prints: $30
- Metal letter: $18
- Random small pieces and decor: ~$50
Total was around $240 for completely transforming a large wall. If I’d bought everything from Pottery Barn or similar, I’d easily have spent $800-1000. And honestly my wall looks just as good as the expensive catalog photos.
The key is mixing some nicer pieces with DIY and budget finds. Nobody can tell which pieces cost $45 and which cost $8 when they’re all styled together.
Installation Tips Nobody Tells You
Use anchors in drywall, especially for anything over 5 pounds. I learned this when a wood sign crashed down at 3am and scared me half to death. Those little plastic anchors that come with frames are trash – get proper drywall anchors rated for the weight.
For gallery walls, the paper template method actually works. Trace your frames on paper, tape the paper to the wall, hammer nails through the paper where you marked, then rip the paper away. Way easier than measuring and hoping.
Level everything. I thought I could eyeball it and all my pictures were slightly tilted. Spent $7 on a small level and it made such a difference. Some people use a laser level which is probably smarter but I’m too cheap for that.
Where to Actually Shop
In order of best value:
- Thrift stores and estate sales (hit or miss but amazing finds)
- Facebook Marketplace and Craigslist
- HomeGoods and TJ Maxx (go weekly, inventory changes constantly)
- Hobby Lobby and Michaels with coupons
- Amazon (read reviews carefully)
- Etsy for custom pieces
- Target’s Hearth & Hand line (Magnolia collab stuff)
I found my favorite piece at an estate sale for $15 – it’s this huge vintage farm photograph in the original frame. Would’ve cost $200+ new. Check estate sales in rural areas especially.
Target’s farmhouse stuff is actually pretty good quality for the price. Their wood and metal pieces hold up well and don’t look as mass-produced as some other stores.
Okay I think that covers most of what I’ve learned through way too much trial and error. The main thing is don’t rush it – build your wall art collection over time and only buy stuff you actually love, not just because it’s “farmhouse style.” Your space should feel like you, just with a country vibe.