Wall Art Guide, Wall Art Tutoriels
Disney Princess Wall Art: Cinderella Ariel Girl Character
Aug
So I’ve been working with princess wall art for like forever now and honestly it’s one of those things where you think it’ll be simple but then you’re standing in Target at 8pm wondering why there are seventeen different Ariel prints and which one won’t look cheap in six months.
The Reality Check Nobody Tells You
Okay first thing – Disney princess art can go one of two ways. Either it looks absolutely magical and pulls a room together or it screams “I bought this at a Spirit Halloween going-out-of-business sale.” The difference is usually about quality and how you actually hang it, not just the price tag which is weird but true.
I learned this the hard way when a client wanted Cinderella art for her daughter’s room and I grabbed these seemingly cute prints from Amazon. They arrived and the colors were so saturated it looked like Cinderella had been deep-fried. We’re talking orange skin tones and a blue dress that could guide ships to shore. Had to reorder everything.
What Actually Works Size-Wise
Here’s the thing about princess art – little girls want to SEE their princesses. Those tiny 8×10 prints? They get lost on the wall and honestly kids don’t even notice them after a week. I usually go for:
- 16×20 minimum for a single character piece
- 20×30 if it’s going above a bed or dresser
- A set of three 11x14s works better than one huge print sometimes because you can space them out
- Canvas prints at 24×36 if you really wanna make a statement
The multi-princess thing is tricky because if you get like all six or eight princesses in one print, each character ends up being the size of a postage stamp and what’s even the point.
Material Stuff That Actually Matters
Canvas vs paper vs those peel-and-stick decals – they’re all completely different vibes and longevity situations.
Canvas prints are gonna be your most durable option. They don’t need glass which means no glare and also if a toy gets thrown at it (and it will), you’re not dealing with broken glass everywhere. I use canvas probably 70% of the time for kids’ rooms. The wrapped edges look more finished too, like you actually tried instead of just slapping up a poster.
Paper prints are fine if you’re framing them properly. And I mean PROPERLY with actual frames and real glass or plexiglass, not those clip frames from IKEA that fall apart if you look at them wrong. The benefit here is you can swap them out easily as tastes change. Because let me tell you, the Cinderella obsession might last six months before she decides she’s actually an Ariel girl now.
Peel and stick decals – okay so these are controversial. Some designers hate them but honestly for renters or people who aren’t ready to commit to holes in the wall, they work. The Fathead-style ones are pretty decent quality. Just make sure your wall is actually clean before you apply them because I watched my sister try to stick one on a wall that had some weird residue and it peeled off within a week. Also they can take paint with them when you remove them so that’s fun.
Where to Actually Buy This Stuff
Etsy is gonna be your best bet for unique stuff that doesn’t look like everyone else’s princess room. I find a lot of watercolor-style princess art there that’s way more sophisticated than the standard Disney store offerings. Search for “vintage Disney princess” or “minimalist princess art” if you want something that won’t make you cringe in two years.
Amazon has everything obviously but you gotta read those reviews carefully. Like actually read them, not just look at the star rating. People will post photos showing what the colors really look like versus the listing photo. This saved me multiple times.
Society6 and Redbubble have independent artists doing really cool interpretations. Some are more abstract which might not work if your kid wants to see Ariel’s face clearly, but if you’re decorating a playroom or you want something a bit more grown-up, check there.
Disney Store official stuff is hit or miss honestly. Sometimes it’s great quality, sometimes it’s overpriced for what you get. I bought this Cinderella canvas set there once that was like $80 and the print quality was just okay? Not bad but not $80 worth of okay.
Target’s been stepping up their game lately. Their Pillowfort line has some cute options and they’re usually around $20-30 which is reasonable.
The Color Coordination Thing
This is where people get stuck and I totally get it because you’re trying to match Cinderella’s blue dress with wall colors and bedding and suddenly you’re having a breakdown in the paint section.
Here’s what I do – pick your main princess first based on what your kid is obsessed with right now. Then look at the dominant colors in that character. Cinderella is obviously blue and silver. Ariel is teal and purple. Don’t try to match these colors exactly with your wall paint because it’ll look costumey and intense.
Instead go neutral on the walls. Like a soft grey, cream, or even white. Then let the princess art be the color moment. You can pick up accent colors from the art in smaller doses – throw pillows, a rug, maybe curtains.
I did this room last year where the girl loved both Cinderella and Ariel which seems impossible to combine but we went with a pale aqua on the walls (which is like halfway between Cinderella’s blue and Ariel’s teal), then did separate princess prints in white frames. Added some gold accents because both characters have gold in their stories and boom, it actually worked.
The Gallery Wall Approach
Oh and another thing – gallery walls are your friend with princess art. You can mix different princesses without it looking chaotic if you keep the frames consistent.
My go-to formula:
- Same frame color for everything (white or black usually)
- Mix of sizes but keep them to like three size options max
- Odd numbers work better visually so three, five, or seven pieces
- Leave consistent spacing between frames – I usually do 2-3 inches
I use painter’s tape to map it out on the wall first because trying to eyeball it leads to wonky spacing and extra holes in the wall. Trace your frames on paper, cut them out, tape them up, stand back and look. Move stuff around until it feels right. THEN start hammering.
The Frame Situation
Okay so frames seem basic but they make such a difference. Those cheap plastic frames with the cardboard backing? They warp. The print ends up wavy and gross-looking within months.
Get actual wood frames or at least sturdy plastic ones with proper backing boards. Michael’s has sales literally every week where frames are 50% off. Stock up then.
For canvas prints you don’t need frames obviously but if the edges of the canvas look unfinished or you can see staples, maybe consider a floater frame. It’s basically a frame that sits around the canvas without covering the edges. Makes it look more expensive and polished.
Mixing Characters Without It Looking Messy
Wait I forgot to mention – if you’re doing multiple princesses in one room, there’s a way to make it cohesive instead of looking like a Disney store exploded.
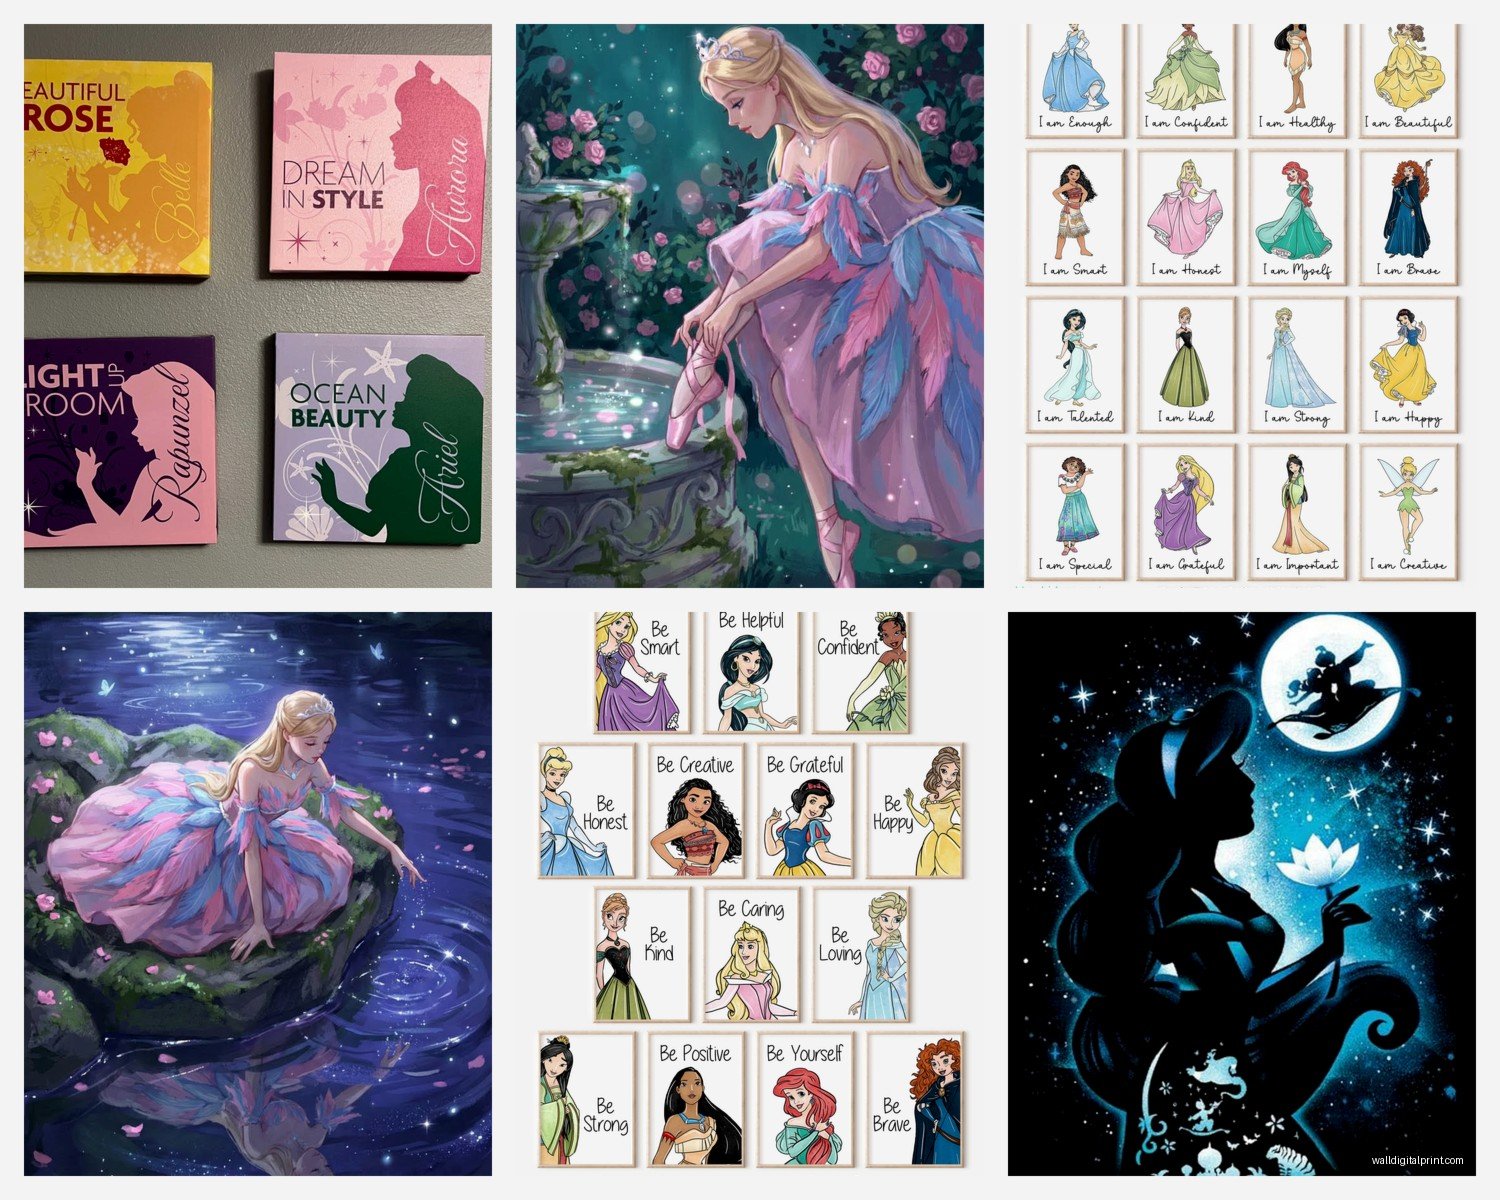
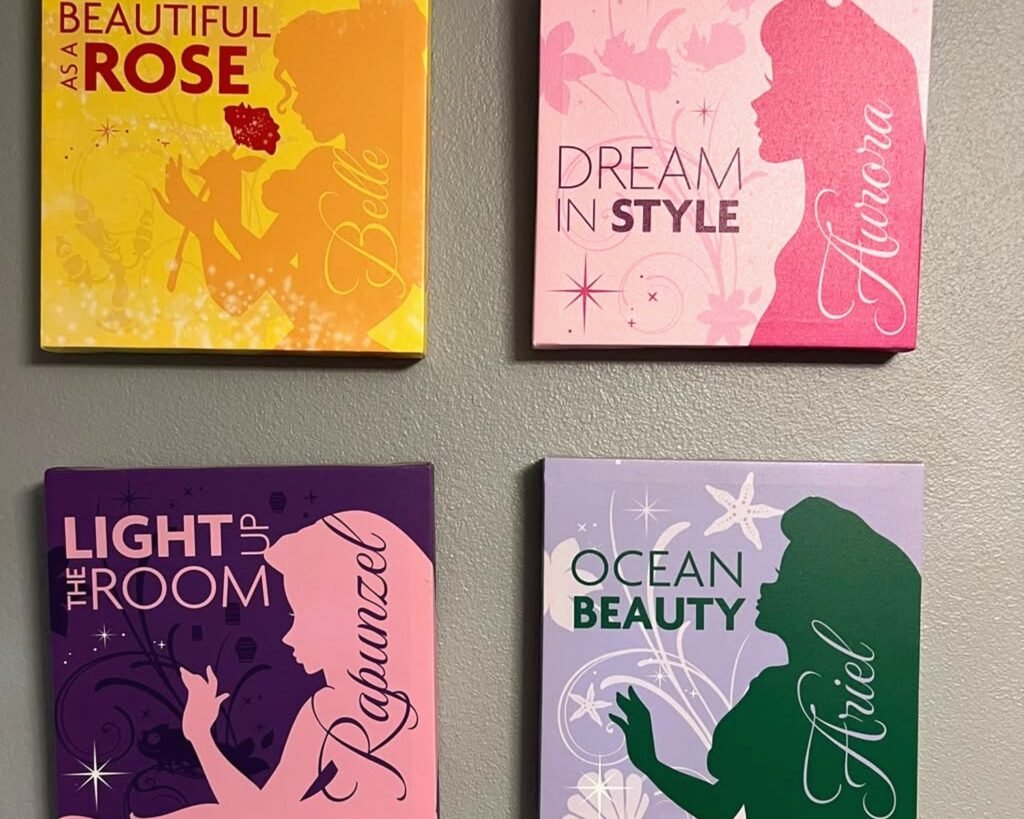
Option one is the silhouette route. Just black silhouettes of different princesses on white backgrounds or vice versa. Super clean, very chic, still recognizable. Etsy has tons of these.
Option two is matching the art style. Don’t mix a realistic Cinderella with a cartoon Ariel with a watercolor Belle. Pick ONE art style and stick with it across all characters. All watercolor, all minimalist line drawings, all vintage poster style, whatever.
Option three is the color story approach I mentioned earlier. Maybe all the prints have the same background color even if the princesses are different. Or they all have gold accents. Something that ties them together visually.
What About the Official Disney Art
Disney’s actual licensed art is obviously safe in terms of accuracy and quality control but it’s also kinda boring sometimes? Like you’ve seen those same Cinderella poses a million times. My cat literally knocked over a stack of princess prints I was sorting through yesterday and I couldn’t even tell them apart they all looked so similar.
If you go the official route, look for the limited edition stuff or the art that’s actually created by Disney artists not just licensed. There’s this whole collection called Disney Fine Art where actual artists paint the characters in different styles and they’re gorgeous but also expensive. Like several hundred dollars for a print expensive.
For most kids’ rooms that’s overkill. But if you’re decorating a nursery or a space you want to grow with the kid, investing in one really nice piece might make more sense than a bunch of cheaper prints you’ll replace in a year.
The Peel and Stick Thing Revisited
This is gonna sound weird but I’ve had really good luck with the RoomMates peel and stick options. They have these giant Ariel decals and Cinderella castle ones that are actually pretty detailed. The nice thing is kids can help apply them which makes them feel involved.
The trick is prepping the wall properly. Clean it with just water and let it dry completely. No Windex or cleaners because the residue interferes with adhesion. Smooth the decal from the center outward to avoid bubbles. If you get bubbles, poke them with a pin and smooth them out.
They’re not permanent which some people see as a downside but I think it’s actually perfect for kids’ rooms because tastes change so fast. My niece was obsessed with Cinderella for exactly four months before deciding she was actually a Moana person.
Lighting Makes or Breaks It
Okay so you’ve got your perfect princess print and you hang it and it looks… fine. Not magical, just fine. Probably a lighting issue.
If the art is on a wall that doesn’t get much natural light, it’s gonna look flat and dull. Add a picture light above it or position a lamp so it illuminates the art. Those battery-operated LED picture lights are like $15 and make such a difference.
Also consider where the light is coming from in relation to glass-covered prints. If you’ve got a window directly across from the art, you’re gonna get glare. Either move the print, add a shade or curtain, or switch to non-glare glass.
The Height Thing Everyone Gets Wrong
People hang art too high. I see this constantly. The general rule is the center of the artwork should be at eye level which is roughly 57-60 inches from the floor. But for kids’ rooms, you might wanna go a bit lower so they can actually see it properly.
Above a dresser or bed, leave 6-8 inches between the furniture and the bottom of the frame. Any more and it looks disconnected, any less and it feels crowded.
For gallery walls, treat the whole arrangement as one piece and put the center of the entire grouping at eye level.
Budget Breakdown From My Experience
Since I’ve probably bought or specified like a hundred princess prints at this point, here’s what you’re realistically looking at:
- Cheap Amazon print in basic frame: $20-35
- Decent quality canvas print: $40-75
- Etsy custom print from independent artist: $25-60 depending on size
- Official Disney Store art: $30-100
- Large peel and stick decal set: $25-50
- High-end Disney Fine Art: $200-500+
Most of my clients end up in the $40-75 range per piece and get 2-3 pieces for a room which feels about right. You want enough to make an impact but not so much that it’s overwhelming.
The Practical Stuff About Installation
Use proper wall anchors if you’re hanging anything heavy on drywall. Those little nails that come with frames are basically useless. Canvas prints are lighter than framed prints usually so a regular picture hanger nail works fine for those.
For renters, Command strips are actually pretty good now. They make ones rated for different weights – just make sure you’re using the right strength for your frame size. I was watching some home reno show the other day and they were using Command strips for like everything.
Level your frames. Please. Use an actual level or the level app on your phone. Crooked art makes everything look sloppy no matter how nice the print is.
For gallery walls, start with the middle piece and work outward. Easier to keep things balanced that way.
The spacing between multiple prints should be consistent – I usually do 2-3 inches but some people like them closer or further apart. Just keep it the same throughout the arrangement.
Making It Last Beyond the Princess Phase
Here’s the reality – most kids move on from their princess obsession eventually. If you’re thinking long-term, go for more sophisticated interpretations of the characters rather than the super cutesy cartoon versions.
Vintage-style travel posters featuring the castles, minimalist line art, or watercolor portraits tend to age better. They feel more like art and less like character merchandise.
Or embrace the temporary nature of it and use inexpensive prints you won’t feel bad about switching out. Frame them nicely so the frames become the permanent part and you just swap the prints inside as interests change.
I’ve also done rooms where we mixed princess art with other elements – some princess prints but also floral art, abstract pieces, whatever. That way when the princess phase ends you just remove those specific prints and the room doesn’t need a complete overhaul.
Anyway that’s basically everything I’ve learned from way too many hours thinking about princess wall art. The main thing is get decent quality stuff, hang it at the right height, and don’t overthink the matching too much because kids honestly just wanna see their favorite characters looking pretty on the wall.