Wall Art Guide, Wall Art Tutoriels
Dog Prints Wall Art: Pet Portrait Photography Canine
Aug
So I’ve been down this rabbit hole for like three years now because my golden retriever Cooper basically runs my life and yeah, dog prints are everywhere in my house. Let me tell you what actually works versus what looks good online but shows up looking like a pixelated mess.
The Quality Thing Nobody Talks About Until It’s Too Late
Okay so first thing – and I learned this the hard way after ordering three separate prints that looked amazing on Etsy – you need a high resolution photo. I’m talking at least 300 DPI if you’re printing anything bigger than 8×10. My first attempt was this cute shot of Cooper at the beach but I’d taken it on my phone in like… regular photo mode? Printed it as a 16×20 and honestly it looked like one of those crime show photos where they “enhance” but it just gets blurrier.
What actually worked: I started using portrait mode on my iPhone for that depth effect, but more importantly I learned to check the file size. If your photo is under 2MB you’re probably gonna have issues going large format. There’s this free tool called PicResize where you can check your DPI before you spend money. Game changer.
Camera Settings That Don’t Require a Photography Degree
You don’t need a fancy camera but if you DO have a DSLR sitting around here’s what worked for me:
- Aperture around f/2.8 to f/5.6 for that blurry background thing
- Natural light is your friend – I shoot near my living room window around 4pm
- Get down to their eye level because shooting down at your dog makes weird proportions
- Burst mode for action shots because dogs don’t hold still
My neighbor’s a professional pet photographer and she told me most people’s mistake is trying too hard with the setup. Cooper’s best portrait happened when he was just lying on our rug looking bored while I was watching The Great British Baking Show. Sometimes the candid stuff works better than the “sit stay PLEASE just look at me” photos.
Print Types and Why Canvas Isn’t Always the Answer
Everyone defaults to canvas because it looks gallery-ish but lemme tell you about the other options that actually might work better depending on your wall situation.
Canvas Prints: Yeah they’re popular for a reason. The texture hides some minor quality issues and they don’t need framing which saves money. I’ve used CanvasDiscount and also Easy Canvas Prints. The thing is canvas can look dated fast? Like that 2015 home decor vibe. But for a casual family room or hallway it works great.
Metal Prints: Okay this is gonna sound weird but metal prints are my current obsession. The colors pop SO much more than canvas especially if your dog has distinctive coloring. My friend has a chocolate lab and the metal print made his coat look almost luminous. They’re more expensive though – expect to pay like $80-150 for a decent size versus $40-60 for canvas.
Framed Prints: Classic for a reason. I use Framebridge a lot for client projects and their quality is consistent. You can also go the cheaper route – print at a local photo lab then frame yourself from Target or Amazon. The IKEA Ribba frames are actually pretty good and come in standard photo sizes.
Acrylic Prints: These are like… fancy? Very modern looking. The photo gets printed on the back of clear acrylic so there’s this depth to it. Had one made of Cooper for my office and people always comment on it. More expensive than canvas but less than metal usually.
Where to Actually Order These Things
I’ve tested way too many services at this point. My apartment looked like a print warehouse for like three months when I was curating that gallery show about domestic spaces.
Printique (used to be Adoramapix): Professional quality, actual photo paper if you go that route. Their customer service actually responds which is rare. Prices are mid-range.
Nations Photo Lab: This is what a lot of professional photographers use. The quality is chef’s kiss but it’s pricier and the website isn’t super intuitive.
Costco Photo Center: Don’t sleep on this option. Seriously. Their canvas prints are like half the price of boutique sites and the quality is surprisingly good for standard sizes. You need a membership but if you already have one…
Mpix: Great color accuracy. I use them when color matching is critical – like if you’re doing a series of prints and need them to look cohesive.
Local print shops: Sometimes the best option honestly. There’s a place near me that does same-day turnaround and I can see paper samples in person. They’re not always cheaper but the convenience factor when you need something quick.
The Sizing Conversation We Need to Have
This is where people mess up constantly. Your wall space dictates everything and most people go too small. I see so many tiny 8x10s floating on massive walls and it just looks… lost?
General rule I follow: Your print should take up about two-thirds to three-quarters of the wall space you’re dedicating to it. So if you have a 6-foot wide wall section, you’re looking at a 36×24 inch print minimum or a gallery wall situation.
Standard sizes that won’t break the bank:
- 11×14 – good for smaller walls, bathrooms, office spaces
- 16×20 – my go-to size for most rooms
- 20×30 – statement piece territory
- 24×36 – you need a big wall and high ceilings for this to work
Oh and another thing – think about orientation before you crop. Portrait orientation (vertical) works better for hallways and narrow walls. Landscape (horizontal) is better for above furniture or in wider spaces. I made Cooper’s main portrait vertical because it’s in my entryway and the wall is narrow.
Editing Your Dog Photos Without Making Them Look Fake
You’re gonna wanna edit at least a little. Even professional photographers edit everything. But there’s a line between “enhanced” and “my dog looks like a cartoon.”
I use Lightroom Mobile which is free and honestly does everything I need. Here’s my basic editing workflow:
- Straighten and crop first – rule of thirds usually works well for pet portraits
- Increase exposure slightly if needed but don’t blow out the whites
- Bump up contrast just a touch for definition
- Adjust highlights and shadows to bring out detail in dark fur
- Add a tiny bit of clarity but don’t go overboard or it looks crunchy
- Vibrance rather than saturation for color boost
The mistake I see constantly is over-sharpening. Your dog’s fur should still look like fur not like individual needles. If you can see a halo around your dog against the background you’ve gone too far.
Wait I forgot to mention – if your dog has really dark fur or really light fur, you gotta adjust your exposure compensation when shooting. Dark dogs need more light than your camera thinks. Light dogs need less. This took me forever to figure out.
Gallery Wall Versus Single Statement Piece
This depends entirely on your space and how many good photos you have honestly. I did both in different rooms.
For my living room I went with one large 24×36 metal print of Cooper at the lake. Simple black float frame. It’s above the sofa and it’s THE focal point. This works when you have one really killer photo and want it to be dramatic.
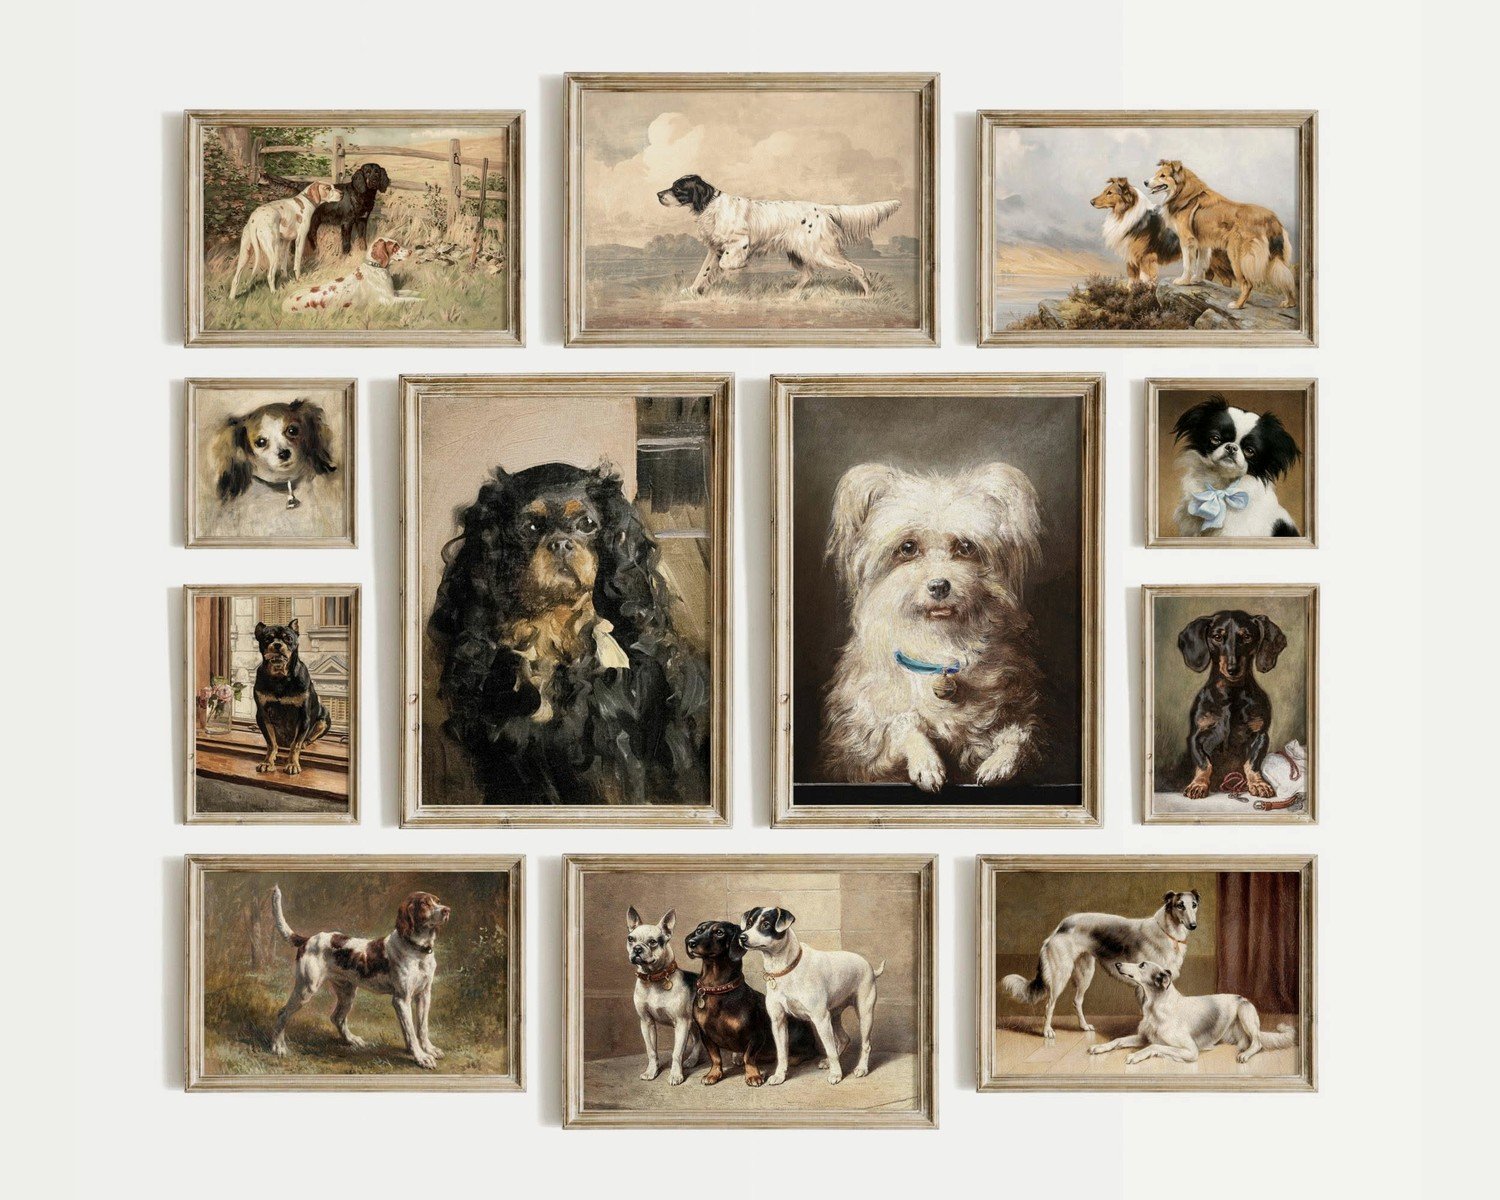
In my hallway I did a gallery wall with six different prints ranging from 8×10 to 11×14. Mix of framed and canvas. This works better when you have multiple dogs or want to show different moods and moments. The trick with gallery walls is laying them out on the floor first. Take a photo of your arrangement before you start hammering nails into the wall.
Gallery wall spacing tips:
- Keep 2-3 inches between frames consistently
- Start with your largest piece as the anchor
- Mix frame colors sparingly – I stick to all black or all wood tones
- Odd numbers look more dynamic than even
The Black and White Question
Color or black and white? Depends on your dog and your decor. Cooper is golden so color makes sense – his coat is literally the point. But my friend’s border collie looks STUNNING in black and white because the contrast is already there.
Black and white also works better if your home decor is minimal or monochromatic. It’s more timeless usually. Color can clash with your wall color or furniture which is something I didn’t think about until I painted my dining room blue and suddenly Cooper’s portrait had this weird green cast that wasn’t there before.
If you can’t decide, order a small print both ways before committing to a large size. It’s like $15 to test versus $100+ for the big version.
Dealing with Backgrounds That Aren’t Instagram Perfect
Real life doesn’t have clean backgrounds. There’s gonna be stuff in your photos – furniture, other people’s legs at the park, random toys on the floor. You have options:
Photoshop or remove.bg: You can literally remove the background and replace it with something cleaner. Remove.bg is free for small files and does a decent job automatically. Then you can add a solid color background or something simpler.
Embrace it: Sometimes the messy background tells the story better? Cooper’s favorite print of himself includes our messy bookshelf in the background because that’s his actual spot where he hangs out. It’s authentic.
Shallow depth of field: This is where that portrait mode comes in handy. The background gets blurry so the mess doesn’t matter as much.
Matching Multiple Dogs in One Print
If you have multiple dogs this gets complicated. Getting them to cooperate for a photo is like… okay my client has three dogs and we spent TWO HOURS trying to get one good shot of all of them looking at the camera. Here’s what finally worked:
- Have treats but don’t give them until AFTER the photo
- Multiple people to wrangle – one person per dog minimum
- Tire them out first with a walk or play session
- Take like 200 photos and accept that maybe 3 will be usable
- Consider separate portraits arranged as a series instead
The series approach is actually what I recommend most. Three separate portraits of your three dogs, same size, same frame style, hung in a row. Looks intentional and you don’t have to coordinate all of them at once.
Seasonal Updates and Rotation
This might sound extra but I actually rotate Cooper’s prints seasonally. His summer beach photo goes up in June, his fall leaf pile photo goes up in October. It keeps things fresh and honestly I got tired of looking at the same image year-round.
You can do this cheaply by keeping the same frames and just swapping the prints. Print multiple photos at once during a sale and store them flat in a portfolio case.
The Custom Portrait Artist Route
Totally different vibe from photography prints but worth mentioning. There are artists on Etsy who’ll turn your dog photo into an illustration, painting, or stylized portrait. I had one done of Cooper as a Renaissance nobleman and it’s ridiculous and I love it.
These range from like $30 for a digital file you print yourself to $300+ for an original painting. The digital ones are actually pretty cool – you provide a photo, they illustrate it, send you the file, you print it wherever. No shipping time for the art itself.
Just make sure you’re checking reviews because quality varies WILDLY on these custom portrait sellers. Look for at least 100+ reviews with photos from actual customers.
Lighting Your Dog Print Properly
Nobody thinks about this until the print is up and looks weird. Lighting matters so much. If your print is in a dark hallway it’s not gonna have the same impact as one that’s properly lit.
Picture lights are the fancy option – those little lights that mount above the frame. But honestly a well-placed floor lamp or wall sconce works fine. Just avoid direct sunlight which will fade your print over time, especially canvas and paper prints.
What to Do With Print Files Long-Term
Back up your high-res dog photos somewhere other than your phone. I use Google Photos and also an external hard drive because I’m paranoid. When Cooper’s eventually gone – which I don’t wanna think about but like, realistically – I’m gonna want those files in perfect condition to make more prints.
Name your files something searchable. “IMG_4847.jpg” is useless. “Cooper_beach_2023_summer.jpg” means you can actually find it later when you need it.
Okay I think that covers most of what I’ve learned through trial and error and way too much money spent on prints that didn’t work out. The main thing is just start with a good quality photo and don’t be afraid to order test prints before going huge. A small mistake is like $15, a big mistake is $150.