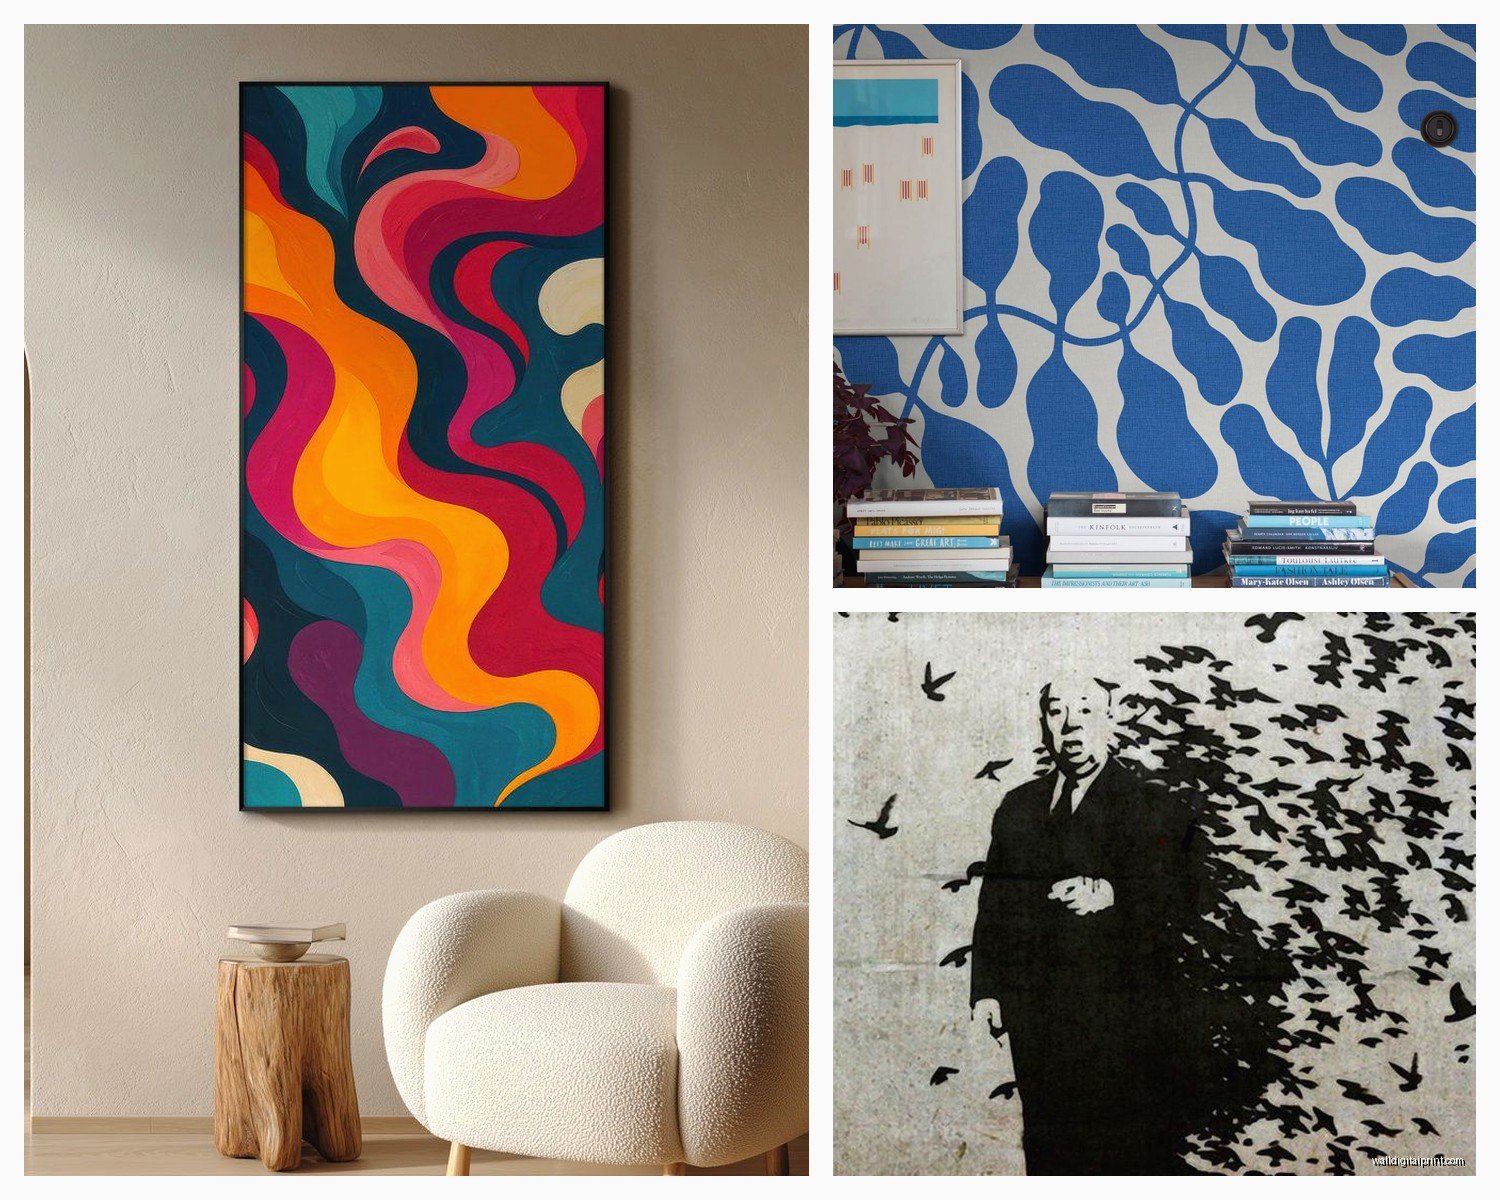
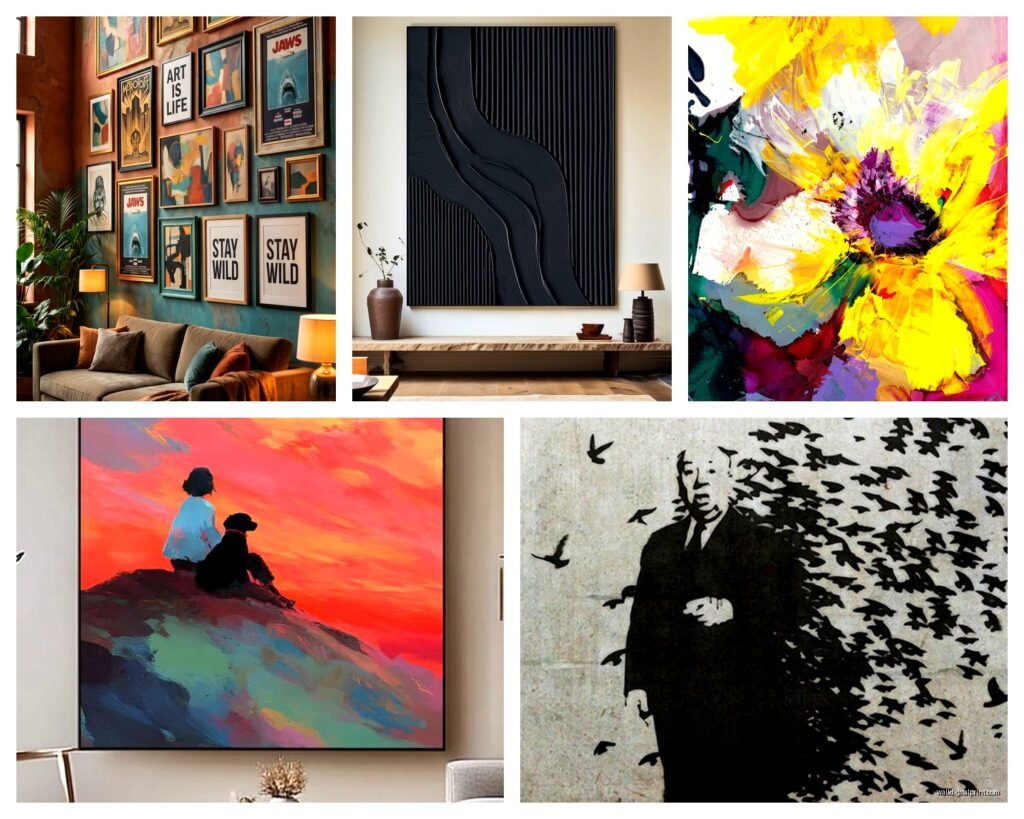
Wall Art Guide, Wall Art Tutoriels
Full Wall Art: Entire Wall Coverage Mural Designs
May
So I just finished installing this massive forest mural in a client’s dining room and honestly, the whole process was way less intimidating than I thought it’d be, which is why I’m still kinda buzzing about it at like 10pm on a Tuesday.
First Things First: What Are You Actually Getting Into
Okay so full wall murals are basically giant stickers or wallpaper that cover your entire wall. Not like a framed piece or canvas, we’re talking floor to ceiling, wall to wall coverage. I’ve done maybe seven or eight of these now in different spaces and the thing nobody tells you is that the prep work is 80% of the job.
You’ve got three main options: peel and stick wallpaper (removable), traditional paste wallpaper, or painted murals. I’m gonna be real with you, unless you’re hiring an artist to hand-paint something custom, go with peel and stick. Traditional wallpaper is such a pain and my cat literally watched me struggle with paste for three hours once and I swear she was judging me.
Measuring Your Wall (Don’t Screw This Up)
This sounds obvious but measure at least three times. I measured wrong on my first attempt and ended up with a mural that was six inches too short. Had to order extension panels and wait another two weeks.
Get your tape measure and check:
- Wall width at the top
- Wall width at the bottom (yes they can be different)
- Height on the left side
- Height on the right side
- Any weird angles or sloped ceilings
Most companies let you customize dimensions but you gotta add like 2-3 inches extra on all sides for trimming. Trust me on this one. You can always cut excess off but you can’t magically add material if you’re short.
The Wall Surface Matters More Than You Think
Your wall needs to be smooth-ish. Not perfect, but you can’t have like massive texture or peeling paint. I spent an entire Saturday sanding down a wall that had that awful popcorn texture and it was worth it because the mural looked flawless after.
Clean the wall with just water and mild soap. Let it dry completely. Some people say use primer but honestly I’ve never bothered unless the wall is super dark and the mural is light colored.
Where to Actually Buy These Things
I’ve ordered from probably a dozen different places by now. Etsy has tons of options and you can get custom sizing which is clutch. Wallsauce and Murals Wallpaper are solid if you want something more professional looking. Society6 has cool artistic stuff but their sizing options are more limited.
For my client’s forest mural I used Wallsauce because they have this tool where you can preview it on your actual wall if you upload a photo. Saved me from picking something that would’ve clashed with their furniture.
Price-wise you’re looking at anywhere from $150 to $600+ depending on size and quality. The super cheap ones under $100 are usually thin and you can see the wall color through them, so not worth it unless it’s temporary.
Installation Day: Set Aside More Time Than You Think
Okay so funny story, I thought my first mural would take two hours. It took six. Now I’m faster but still, block out a full day or at least a solid afternoon.
You’re gonna need:
- A friend or partner (seriously don’t do this alone)
- Step ladder
- Level tool or use your phone app
- Utility knife with fresh blades
- Squeegee or credit card
- Pencil for marking
- Patience because you will want to quit halfway through
The Actual Process
Most murals come in panels, usually 3-6 separate pieces that you line up. They should have matching patterns on the edges.
Start with the leftmost panel. Peel back like 6 inches of the backing at the top, stick it to the wall at your starting point, then use your level to make sure it’s straight. This part is crucial because if your first panel is crooked, everything else will be too.
Slowly peel more backing off while smoothing the panel down with your squeegee. Work from the center outward to push air bubbles toward the edges. You’re gonna get bubbles no matter what, but most of them you can smooth out.
For bubbles that won’t go away, I use a pin to make a tiny hole and then squeegee the air out. Works like 90% of the time.
Matching Panels is Where People Freak Out
The second panel needs to line up perfectly with the first one’s pattern. Some murals have overlap (where you stick one panel slightly over the other) and some are butt-seam (edges touch exactly).
I prefer overlap because you can then cut through both layers with your utility knife for a perfect seam. Learned this trick from a youtube video at like 2am when I couldn’t sleep and now it’s my go-to method.
Line up your pattern first before sticking anything down. Have your helper hold the panel up while you check that trees or lines or whatever match up correctly.
Common Problems I’ve Dealt With
Air bubbles that won’t leave: Small ones will disappear on their own after a few days as the adhesive settles. Big ones need the pin trick or you gotta peel that section back and reapply it.
The mural is slightly too small: This happened to me once and I just painted the exposed edges the same color as the mural background. Looked fine honestly.
Texture showing through: If your wall has some texture, the mural will show it. You can either sand the wall first or just accept it. Honestly most people don’t notice unless they’re looking for it.
Corners are impossible: Yeah they kinda are. Just do your best to smooth it into the corner and trim excess. It doesn’t have to be perfect, nobody looks at corners that closely.
Design Choices That Actually Work
I’ve seen a lot of murals that look amazing online but weird in person, so here’s what I’ve learned works:
Landscapes and nature scenes work in almost any room. That forest mural I mentioned? It made a boring beige dining room feel like you’re eating in a cabin. Abstract geometric patterns are good for modern spaces but can feel overwhelming if the room is small.
Black and white murals are super forgiving because they go with everything. I did a black and white city skyline in someone’s home office and it looked way more expensive than it was.
Avoid super busy patterns in bedrooms. You’re gonna be staring at that wall every night and it can mess with your sleep if it’s too stimulating. Learned this the hard way in my own bedroom with this chaotic floral pattern… ended up replacing it after three months.
What About Bold Colors
Bright colored murals are tricky. They look incredible in photos but they can change the whole lighting of your room. A bright blue ocean mural will make everything look slightly blue-tinted.
I usually tell clients to consider how much natural light the room gets. Dark or jewel-toned murals work better in bright rooms, while lighter murals work in darker spaces.
Making It Look Professional
The edges are where amateur installations show. Take your time trimming around baseboards, outlets, and ceiling edges. I use a straight edge ruler and a fresh blade for clean cuts.
For outlets, turn off the power first (obviously), remove the outlet cover, apply the mural over it, then cut an X through where the outlet is and fold the flaps back before replacing the cover.
Crown molding or ceiling trim helps hide imperfect top edges. If you don’t have that, just make sure your cut is super straight.
Lighting Changes Everything
This is gonna sound weird but the lighting in your room will completely change how the mural looks. I always recommend installing it first, then adjusting your lighting after.
That forest mural looked flat and boring until we added some warm-toned lamps and suddenly it had depth. Wall sconces on either side of a mural can create cool shadows if it has texture.
Maintenance and Long-term Stuff
Peel and stick murals last anywhere from 2-7 years depending on quality and wall conditions. Humid rooms like bathrooms make them peel faster. I’ve had one in my hallway for three years and it still looks good.
You can clean them with a damp cloth but don’t scrub hard. The ink can fade if you’re too aggressive.
If a corner starts peeling, just use some wallpaper adhesive to stick it back down. Happens sometimes, not a big deal.
Is It Actually Worth It
Honestly yeah, if you’re gonna be in that space for at least a year or two. It completely transforms a room in a way that paint alone can’t. My clients are always shocked at how different their space feels.
The removable ones are great for renters because they come off clean if you’re careful. I’ve removed three of them now and only had paint damage once, and that was because the wall had cheap paint that wasn’t fully cured.
One wall is enough though. Don’t do multiple walls with murals unless you want your room to feel like a theme park. I learned this from a client who insisted on murals on three walls and it was just… too much.
Wait I forgot to mention – if you have textured ceilings, you might see some of that texture showing through at the top edge where wall meets ceiling. You can either live with it or add a decorative border strip to cover it up.
The whole thing is way more doable than it seems when you’re standing there with rolled up panels wondering what you got yourself into. Just take it slow, measure twice, and don’t try to rush the smoothing process. You got this.