Wall Art Guide, Wall Art Tutoriels
Narrow Wall Art: Slim Vertical Thin Space-Saving Pieces
May
So I’ve been obsessing over narrow wall art lately because my hallway is basically a glorified sardine can and I needed something that wouldn’t make it feel even more claustrophobic. You know those spaces where a regular sized piece just looks… wrong? Yeah, that’s been my life for the past month.
What Actually Counts as Narrow Art
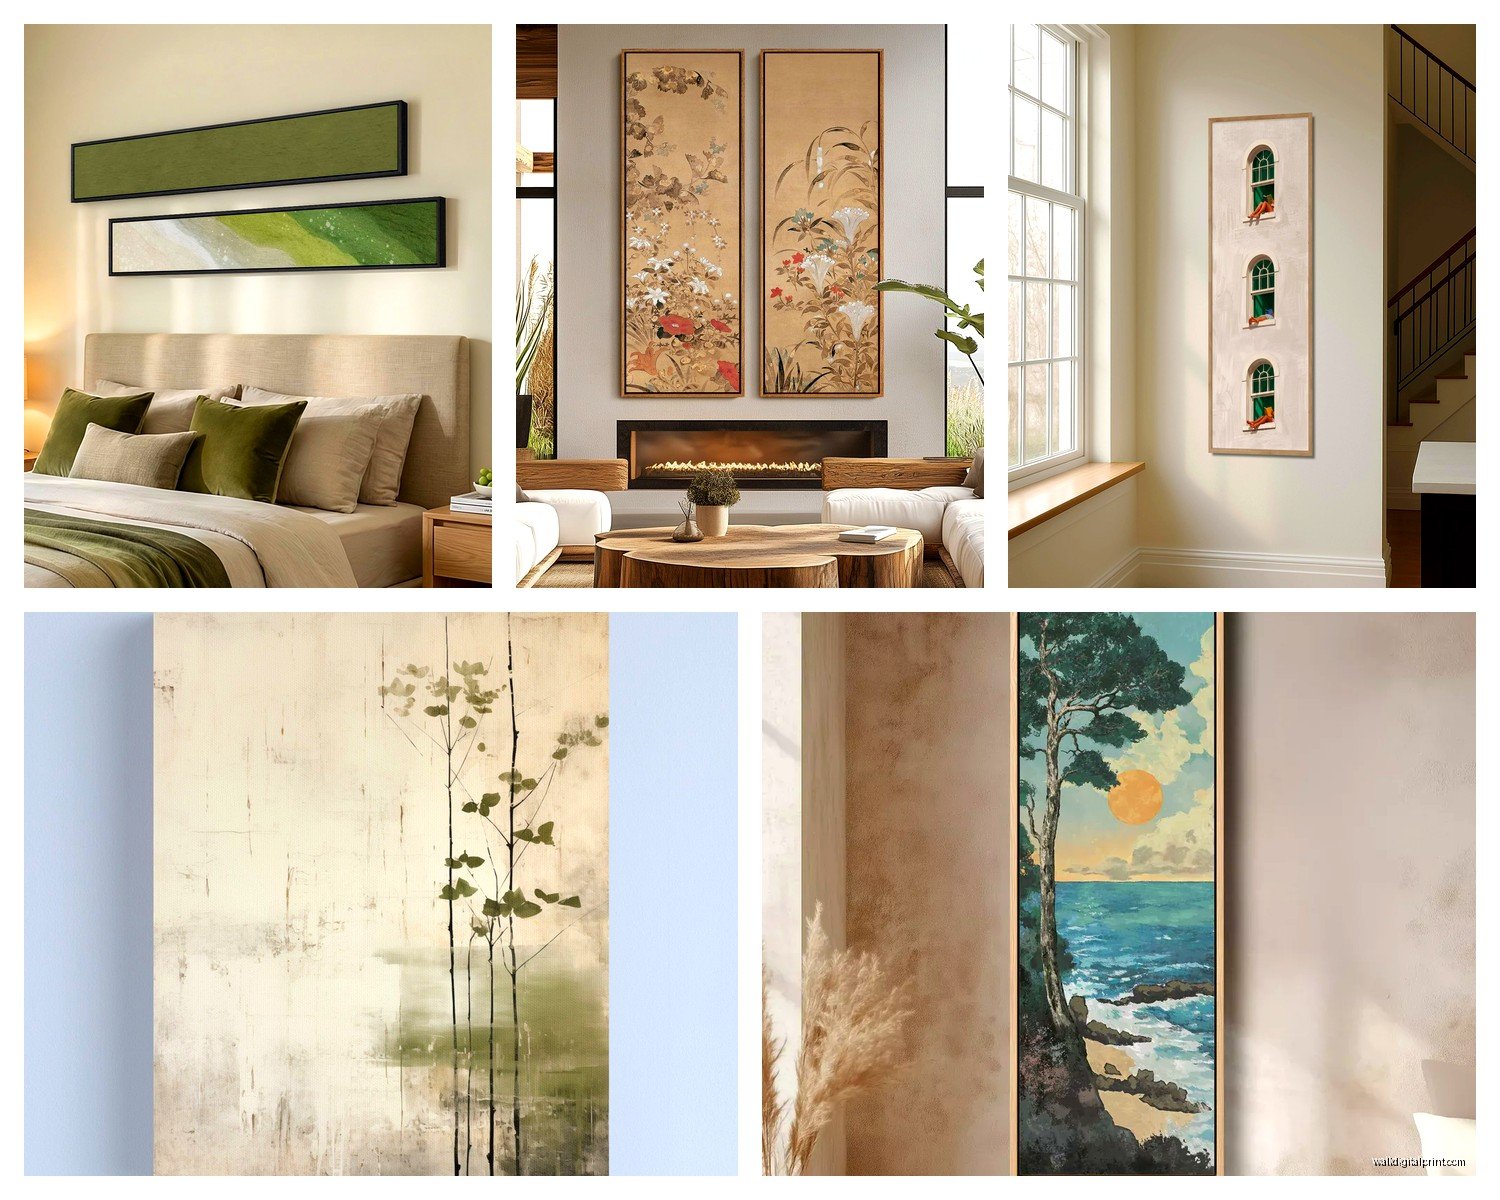
Okay so first thing – narrow art is basically anything that’s got a width-to-height ratio that’s pretty dramatic. I’m talking pieces that are like 6-12 inches wide but maybe 24-48 inches tall. Sometimes even taller. The key is they’re vertically oriented and slim enough that they don’t eat up your wall space horizontally. My friend calls them “skyscraper art” which is honestly perfect.
The best narrow pieces I’ve found are usually in these dimensions:
- 6×24 inches (super slim, great for really tight spots)
- 8×32 inches (this is my sweet spot honestly)
- 10×40 inches (when you want more impact)
- 12×48 inches (for spaces with high ceilings)
Where These Actually Work
I’ve tested narrow art in like every awkward space imaginable at this point. Between doorways? Amazing. That weird slice of wall next to your bookshelf? Perfect. Here’s where I’ve had the most success:
Hallways are the obvious one. My hallway is 36 inches wide and putting three 8-inch wide pieces in a vertical line down one wall completely transformed it without making people turn sideways to walk through. Regular art would’ve been a disaster there.
Bathrooms though – okay this is gonna sound weird but narrow art in bathrooms is *chef’s kiss*. Most bathrooms have these narrow sections between the mirror and the corner or next to the shower. A slim botanical print or abstract piece there feels intentional instead of like you’re trying too hard.
Oh and another thing – between windows. If you’ve got two windows with like 18 inches between them, a narrow piece centered there looks so much better than trying to cram a square piece that’s fighting for space.
The Kitchen Situation
I put a narrow wine-themed print next to my fridge and my sister thought I hired a designer. It’s literally a 7×30 inch piece from this Etsy shop I found at 2am while watching that baking show (the British one, you know which). The vertical lines make my kitchen ceiling look higher somehow? I don’t understand the physics but it works.
What to Actually Look For
So when you’re shopping – and I’ve spent way too many hours doing this – you gotta think about the visual weight. A narrow piece can’t be too busy or it’ll look like a bookmark stuck to your wall. Simple compositions work best.
Abstract vertical stripes or color blocks are basically foolproof. I have this one that’s just three shades of blue in vertical sections and it’s solved like four different rooms for me. Moved it from my office to the guest room to finally the stairwell where it lives now.
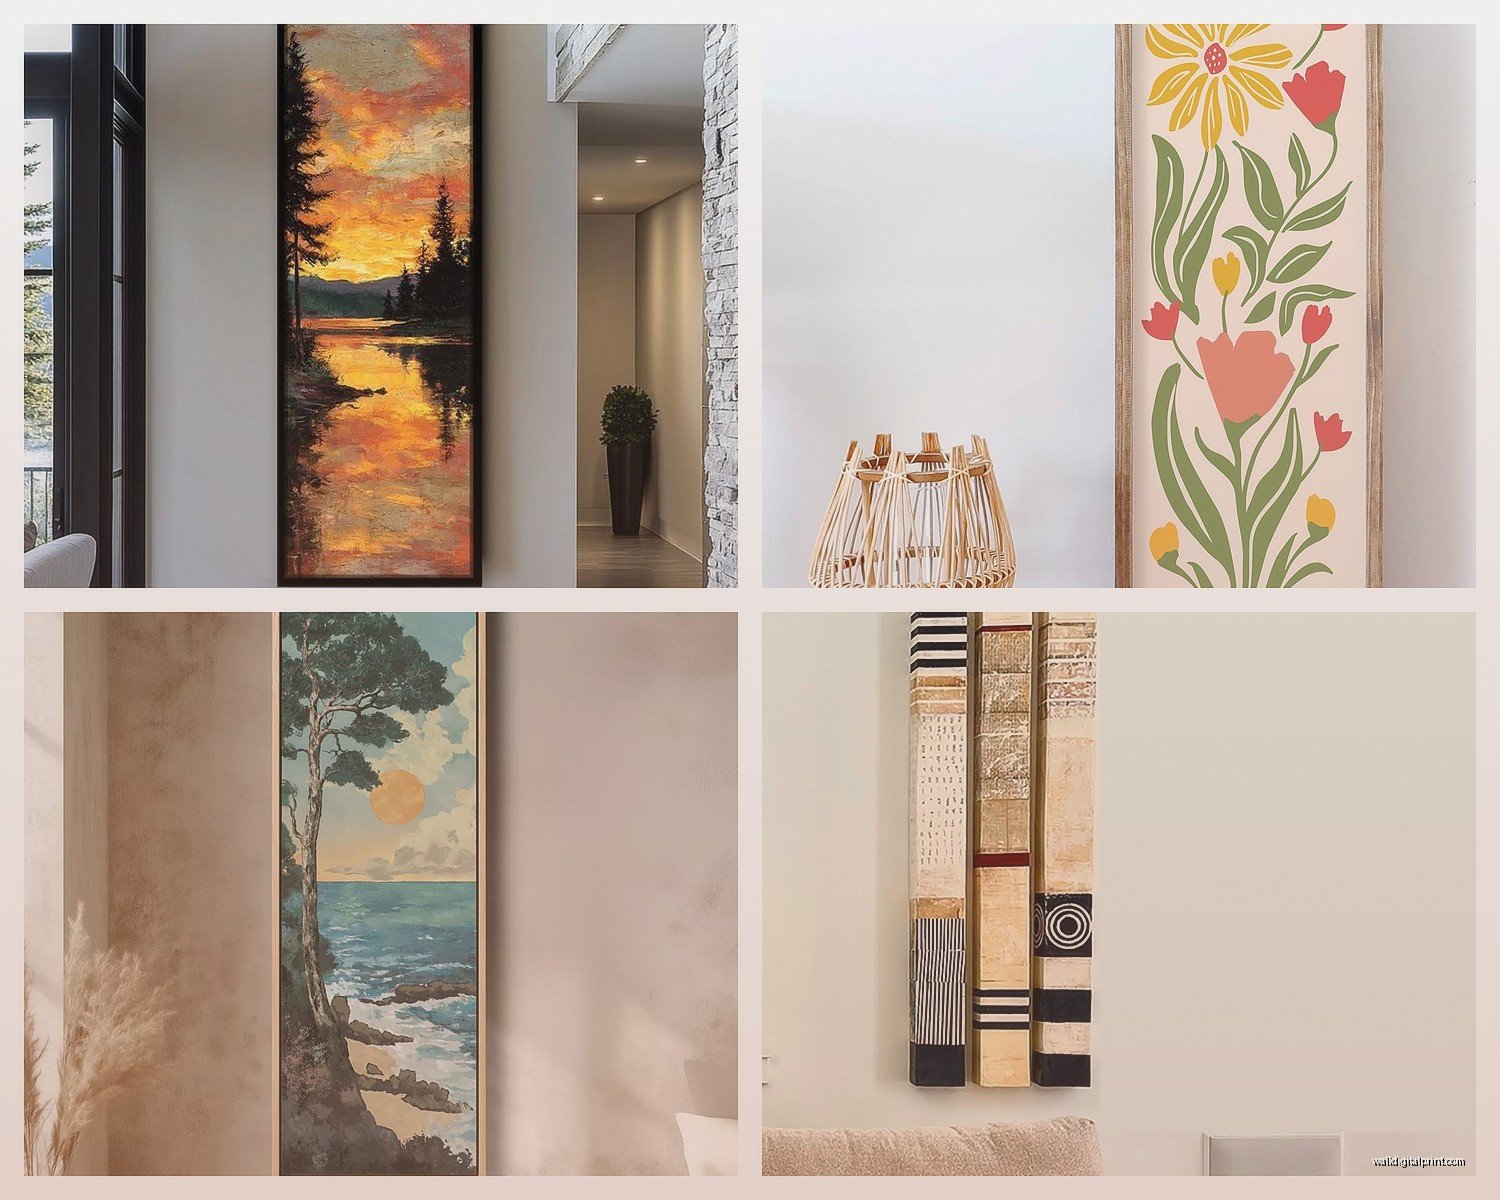
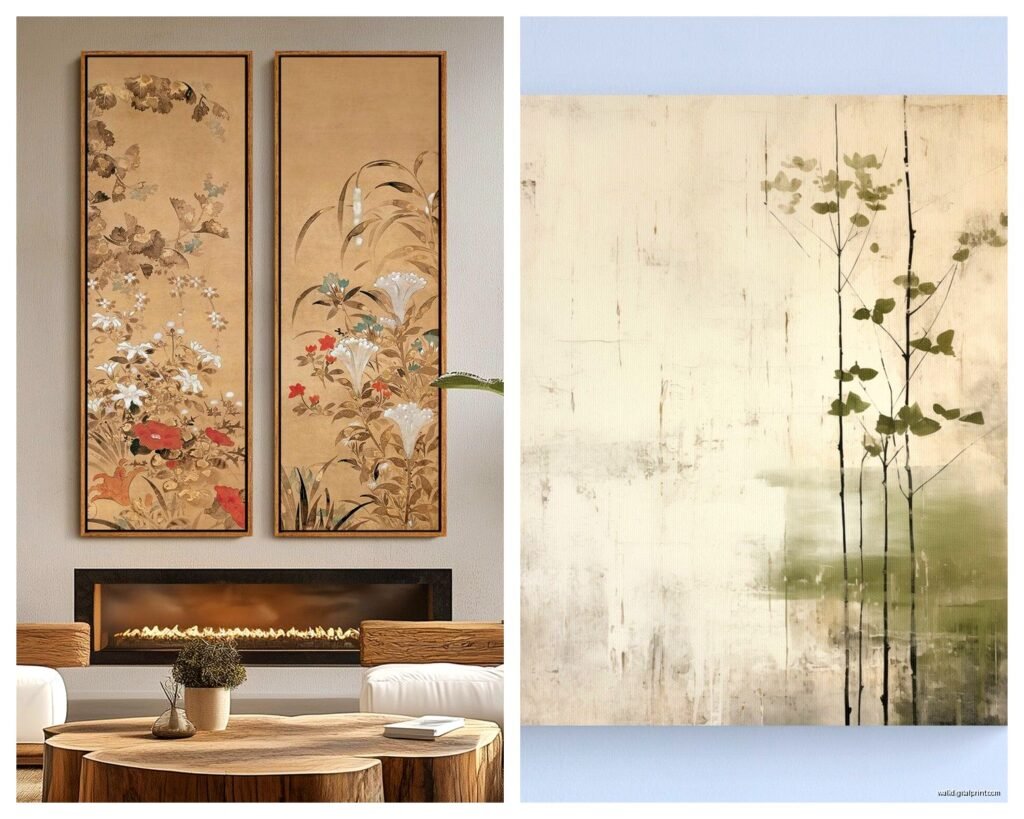
Botanical prints in narrow formats are having a moment. Those tall single-stem flower prints or vertical leaf arrangements. I curated an art show last year and probably 30% of what sold was narrow botanical stuff. People are desperate for it.
Photography Works Differently
Here’s something I learned the hard way – narrow photography needs to be really strong compositionally. A narrow landscape photo can look cropped and weird unless it’s specifically shot for that format. But architectural photography? Tall buildings, doorways, staircases? Those are perfect for narrow frames.
I found this photographer who shoots just doorways and windows in Italy and all her work is in 10×40 format. Bought three pieces and they’re in my entryway now making my builder-grade apartment look like I have taste.
Framing is Where People Mess Up
Okay so the frame matters SO much with narrow art. More than regular art honestly because the frame becomes a bigger percentage of what you’re seeing.
Thin frames work better usually. Like 0.5 to 1 inch width max. Anything chunkier and suddenly your slim piece doesn’t look slim anymore. I made this mistake with a beautiful piece I got – put it in a 2-inch ornate frame and it looked ridiculous. Switched to a simple half-inch black metal frame and suddenly it was perfect.
Metal frames in black, gold, or silver are your safest bet. They’re sleek and don’t compete with the vertical lines. Wood frames can work but they gotta be really thin profiles. This sounds picky but I’m telling you it matters.
Matting Gets Tricky
Most narrow art looks better without matting actually. The mat breaks up the vertical flow and makes everything feel choppy. If you do mat it, keep the mat narrow too – like maybe an inch on the sides max. I’ve seen people put narrow art in wide mats and it defeats the entire purpose… why did you buy narrow art if you’re gonna make it wide with matting?
Hanging Configurations That Actually Work
Single pieces can look great but you gotta hang them at the right height. Standard rule is center at 57-60 inches from the floor but with narrow pieces I sometimes go slightly higher, especially in hallways where you’re seeing them from a distance.
Vertical stacks though – this is where it gets fun. Three narrow pieces stacked vertically with like 2-4 inches between them creates this amazing column effect. I did this in a client’s powder room with three 6×18 pieces and people literally ask about it every time.
wait I forgot to mention – diptychs and triptychs in narrow format are brilliant. Two or three narrow pieces hung side by side with minimal spacing creates a larger composition but maintains that slim vertical emphasis. Just did this in my bedroom with two 8×32 pieces and the symmetry is *so* satisfying.
What to Put on Narrow Art
Content-wise, here’s what I’ve found looks best:
Vertical landscapes – think waterfalls, tall trees, canyon walls. Anything that’s naturally vertical in real life translates beautifully.
Single subject portraits – a tall vase, one flower stem, a wine bottle, a figure. The negative space around a single subject in a narrow format feels really elegant.
Typography – vertical text or quotes work surprisingly well. I have one in my office that says “create” running vertically and it’s become my whole vibe.
Abstract vertical compositions – color fields, geometric shapes, brush strokes. These are the most versatile because they work with any decor style.
What Doesn’t Work
Busy patterns look chaotic in narrow format. Your eye doesn’t have enough horizontal space to rest so it just feels overwhelming. Also horizontal subjects that are cropped to fit narrow frames usually look awkward – like why is that beach scene so cramped?
Where to Actually Buy This Stuff
Okay so finding narrow art is harder than it should be because most art sites don’t let you filter by weird dimensions. Here’s where I actually shop:
Etsy is honestly your best bet. Search “narrow wall art,” “vertical wall art,” or the specific dimensions you need. Lots of digital downloads too if you wanna print and frame yourself. I’ve bought probably 15 pieces from various Etsy sellers at this point.
Society6 and Redbubble let you choose from different size options and they often have narrow formats available. The quality is decent for the price and they do the framing for you which is convenient.
Art.com has a dimension filter which is actually useful. You can specify width ranges and find narrow pieces that way. Found some really good photography prints there.
Local frame shops often have narrow mats and frames in stock and can help you create custom pieces. This is pricier but if you have something specific in mind it’s worth it.
DIY Options That Don’t Look DIY
If you’re crafty at all – and I use that term loosely because I’m barely crafty – you can make narrow art pretty easily. Canvas panels in narrow sizes are available at craft stores. Paint them with simple vertical stripes or color blocks. I made three pieces for my guest room in like an hour while my dog was losing his mind at the mailman. They’re just navy, cream, and gold vertical sections and everyone thinks they’re from West Elm or something.
Fabric art is another option. Stretch interesting fabric over narrow canvas frames. I used some vintage kimono fabric I found at an estate sale and made four narrow pieces. They’re in my dining room now and people literally don’t believe I made them.
The Print and Frame Route
Download high-resolution images from sites like Unsplash or purchase digital art from Etsy, then get them printed at a local print shop in narrow dimensions. Frame them yourself with cheap frames from Amazon or IKEA. This is honestly the most cost-effective way if you’re doing multiple pieces.
I’ve done this probably ten times now. The trick is making sure your image resolution is high enough that it doesn’t look pixelated when printed tall. Ask for at least 300 dpi at your final print size.
Styling Around Narrow Art
Here’s the thing about narrow art – it works best when you’re not trying to fill every inch of wall space. The negative space around it is part of the design. I see people trying to crowd narrow art with other stuff and it loses its impact.
If you’re putting narrow art above furniture, make sure the furniture isn’t too wide. A narrow piece above a wide console table looks unbalanced. But above a slim side table or a narrow shelf? Perfect proportion.
Lighting matters more with narrow art too because there’s less surface area to catch ambient light. I added a small picture light above one of my narrow pieces in the hallway and it completely elevated the whole space. You can get battery-operated ones on Amazon for like twenty bucks.
Mixing Narrow Art with Regular Art
You can totally mix narrow pieces into gallery walls with regular proportions but you gotta be strategic. The narrow pieces work best as anchors on the ends or as connectors between larger pieces. I did a gallery wall in my living room with two narrow pieces on the outer edges and three regular pieces in the middle and the whole thing feels really balanced.
Don’t cluster all your narrow pieces together in a gallery wall though unless you’re going for a specific column effect. Distribute them throughout the arrangement to create rhythm and movement.
Maintenance and Practical Stuff
Narrow frames are easier to knock off-balance than regular frames because they’re top-heavy. Use two hanging points instead of one – either two hooks or those sawtooth hangers at both top corners. This keeps them from tilting every time someone walks by.
Dust accumulates on the top edge more noticeably on narrow pieces for some reason. Quick wipe with a microfiber cloth every few weeks keeps them looking clean.
If you’re renting and can’t put holes everywhere, those Command picture hanging strips work okay for lighter narrow pieces. I’ve used them for pieces up to about 16 inches tall with success. Anything taller gets too heavy and risky.
Cost Breakdown Reality Check
Since you’re probably wondering about budget – narrow art can range from super cheap to expensive depending on what you’re getting. Digital prints you frame yourself run maybe $30-60 total per piece. Ready-made framed pieces from places like Etsy or Society6 are usually $80-150. Original art or photography from artists can be $200-500+ but those are investment pieces.
I usually tell people to mix price points. Get one really good piece you love and fill in around it with more affordable options. Nobody knows which piece cost what when they’re all hung together.
The frame is often more expensive than the art itself if you’re doing digital prints, which feels backwards but that’s just how it is. A good quality narrow frame runs $40-100 depending on size and material.
Okay I think that covers most of what I’ve learned through trial and error with narrow art. It’s honestly one of those things that seems niche but once you start looking for places to use it you’ll see opportunities everywhere. My apartment went from having these awkward empty strips of wall to feeling really curated and I barely spent anything because narrow pieces are usually cheaper than large art anyway.