Wall Art Guide, Wall Art Tutoriels
Aesthetic Printable Wall Art: Trendy TikTok Instagram Downloads
Sep
So I’ve been downloading these aesthetic printables from TikTok and Instagram for like six months now and honestly it’s kinda transformed how I work with clients who have zero budget for original art. Let me walk you through what actually works because there’s so much garbage advice out there.
Finding the Actually Good Stuff
Okay so first thing, you gotta know where to look. TikTok has this whole aesthetic printables community but the quality is super inconsistent. I usually search hashtags like #printableart #aestheticprintable #wallartdownload and then spend like thirty minutes just saving stuff to collections. My dog keeps interrupting me during these sessions wanting walks but whatever.
Instagram is honestly better for finding curated sellers. Look for accounts that post consistently and have that cohesive feed thing going on. The ones who just repost random stuff? Skip those. You want creators who actually design their own pieces or at least curate properly. I follow probably twenty accounts now and they drop new freebies or paid packs weekly.
Red Flags to Watch For
- Super low resolution images that look pixelated even in the preview
- Accounts with like 500 followers but claiming thousands of downloads
- Watermarks that cover half the image
- No clear file format information
- Prices that seem weirdly high for digital downloads
The watermark thing is tricky because some creators put small ones in corners which is totally fair, but I’ve seen some that basically ruin the whole piece. Not worth it even if it’s free.
File Formats and Print Quality
This is where everyone screws up. You download something that looks gorgeous on your phone and then print it and it’s blurry as hell. Been there, done that, wasted so much paper at FedEx.
You need to look for files that are at least 300 DPI (dots per inch). Anything less will look terrible printed. Most good creators will specify this in their post or listing. PDF files are usually your safest bet because they maintain quality, but high-res JPG or PNG works too.
Size Considerations
Standard print sizes you’ll actually use:
- 8×10 inches – perfect for gallery walls or smaller spaces
- 11×14 inches – good middle ground
- 16×20 inches – statement pieces
- 18×24 inches – when you want something bigger
I usually download files that can scale up to at least 16×20 because you never know. Had a client last month who wanted to go bigger than I expected and thank god the file could handle it.
Actually Downloading From TikTok
Okay so this is gonna sound complicated but it’s not. TikTok doesn’t let you save images directly from posts most of the time. Creators usually put a link in their bio or tell you to comment a specific word and they’ll DM you. Sometimes they use Linktree or Beacons or Stan Store.
When someone says “link in bio,” click their profile, look for the URL, and it’ll take you to either their Etsy, their own website, or a file sharing thing like Google Drive or Dropbox. I’ve noticed a lot of creators are using Gumroad now too which is actually pretty smooth for downloading.
The Comment DM Thing
Some creators make you comment something like “PRINTABLE” and then they send you a link. This is usually for their freebie samplers to build their email list. It’s legit but prepare to get added to their newsletter. I have like fifteen different aesthetic printable newsletters now and honestly some send good stuff but others are just constant sales pitches.
Instagram Download Process
Instagram is slightly easier. Creators typically use:
- Link stickers in Stories (click and it takes you straight to download page)
- Linktree type services in bio
- Shop tab if they’re selling through Instagram directly
- DM keywords similar to TikTok
The Story link stickers are my favorite because they’re immediate. You see something you like, click, download, done. But Stories disappear after 24 hours so if you see something good, save it to a collection immediately.
Oh and another thing, some creators post the actual high-res file directly in a carousel post and you can save it from there. Those are rare but when you find them it’s like hitting the jackpot.
Organizing Your Downloads
This is where I was a complete mess for like three months until I finally got my act together. Create folders on your computer or cloud storage by style or room type. Mine are organized like:
- Minimalist Line Art
- Botanical Prints
- Abstract Shapes
- Typography Quotes
- Vintage Style
- Photography Prints
Within each folder I have subfolders for different color schemes because clients always ask for “something in blues” or “warm neutrals only.” Makes it so much faster to pull options during consultations.
Printing Options That Won’t Break the Bank
So you’ve got your files, now what. I’ve tried basically every printing option and here’s the real talk:
At Home Printing
Only worth it for 8×10 or smaller. You need a decent printer though, not some basic inkjet from 2015. I upgraded to an Epson EcoTank and the quality is actually pretty good for matte finishes. Photo paper makes a huge difference too, don’t cheap out there.
Cost per print is maybe two to three dollars if you already have the printer. But you’re limited on size and it takes forever to print a bunch.
Local Print Shops
FedEx, Staples, local photo labs. This is my go-to for anything 11×14 and up. Upload your file to their website, pick it up same day usually. Costs range from like eight dollars for an 11×14 to maybe twenty-five for 18×24 depending on paper quality.
The paper options matter so much. Matte is super popular right now for that Instagram aesthetic look. Glossy can look cheap unless it’s a photography print. Satin is a nice middle ground.
Online Print Services
Printful, Printique, Nations Photo Lab, Bay Photo. These are great when you need professional quality or weird sizes. Takes longer because shipping but the quality is consistently better than local shops. Prices are similar or sometimes cheaper if you order multiple prints.
I use Printful a lot because they have good sales and their color accuracy is spot on. Had one incident where colors printed way darker than expected at FedEx but that same file looked perfect from Printful.
Framing on a Budget
Frames are where costs add up fast so here’s what I tell everyone. IKEA frames are actually great quality for the price. Their Ribba and Fiskbo lines are my most recommended. Target has decent options too in their Threshold collection.
For gallery walls I mix frame colors now, it looks more intentional than matchy-matchy. Black, natural wood, white, maybe a gold or brass. Pick three and stick with those.
Matting Yes or No
Mats make everything look more expensive and professional. If you’re printing an 8×10, get an 11×14 frame with a mat. It adds breathing room around the art and covers up any slight cropping issues.
You can buy pre-cut mats at craft stores or online. Custom cutting is pricey unless you invest in a mat cutter yourself which I did last year and honestly it’s paid for itself.
Current Trending Styles
What’s actually popular right now based on what I’m seeing downloaded most:
Minimalist line drawings are still going strong. Single line faces, bodies, abstract shapes. These work everywhere and don’t compete with existing decor.
Neutral abstract art in beiges, taupes, terracotta. Very 2024 but not in a dated way if that makes sense.
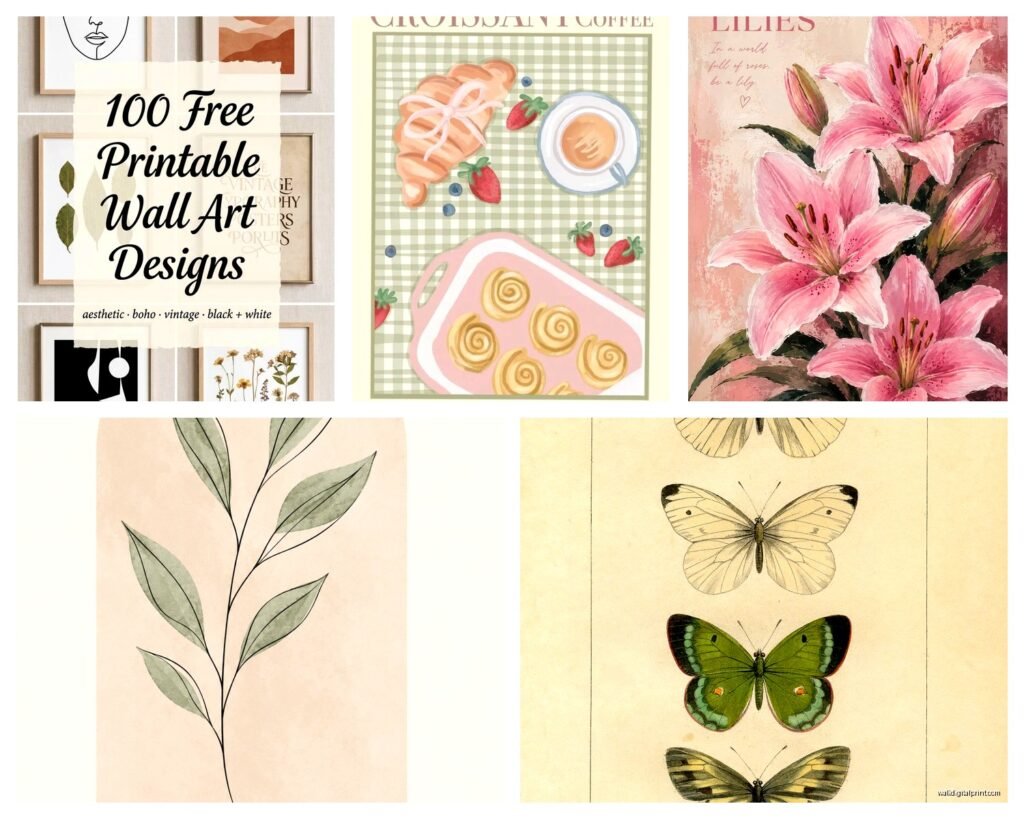
Vintage botanical prints never die. Always popular, always will be. The more detailed and antique-looking the better.
Typographic quotes but only if they’re NOT the cheesy “Live Laugh Love” type. More like poetry excerpts or single meaningful words in beautiful fonts.
Terracotta and rust colors mixed with sage green and cream. This color combo is everywhere on both platforms right now.
Avoiding Copyright Issues
Wait I forgot to mention this earlier but it’s important. Some people download art from Pinterest or Google Images and just print it. Don’t do that. You’re stealing someone’s work and it’s also illegal for commercial use.
Stick to creators who explicitly offer their work as printables. They’ll say “free for personal use” or “commercial license included” if you’re allowed to use it with clients. Personal use means your own home, commercial means you can use it in projects you’re charging for.
I only download from creators who clearly state usage rights. Most aesthetic printable accounts on TikTok and Instagram are specifically creating work for this purpose so you’re usually safe, but always check.
Making Downloads Look Cohesive
Okay so funny story, I printed like twelve different downloads for a client’s gallery wall and they looked completely random together. Learned my lesson about planning.
Pick a color story first. Pull three to five colors max and make sure most of your prints incorporate at least one or two of those colors. This ties everything together even if the styles are different.
Or go monochrome. All black and white prints in various styles always looks intentional. Can’t really mess that up.
Scale variation matters too. Mix large statement pieces with smaller prints. All the same size looks boring unless you’re doing a super structured grid which can work but is harder to pull off.
My Current Favorite Accounts
I’m not gonna list specific handles because they change and some might not want the attention, but look for accounts that post process videos. When creators show their design process or printing results, that’s usually a sign they care about quality.
Accounts with saved Story highlights labeled “Freebies” or “Shop” are organized and easier to navigate. The ones that just randomly post with no system are frustrating to follow.
Storage and File Management
Use Google Drive or Dropbox for cloud storage. I have all my printables backed up because my computer crashed once and I lost everything. Not making that mistake again.
Name your files descriptively. Instead of “IMG_4732” rename it to something like “Abstract Terracotta Shapes 18×24.” Future you will thank present you when you’re searching for something specific.
Keep a spreadsheet of what you’ve downloaded, where it’s from, and usage rights. Sounds excessive but when you have hundreds of files it’s actually necessary. My client canceled last week so I spent an hour organizing this and it’s already made my life easier.
Quick Tips for Gallery Walls
- Layout on the floor first before hanging anything
- Use painter’s tape to mark positions on the wall
- Start with the center or largest piece and work outward
- Keep spacing consistent, usually two to three inches between frames
- Don’t hang everything at the same height, variation is good
The tape trick is seriously the best. Trace your frame sizes on tape, stick them on the wall, step back and see how it looks. Adjust before putting any holes in the wall. Saved me so many times.
When to Pay vs Use Free Downloads
Free downloads are great for testing styles or if you’re on a super tight budget. But paid printables are usually higher quality, larger file sizes, and come with commercial licenses if you need them.
I’d say spend money on statement pieces for main walls, use freebies for smaller spaces or areas you might change up frequently. Paid packs often give you multiple colorways of the same design which is really useful.
Most paid printables range from three to fifteen dollars which is way cheaper than buying actual art prints. For clients I always use paid versions because the quality is more reliable and I’m covered legally.
Look this is already getting long but basically just start small, download a few free ones, test print them at different sizes, see what you like. You’ll develop your own system pretty quick once you start doing it regularly.