
Wall Art Guide, Wall Art Tutoriels
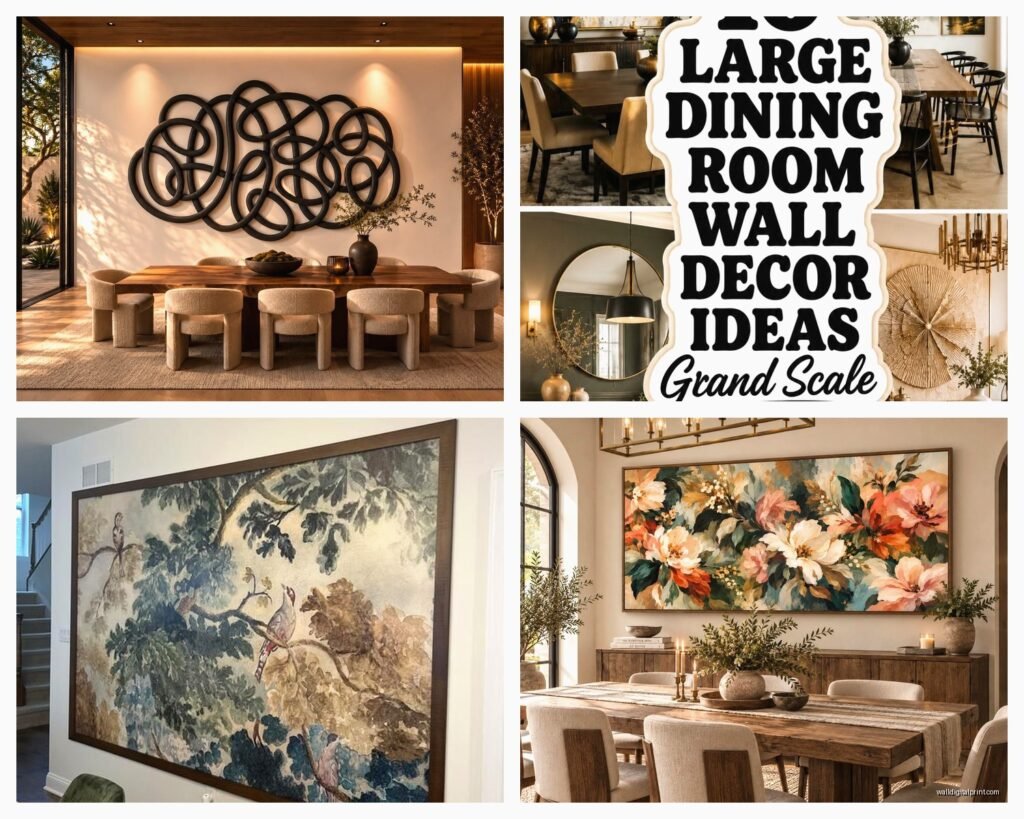
Extra Large Wall Art for Dining Room: Oversized Eating Space
Oct
So I just helped my sister pick out this massive canvas for her dining room last week and honestly, the whole process was way more complicated than either of us expected, but I figured out some shortcuts that actually work.
First Things First: Measuring Without Losing Your Mind
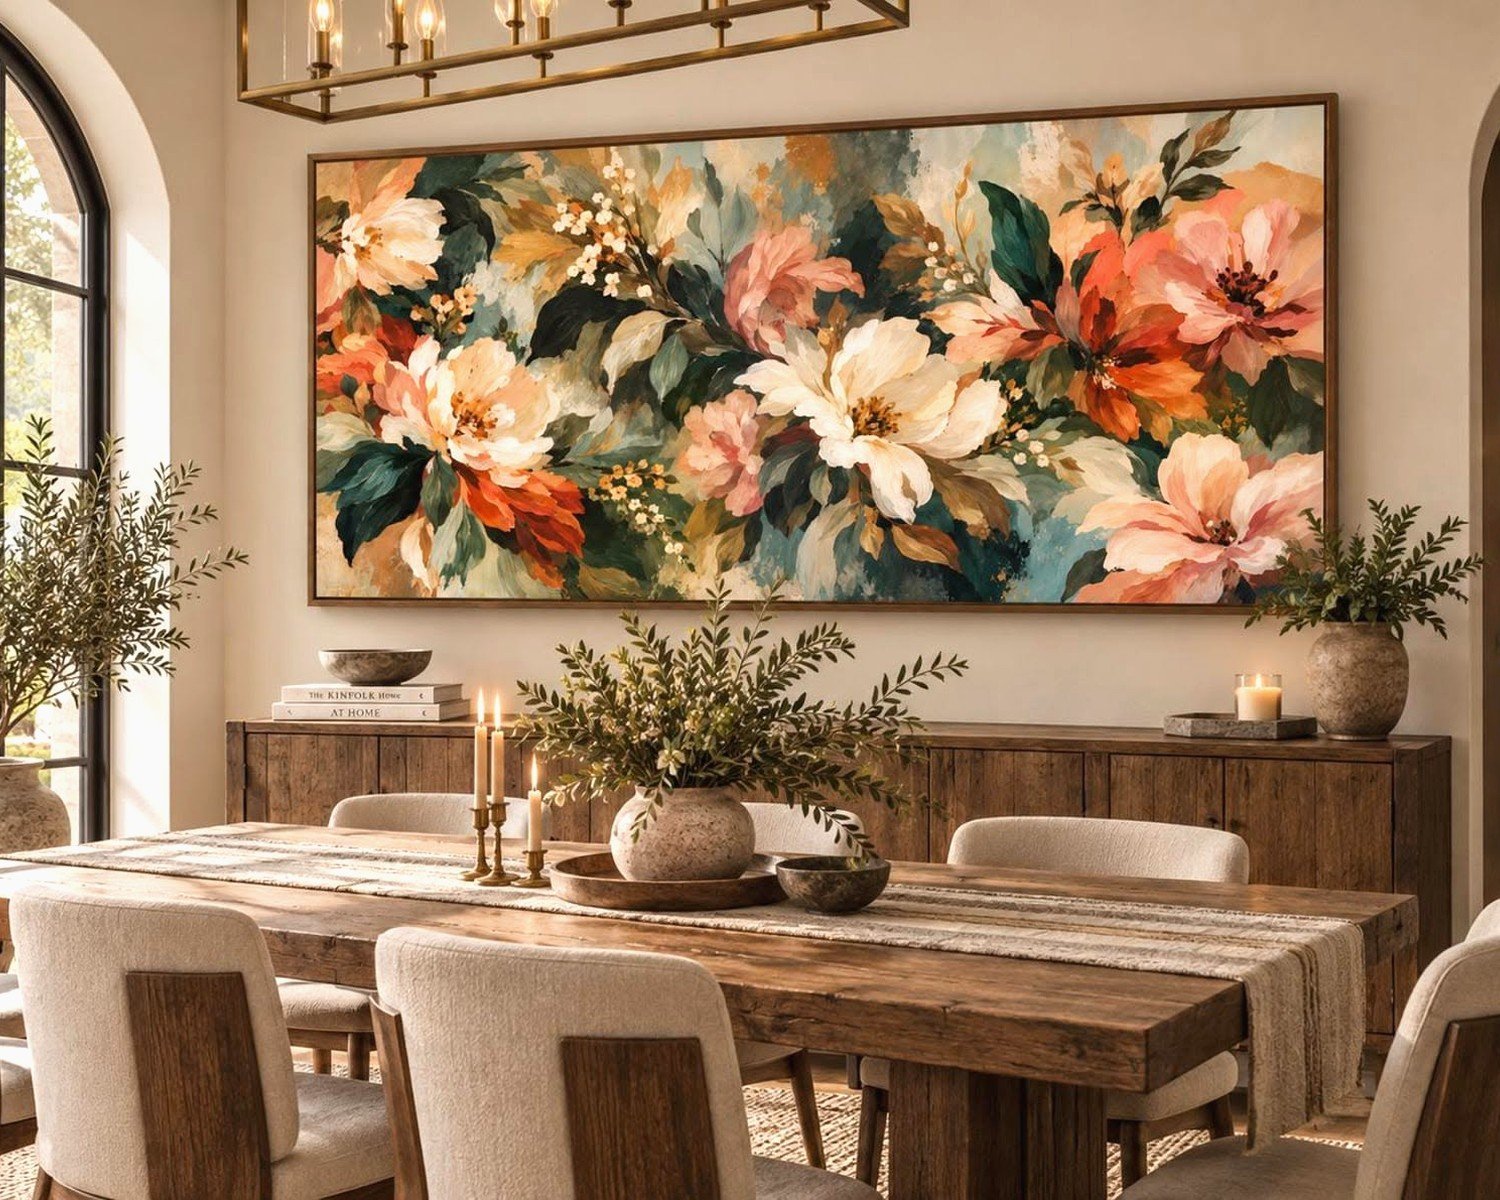
Okay so the biggest mistake everyone makes is just eyeballing it. I did this with my own dining room like three years ago and ended up with this piece that looked like a postage stamp on the wall. Here’s what actually works – take your wall width and multiply by 0.6 or 0.75. That’s your ideal art width. So if you’ve got an 8-foot wall, you’re looking at something between 58 to 72 inches wide.
But here’s the thing… if you have a really long dining table, sometimes you wanna go even bigger. My client in Brooklyn has this 10-foot farmhouse table and we went with an 84-inch wide triptych and it’s perfect. The rule isn’t really a rule, it’s more like a starting point.
Height Placement That Won’t Make You Crazy
Center your art so the middle sits at 57-60 inches from the floor. This is apparently museum standard or whatever, but it genuinely looks right. I use painter’s tape to mark where the corners would be before I commit to anything. My dog keeps trying to eat the tape though so I gotta work fast.
If you’re hanging above a buffet or console table, leave 6-8 inches between the furniture top and the bottom of your art. Less than that looks cramped, more looks disconnected. I learned this the hard way when I left like 12 inches and it just floated there awkwardly for months before I fixed it.
What Actually Works Style-Wise
Abstract stuff is surprisingly versatile for dining rooms because it doesn’t compete with your table setting or the food. I’ve used everything from massive black and white abstracts to colorful geometric pieces. The colorful ones are tricky though – you gotta make sure they don’t clash when you’re doing holiday table settings and stuff.
Landscapes work great too, especially oversized ones. There’s something about a huge landscape that makes the dining space feel bigger? Like it’s a window or something. I did this moody forest scene for someone last month that was 72×48 and their dining room went from boring builder-grade to actually impressive.
Photography Prints at Large Scale
Okay this is gonna sound weird but black and white photography at huge sizes is chef’s kiss for dining rooms. Architecture shots, nature close-ups, even street photography. Just make sure the resolution is actually high enough because nothing looks worse than a pixelated giant print. You want at least 150 DPI at the final size, preferably 300 DPI.
I found this amazing print shop in LA that does museum-quality large format and… wait I forgot to mention, you can also do acrylic or metal prints which are perfect for dining rooms because they’re easier to clean. Someone sneezes near your canvas and you’re gently dusting, but acrylic? Just wipe it down.
The Multi-Panel Situation
So triptychs and multi-panel pieces are great for extra large spaces because you can customize the spacing. I usually do 2-3 inches between panels. Some people go up to 6 inches but that starts looking too separated for my taste.
The cool thing about multi-panel is you can work around obstacles. Got a weird thermostat or light switch? You can plan your panel spacing around it. Try doing that with one massive canvas and you’re stuck.
Panel configurations that actually work:
- Three equal panels for traditional spaces
- Five panels for really long walls (I did this over a 14-foot wall once)
- Two panels in different sizes for a modern asymmetric look
- Four square panels in a grid if your dining room is more casual
Materials and Quality Stuff You Should Know
Canvas is classic but it’s not your only option. I’ve been using a lot of framed prints lately because the frame adds this finished look that makes even affordable art look expensive. A simple black or natural wood float frame can completely transform a print.
Metal prints are having a moment and they work surprisingly well in contemporary dining rooms. They’re durable, the colors are super vibrant, and you don’t need glass which keeps them lighter. I hung a 60×40 metal print by myself last week and it wasn’t terrible, whereas a framed piece that size usually needs two people.
Framing Considerations for Big Pieces
If you’re framing, keep it simple at large scales. Ornate frames on huge pieces overwhelm everything. I stick with:
- Simple wood frames in black, white, or natural
- Float frames that create a shadow gap
- Gallery frames with white or cream mats
- No frame at all for stretched canvas
The mat situation is interesting because at really large sizes, you might want to skip it entirely. A huge mat border can make your actual image area smaller and defeat the purpose of going big.
Where to Actually Buy This Stuff
Okay so funny story, I was watching The Crown the other night and got distracted researching art sources during the boring parts. Here’s what I’ve found actually works:
Affordable options that don’t look cheap:
Society6 and Redbubble have tons of independent artists and you can get prints made at custom sizes. Quality varies by the specific product type though. Their canvas prints are decent, framed prints are better.
Etsy is hit or miss but when you find a good seller who does large format, it’s gold. I’ve gotten several custom-sized prints from Etsy shops that do professional printing. Just read the reviews carefully and check their return policy.
Minted does beautiful large-scale art and their framing options are really good. It’s pricier but the quality is consistent. I use them for clients who have bigger budgets.
The DIY Route
If you’re crafty or whatever, you can get huge prints made at professional print shops and DIY the mounting. I’ve done this with prints from photographers I know. Take your high-res file to a local print shop that does architectural or photography printing, get it printed on photo paper or canvas, then either mount it yourself or pay someone to do just the mounting part.
This is way cheaper than buying finished pieces but you gotta make sure your image quality is good enough. I cannot stress this enough because I’ve seen some disasters.
Installation Without Destroying Your Walls
Heavy art needs proper hanging hardware. For anything over 30 pounds, I use wall anchors rated for way more than the actual weight. Like if my piece is 40 pounds, I’m using anchors rated for 75-100 pounds because I’m paranoid.
My hanging kit essentials:
- Laser level because eyeballing never works
- Heavy-duty picture hanging wire and D-rings
- Wall anchors appropriate for your wall type
- Painter’s tape for marking
- Stud finder if you can anchor into studs
French cleats are amazing for really heavy pieces. They distribute weight evenly and make it easy to get the piece perfectly level. I use them for anything over 50 pounds now.
Oh and another thing, if you’re renting or don’t wanna put holes everywhere, there are these heavy-duty picture hanging strips that work up to certain weights. I’ve used them for pieces up to about 25 pounds successfully but I wouldn’t trust them with anything heavier.
Color Coordination Without Being Matchy-Matchy
Your art doesn’t need to perfectly match your dining room colors but it should have some kind of relationship. I usually pull 2-3 colors from the art that appear somewhere in the room – chair fabric, rug, dishes, whatever.
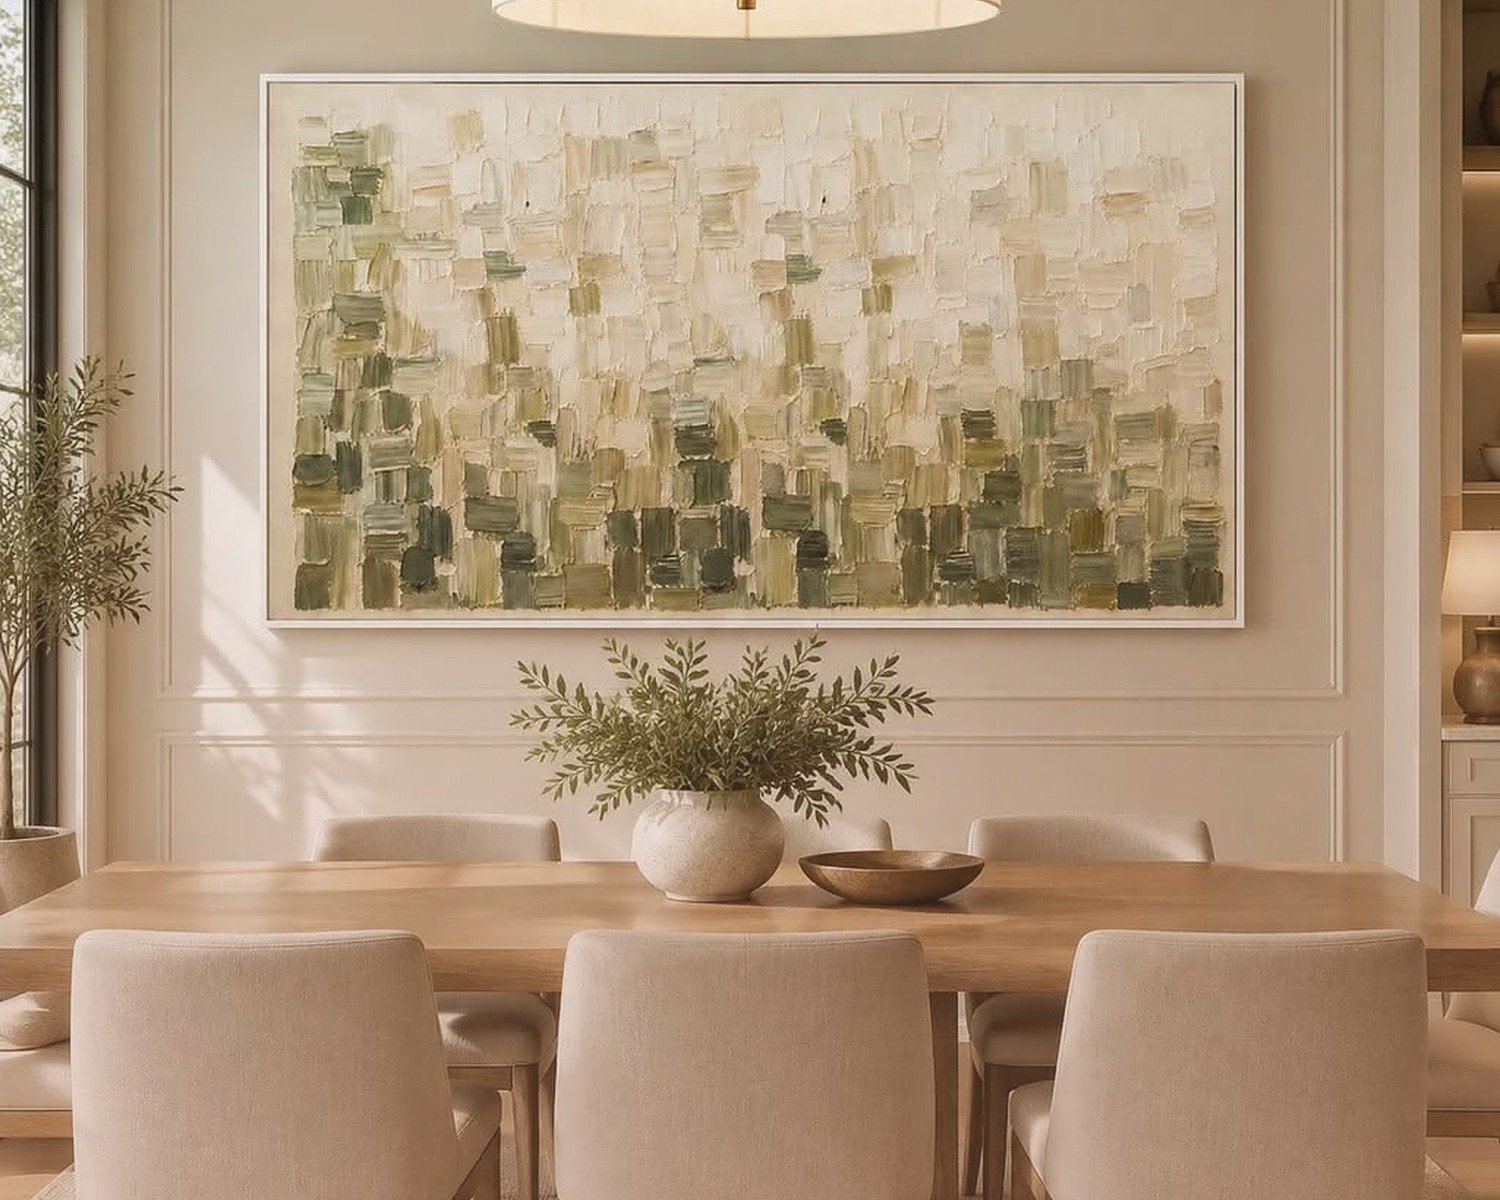
Or go completely neutral with the art and let it be a calm backdrop. Black and white photography, sepia tones, soft abstracts in grays and creams. This works especially well if your dining room already has a lot going on with patterned curtains or a colorful rug.
The worst is when people try to match their art to their wall color. Like putting a beige abstract on beige walls. It just disappears. You want contrast, either in color or tone.
Seasonal Flexibility
This might sound extra but if you change your dining room decor seasonally, consider art that works year-round. I have one client who actually swaps her large pieces twice a year but that’s a lot of work and storage. Most people want something that looks good with Christmas decorations AND summer table settings.
Lighting Makes or Breaks It
You can have the most amazing oversized art but if it’s poorly lit, nobody’s gonna appreciate it. I always add picture lights or track lighting aimed at large dining room art. It makes such a difference at night when you’re actually using the dining room.
Battery-operated picture lights have gotten really good if you don’t wanna deal with wiring. I installed some LED battery ones that last months and they look surprisingly legit.
If you have existing overhead lighting, make sure it’s not creating glare on your art. This is especially important with glass-covered or acrylic pieces. Sometimes you gotta adjust the angle of your art slightly to avoid reflections.
Mistakes I’ve Made So You Don’t Have To
Going too small is the number one issue. Everyone’s afraid of going too big but I’ve literally never had someone complain their art was too large. Too small though? All the time.
Hanging it too high is another one. People think higher is fancier or something but it just looks wrong. Stick with that 57-60 inch center point unless you have really high ceilings, then you might go slightly higher.
Choosing trendy stuff you’ll hate in two years. I went through a phase with geometric patterns and now I can’t stand looking at them. If you’re investing in a large piece, go with something that feels more timeless to you personally.
Not considering the view from other rooms. If your dining room is open to your living room or kitchen, make sure your art looks good from those angles too. I’ve had pieces that looked perfect straight-on but weird from the side.
Budget Reality Check
You can totally do oversized dining room art on a budget but you gotta be realistic. A quality 60×40 inch piece is gonna run you at least a few hundred dollars unless you’re going the print-it-yourself route or finding something secondhand.
I’ve scored amazing large pieces at estate sales and consignment shops. Rich people get tired of their art and you can find incredible stuff for way less than retail. Just bring measurements because eyeballing size when you’re out shopping never works.
Budget tiers that actually make sense:
- Under $200: DIY prints, print-on-demand sites, Ikea large format options
- $200-500: Minted, quality Etsy sellers, framed prints from art fairs
- $500-1000: Original art from emerging artists, custom photography, high-end prints with professional framing
- Over $1000: Original paintings, established artists, commissioned work
The middle tier is usually the sweet spot for most people. You get good quality without the sticker shock.
Anyway, I gotta run because I’m meeting someone about a gallery wall project, but seriously just go bigger than you think you need and you’ll probably be happy with it. The worst case is you can always return it if the return policy is decent, which is why I always check that before buying anything large.
