Wall Art Guide, Wall Art Tutoriels
Mural Wall Art: Large-Scale Designs & Installation Guide

Jun
So I just finished installing this massive 12-foot mural in a client’s dining room and honestly my back is still recovering but I gotta tell you, the impact is absolutely insane. Like, you walk in and it just stops you dead in your tracks.
First Things First: Picking Your Actual Mural
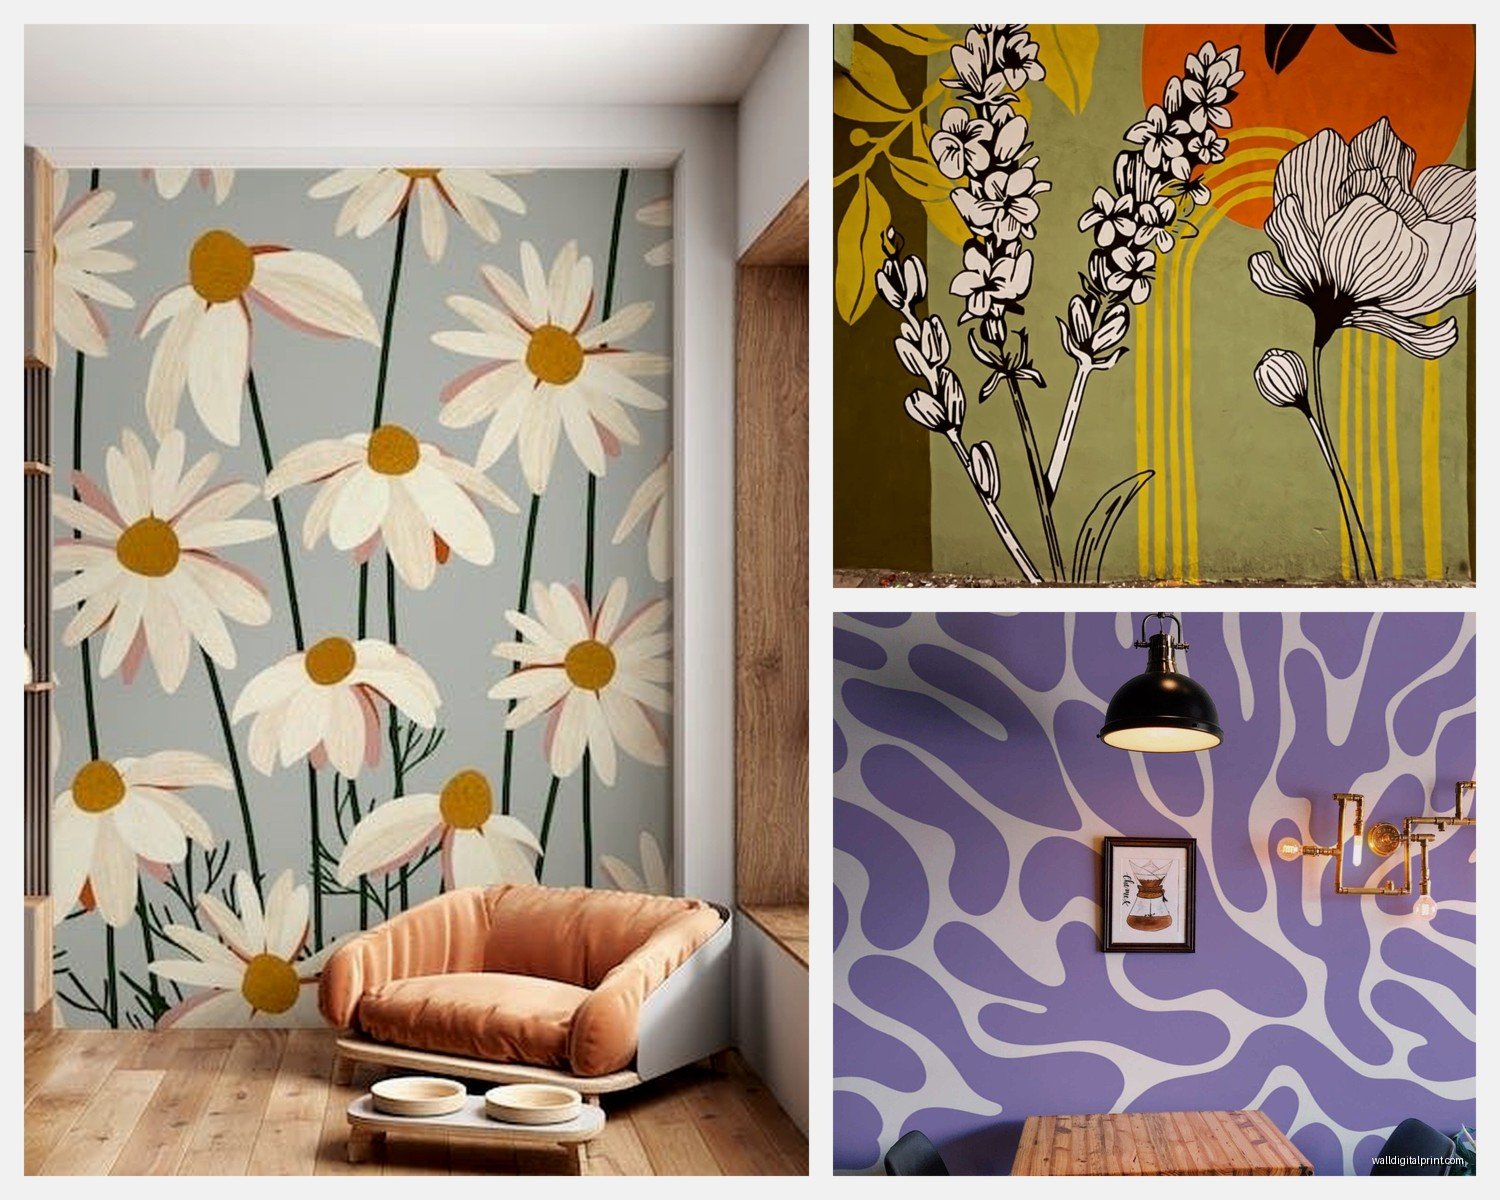
Okay so the biggest mistake people make is choosing something too complicated for their first time. I learned this the hard way three years ago when I picked this intricate floral design with like a million tiny petals and… yeah, no. Start with something that has larger blocks of color or geometric patterns because if your seams don’t line up perfectly, it’s way less noticeable.
You’ve got basically three options for getting murals: custom printed (expensive but worth it sometimes), peel-and-stick pre-made designs, or the traditional paste-the-paper kind. I’m gonna be real with you, unless you’re doing something super specific, the peel-and-stick ones have gotten SO good in the past couple years. Brands like Wallshoppe and Eazywallz are my go-to now.
Measuring Your Wall (Don’t Skip This Part)
This is gonna sound obvious but measure your wall like five times. I’m serious. Width, height, and then do it again because I’ve ordered the wrong size twice and having to wait another two weeks for reprints is the worst. Also measure around any outlets, windows, or weird architectural features. My cat knocked over my coffee while I was doing this last week and the measurements got all smudged so… keep your workspace clear I guess.
One thing nobody tells you: add like 2-3 inches to your measurements on each side if you’re ordering custom. You can always trim excess but you cannot magically make more mural appear if you’re short.
What You Actually Need to Buy
For peel-and-stick murals:
- A really good smoothing tool (not just a credit card, get an actual one)
- Sharp utility knife with extra blades
- Level (the long kind, at least 4 feet)
- Painter’s tape
- Step ladder that’s actually tall enough
- A friend with patience, seriously you need two people
For traditional paste murals:
- Everything above PLUS
- Wallpaper paste (check what your mural manufacturer recommends)
- Paint roller and tray for applying paste
- Sponge and bucket for cleanup
- Seam roller (this little tool is like $8 and makes such a difference)
- Drop cloths because this gets messy
Prep Work That You Cannot Skip
Your wall needs to be clean, smooth, and dry. I know that sounds basic but I’ve seen people try to apply murals over textured walls or walls that were painted like two days ago. The mural in my client’s dining room? We had to wait a full week after painting because the wall wasn’t completely cured yet and I was so impatient but it was the right call.
Fill in any holes or cracks with spackle, sand it smooth, then wipe down the entire wall with a damp cloth to get rid of dust. If your wall is textured, you might need to skim coat it first or just accept that the mural won’t lay completely flat. Some texture shows through depending on the mural material thickness.
Oh and another thing, if you’re renting, check with your landlord obviously. Peel-and-stick is supposed to be removable but I’ve definitely seen it take paint with it on walls that weren’t properly prepped or painted.
The Day Before Installation
Let your mural sit in the room where you’ll install it for like 24 hours. This lets it acclimate to the temperature and humidity. I skipped this once because I was in a rush and the panels wouldn’t stick right because of condensation issues.
Also plan your installation for a day when you have like 4-6 hours with no interruptions. I thought I could do a mural between client meetings and… just don’t. You need focus for this.
Actually Installing the Thing
Okay so here’s where it gets real. Most murals come in panels that you install side by side. They should be numbered – if they’re not, figure out the order and label them yourself before you start.
Starting Point Matters
Mark a vertical line using your level about where the first panel will go. I usually start from the left side of the wall but sometimes if there’s a focal point (like a fireplace or bed), you wanna center the design on that feature instead. This is one of those things that seems obvious after you do it wrong once.
For peel-and-stick: peel back like 12 inches of the backing at the top, align it with your marks, and stick it down. Then slowly peel and smooth as you go down. The key is going slow and using that smoothing tool constantly to push out air bubbles. Work from the center of the panel outward toward the edges.
Wait I forgot to mention – have someone hold the bottom of the panel so it doesn’t stick to itself while you’re working. This happened to me and getting it unstuck without tearing it was a nightmare.
Dealing With Seams
The seams between panels are where you’ll see whether this looks professional or DIY disaster. They should butt up against each other perfectly – not overlap, not have gaps. Some murals have a slight overlap built in that you’re supposed to cut through both layers (called double-cutting), but most modern ones are designed to just meet edge to edge.
If you’re doing traditional paste: apply paste to the wall, not the paper (usually, check instructions). Use your seam roller after both panels are up to press the seams flat. This is gonna sound weird but I go over seams like three times throughout the drying process because they tend to lift as things dry.
Problem Solving the Annoying Stuff
Air bubbles: Small ones usually disappear as things settle. Big ones need to be smoothed out immediately. For peel-and-stick, you can sometimes peel back and reapply. For paste, use your smoothing tool to push them toward the nearest edge.
Wrinkles: If you catch them right away on peel-and-stick, peel back and try again. On paste murals, you can sometimes work them out while wet. Once dry, you’re kinda stuck with them.
Corners and edges: Use your utility knife to trim excess. I press the panel into the corner with my smoothing tool, then run the knife along while pressing firmly. Change blades frequently because dull blades tear instead of cut.
Outlets and switches: Turn off power first (obviously). Apply the panel over the outlet, then feel for the edges and cut an X through the center. Fold back the flaps and trim around the box. Put the cover plate back on and it’ll hide any imperfect cuts.
Around Windows and Doors
This is honestly the hardest part. I usually rough cut the panel larger than needed, apply it, then trim carefully while pressed into the frame. You want like a 1/8 inch gap that the trim will cover. My client’s dining room had this weird arched doorway and I basically had to make a template out of paper first, then transfer that to the mural panel.
What I Wish Someone Told Me
The lighting in your room will completely change how the mural looks. That gorgeous forest scene might look amazing in the store’s bright lighting but kinda dark in your north-facing bedroom. If possible, get samples or look at photos taken in similar lighting conditions.
Also, mural quality varies SO much. I’ve worked with $200 murals that looked better than $800 ones. Check reviews specifically mentioning print quality and color accuracy. Some companies print too dark or the colors look washed out.
Temperature matters more than you’d think. Installing in a cold room (below 50°F) means the adhesive won’t stick well. Too hot and humid, and you’ll fight with the material not laying flat.
Custom vs Pre-Made Designs
I go custom when clients have specific color schemes or need exact dimensions. Companies like Murals Your Way and Photowall let you upload images or customize existing designs. Expect to pay $300-$1000 depending on size.
Pre-made designs are cheaper ($150-$400 for most walls) and ship faster. The tradeoff is you’re limited to standard sizes and existing designs. But honestly some of the pre-made options now are gorgeous. I just used one from Anthropologie in a client’s nursery and everyone asks if it’s custom.
Maintenance and Long-Term Stuff
Peel-and-stick murals last around 3-5 years if you don’t mess with them. Traditional paste murals can last way longer, like 10+ years. Both can be wiped down with a damp cloth for cleaning – don’t use harsh chemicals.
If you need to remove peel-and-stick, start at a corner and pull slowly at a 45-degree angle. Sometimes using a hairdryer to warm the adhesive helps. I removed one last month and it came off perfectly, but that wall had been properly primed before installation.
For traditional murals, removal is more involved. You’ll need a scoring tool and wallpaper remover solution. It’s tedious but doable. Just plan for it to take an afternoon.
Fixing Damage
Small tears or scratches are really hard to fix invisibly. On peel-and-stick, you might be able to carefully peel back and reapply if the damage is near an edge. Otherwise you’re looking at either living with it or replacing the entire panel.
I keep leftover pieces from every mural installation just in case. You can sometimes cut small patches for repairs, though matching the pattern perfectly is tricky.
Design Placement Ideas That Actually Work
Accent walls: The obvious choice. Behind a bed, sofa, or dining table. This is like 80% of my mural installations.
Ceiling murals: Sounds crazy but I did one in a powder room last year with a cloud design and people lose their minds over it. Installation is brutal on your neck though.
Closet interiors: Such a fun surprise element. Since closets are smaller, you can try bolder designs without overwhelming the space.
Hallways: Long narrow spaces work great for murals with perspective, like forest paths or city streets.
One client wanted a mural in their bathroom and we had to use a special moisture-resistant coating. It’s held up for two years so far but I was nervous about that one.
Oh and if you’re doing a kids room, consider that tastes change. Maybe don’t do the super specific cartoon character that’ll be outdated in six months. I usually suggest more general themes like space, nature, or geometric patterns that can grow with them.
The dining room mural I just finished has this abstract mountain landscape in muted blues and greens, and it genuinely transformed the whole space from boring to like magazine-worthy. Totally worth the sore back and the six hours of installation. Just make sure you’ve got the right tools, take your time with prep, and maybe have some ibuprofen ready for after.