Wall Art Guide, Wall Art Tutoriels
Rustic Wall Art: Farmhouse Country Cabin Decor
May
So I’ve been setting up rustic wall art in like every farmhouse project lately and honestly it’s way easier than people think but there’s definitely stuff I wish someone had told me before I started hanging random wooden signs everywhere.
The Actual Wall Space Thing Nobody Talks About
Okay so first thing – you gotta figure out your wall situation before you buy anything because I made this mistake in my own cabin bedroom last year. Bought this gorgeous reclaimed wood piece, like 4 feet wide, and then realized I had a window eating up half the wall space. So now measure your actual usable wall space, not just the whole wall. Take a photo of the empty wall with your phone because you’ll forget the dimensions when you’re standing in HomeGoods staring at seventeen different metal farm signs.
The rule I use with clients is roughly 60-75% of your furniture width below it. So if you’ve got a couch that’s 7 feet, you want your art situation to span about 4-5 feet. But honestly sometimes I just eyeball it and send my client a mockup photo with painters tape on the wall showing the size.
Gallery Wall vs Single Statement Piece
This is where everyone gets stuck. Gallery walls look amazing in photos but they’re kinda annoying to install and you need like a free afternoon. Single large pieces are faster but more expensive usually.
I did a gallery wall in my living room last month and it took me three hours because I kept rearranging everything on the floor first. Pro tip that actually works – lay everything out on the floor in the exact arrangement, take a photo, then measure from each piece to create a map. Or just use those command strips that don’t damage walls so you can move stuff around without making your wall look like swiss cheese.
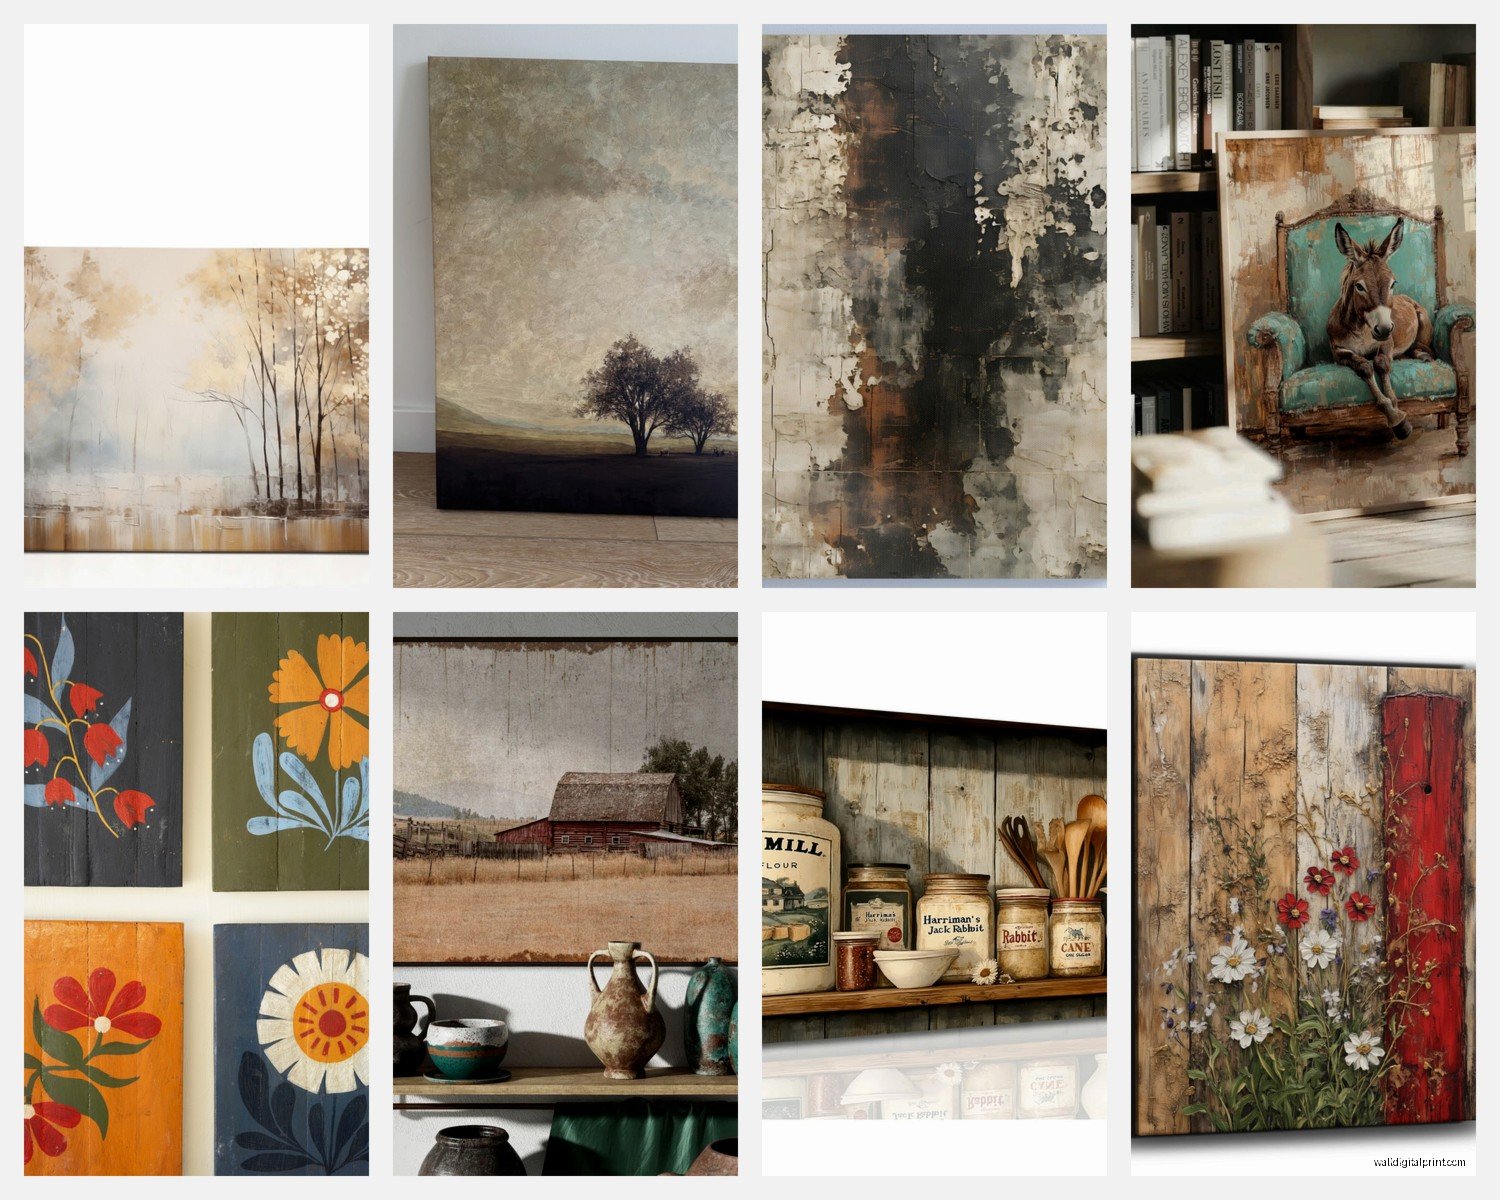
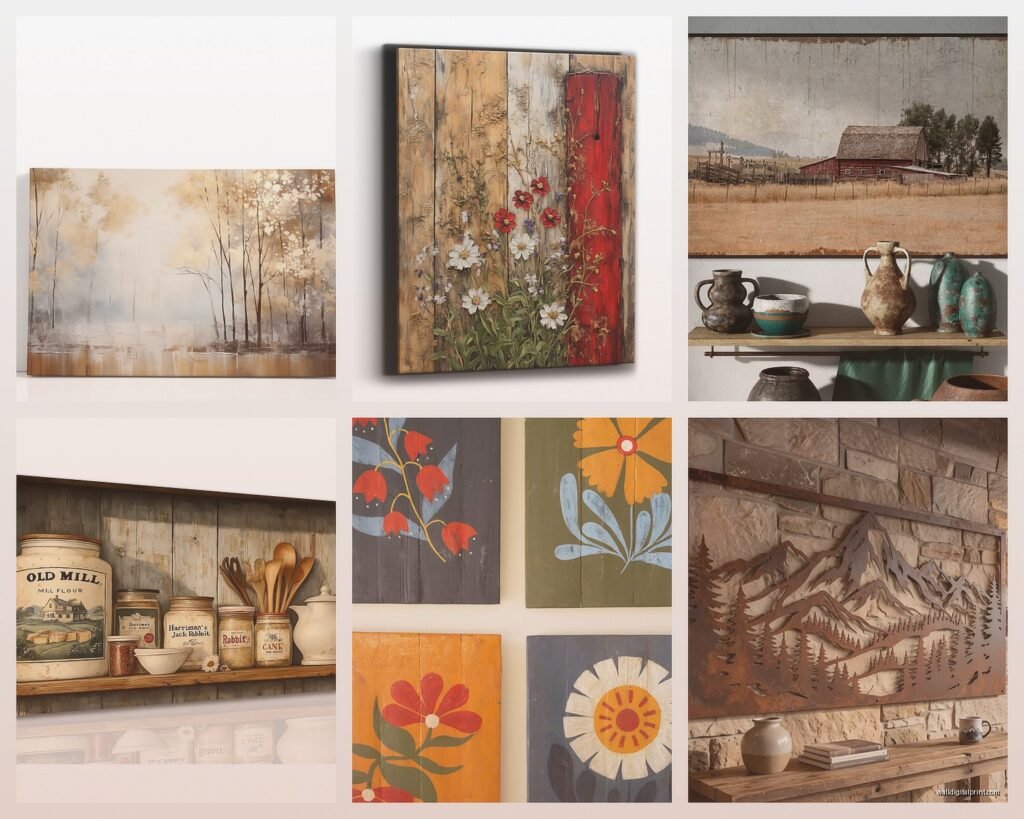
For rustic farmhouse stuff, I’m seeing people mix:
– Wooden signs with sayings (yes they’re cliche but clients love them)
– Metal windmill or farm animal silhouettes
– Vintage window frames, empty or with photos
– Woven baskets as wall art which sounds weird but actually looks good
– Antler mounts or faux taxidermy
– Old tool collections mounted on boards
Where To Actually Buy This Stuff
Okay so here’s where I spend real money vs where I cheap out. My dog just knocked over my coffee but anyway –
Etsy is honestly my go-to for custom wooden signs because you can get personalized stuff and support actual woodworkers. I’ve ordered from like six different shops and the quality varies wildly though. Look for shops that show actual photos of finished products in homes, not just mockups. Prices range from $30 for small signs to $200+ for big reclaimed wood pieces.
Target and Kirkland’s have surprisingly decent metal wall art. I got this metal farm truck piece from Target for $35 that everyone thinks cost way more. Their Hearth & Hand line with Magnolia has good stuff but it sells out fast.
Hobby Lobby if you have one nearby – wait for their 50% off home decor sales which happen like every other week. I’ve gotten massive pieces for under $50. Just ignore the stuff that looks too polished and shiny, you want things with actual texture and wear.
Facebook Marketplace and estate sales for real vintage finds. I found authentic old farm tools last summer that I mounted on a board for a client’s dining room and it cost maybe $40 total. Way better than the fake vintage stuff at chain stores.
The Color Situation
So farmhouse rustic doesn’t mean everything has to be brown and beige but like… most of it ends up being brown and beige. Which is fine actually because it’s neutral and calming or whatever but you gotta add some contrast.
What works in real rooms:
– Black metal pieces against white shiplap or light walls
– Weathered wood in grey tones mixed with warmer browns
– One pop of muted color like sage green or dusty blue in a wreath or painted sign
– Galvanized metal for that silver-grey contrast
I did an accent wall behind a client’s bed with this dark charcoal paint and then hung lighter wood pieces on it and it looked way more expensive than it was. Sometimes going darker on the wall makes the rustic art pop more than the typical white wall everyone does.
Mixing Textures Because That’s What Makes It Work
This is gonna sound weird but the rooms that actually look good have like five different textures happening. If everything is smooth painted wood signs, it reads flat and boring. You want:
Rough reclaimed wood + smooth metal + woven elements + maybe something with glass
My cabin has a big wooden state cutout (Michigan because that’s where my family’s from), a metal windmill, two woven basket plates, and a vintage window frame all on one wall. Sounds like a lot but because they’re different textures and materials, your eye moves around instead of getting bored.
Installation Real Talk
Okay so nobody wants to talk about this part but hanging heavy rustic pieces is actually the hardest part. That reclaimed wood stuff is HEAVY.
For anything over 10 pounds you need actual wall anchors or studs. I use a stud finder that cost like $15 from Amazon and it’s saved me so many times. When you can’t hit a stud, those toggle bolt anchors are your friend – they hold way more weight than those plastic anchors that come with frames.
Command strips work for lighter metal signs and smaller wooden pieces. I use them constantly for things under 5 pounds and in rentals where you can’t put holes everywhere. Just follow the weight limits because I’ve had a piece crash down at 2am and it scared the crap outta me.
Hanging Height That Doesn’t Look Weird
Center of the artwork should be at 57-60 inches from the floor. This is like the museum standard and it actually works in homes too. But if you’re hanging above furniture, leave 6-8 inches between the furniture and the bottom of the frame.
For gallery walls I cheat and start with the center piece at eye level then build around it. Sometimes I use paper templates taped to the wall first which feels extra but saves you from making multiple holes.
Specific Pieces That Actually Work
From working with probably thirty farmhouse projects now, these are the pieces people always get compliments on:
Large wooden state or country cutouts – These are popular for a reason. Get one that’s at least 24 inches if it’s gonna be a focal point. The ones with carved or painted details look better than plain cutouts.
Vintage window frames – You can find real ones at flea markets or buy reproduction ones. I like putting family photos behind the panes or leaving them empty to show the wall color through the glass. Adds architectural interest without being too literal.
Metal farm animal silhouettes – Cows, roosters, horses, pigs. These work especially well in kitchens and dining areas. Go bigger than you think, like 30+ inches, or group smaller ones together.
Woven wall baskets – This trend is everywhere right now and I’m not mad about it. Group three or five in different sizes. The texture thing I mentioned earlier, this is an easy way to add it.
Cotton stems or dried florals in wall-mounted vases – Technically not art but creates the same visual impact. I’ve been using these metal wall pocket planters filled with cotton stems and eucalyptus.
What Doesn’t Work And Saves You Money
Things I’ve tried that looked bad or cheap:
Those printed canvas signs that try to look like wood but it’s just a photo of wood grain printed on canvas. They look fake immediately. If you want a wood sign, get actual wood.
Too many word signs. One or two max per room. When every wall says “Gather” and “Family” and “Blessed” it starts feeling like a Hobby Lobby exploded.
Matching sets of three identical frames. It’s too matchy and doesn’t have that collected-over-time farmhouse vibe. Mix your frame styles and sizes.
Really small art on big walls. This is the most common mistake. People buy 8×10 prints for a massive wall and wonder why it looks off. Scale up or group multiple pieces.
Room-Specific Stuff That’s Helpful
Living rooms – Go big above the couch. This is your statement wall. I usually do either one large piece (36×48 inches or bigger) or a gallery wall that spans 4-5 feet wide. Mix in some dimensional pieces like metal signs or wooden shelves with small decor.
Dining rooms – Long horizontal pieces work great here or a gallery wall arrangement. I did a client’s dining room with a row of five matching white frames with botanical prints and flanked them with metal sconces. Super simple but looked intentional.
Bedrooms – Above the bed is obvious but don’t forget the wall opposite the bed that you see when lying down. I put a simple wooden sign or metal piece there. Keep bedroom art more calming, less busy than living spaces.
Kitchens – Smaller walls usually so smaller art. Open shelving with vintage cutting boards and ironstone creates wall interest without actual art. Metal coffee signs, herb prints, that kind of stuff.
The Lighting Thing I Always Forget To Mention
Oh and another thing – lighting makes such a difference with rustic art. If you have textured wood pieces, a picture light or wall sconce angled at them creates shadows that highlight the texture. I added two cheap plug-in sconces from Amazon ($25 each) above a big wood piece in my hallway and suddenly it looked three times more expensive.
Natural light is tricky because it can fade wood stains and prints over time. I learned this the hard way when a client’s beautiful wooden state sign faded unevenly after a year in direct afternoon sun. Now I suggest UV-protective glass for anything valuable in sunny spots or just embrace the extra weathering as part of the rustic vibe.
Mixing In Non-Rustic Stuff So It Doesn’t Look Theme-y
This is important – you don’t want your house to look like a Cracker Barrel. Mix in some modern elements. I usually add:
– One piece of modern abstract art in neutral colors
– Simple black frames instead of all weathered wood frames
– Clean-lined furniture to balance the rustic wall art
– Modern lighting fixtures
The contrast makes both styles look better. All rustic everything gets boring and feels like a theme park.
Maintenance Nobody Talks About
Wooden pieces collect dust like crazy especially if they have texture. I use a dry microfiber cloth or soft brush attachment on the vacuum. Metal pieces need occasional dusting too but they’re easier.
If your wood art is unsealed it might continue to age and weather which can be good or bad depending on your preference. I’ve had pieces darken over time or develop more cracks which honestly adds character but some people hate it.
So yeah that’s basically everything I’ve learned from doing this constantly for the past few years. Start with one wall, don’t overthink it, and remember you can always rearrange stuff later because honestly I’m still moving things around in my own house and probably always will be.